

Simon Says Stamp - Moments In Time Release Blog Hop, Day 1
- Keisha Diann

- May 30, 2025
- 3 min read

Hi Lovelies!
Welcome to Day 1 of Simon Says Stamp's Moments In Time Blog Hop! These flowers on this fancy card are supposed to be Orange Blossoms, but my creative juices has other ideas and suddenly everything was blue.
We're making a elegant card that can be used to celebrate a wedding, new home or any major milestone that you want to make something extra special for! One of my favorite techniques is coloring on vellum. Last release I did it with ink blending and today's card we are using one of my favorite water-based markers!

MOMENTS IN TIME BLOG HOP CARD SUPPLIES

Supplies are for this You Are My Favorite Blog Hop project are linked in the Supplies Section at the end of this post. Click image below to check out the entire Moments in Time release:

Today's GIF!
Me, every time I look at craft supplies!
Like this card and my corny GIFs? CLICK BUTTON BELOW
to sign up for blog updates:
BLESSINGS BE MORE CARD - Stamping, Heat Embossing, Coloring, Ink-blending, Dry Embossing and Die-cutting
Card Base: 4 1/2" x 6 1/4"

COLOR PALETTE
Kuretake Clean Color Real Brush Markers - Yellow Green, Light Green, Cornflower Blue, Cobalt Blue and Light Blue

CARD WALKTHROUGH
STAMPING, HEAT EMBOSSING, COLORING AND DIE-CUTTING
Trim Simon Vellum cardstock to 8 1/2" x 5 1/2". Use the Anti Static tool to dust powder over the vellum.
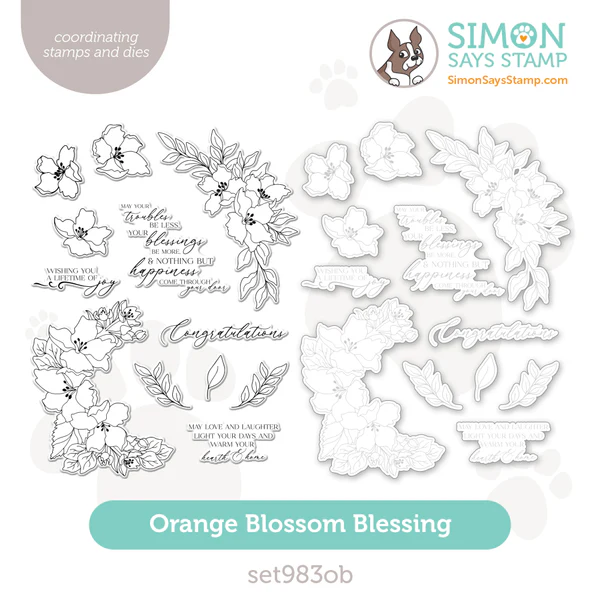
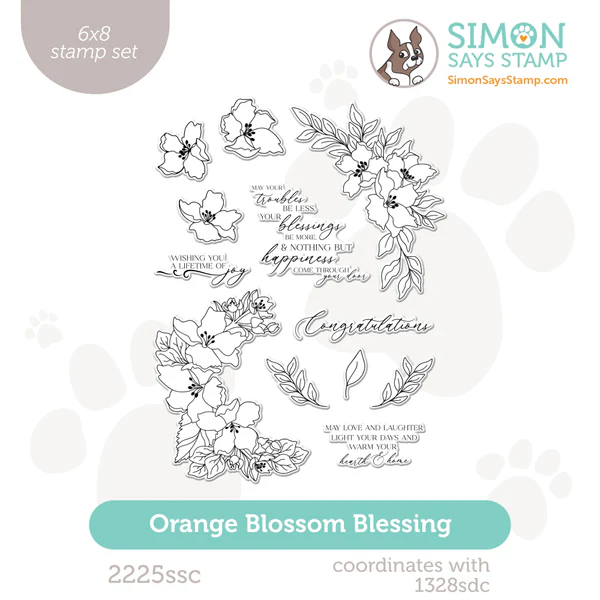
Stamp all of the flowers and leaves from the Orange Blossom Blessings Stamp Set using Simon Clear Ink onto the Vellum, cover with Wow Gold Glitter Embossing Powder and heat set.
Use the selected Zig Clean Color Real Brush Markers to color the flowers. Start with the darker hues of each color and then blend out with the lighter colors.
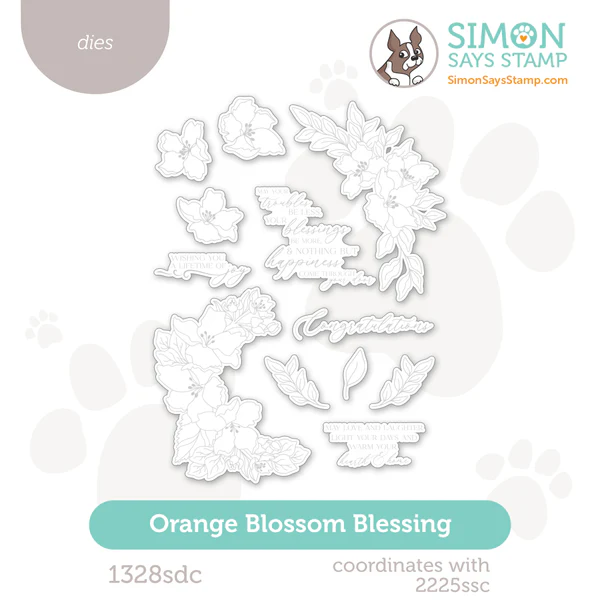
Die-cut using the matching Orange Blossom Blessings Die Set.


DIE-CUTTING & COLORING DIE-CUTS
Emboss 4 1/2" x 5 3/4" white cardstock with the Simon Groovy Floral Embossing Folder.
Use the Flannel Simon Pawsitively Saturated Ink Pad to ink the edges of the embossed panel.
Adhere to a 4 1/2" x 6 1/4" card base.
Die-cut a ___ oval and gently ink blend Marine and Limelicious Simon Pawsitively Saturated Ink onto the oval in a "gentle" ombre.
Stamp the sentiment in Simon Says Stamp Nocturne Black VersaFine Clair Ink and adhere to the embossed panel.
Adhere Simon Thin Foam Dots to the back of the vellum die-cuts.
Before removing backing, align the die-cuts on the embossed over the oval, cover with Glad Press N' Seal film to secure the layout.
Lift the film off the oval panel, remove the backing and adhere to the ink-blended sentiment panel.
Adhere gold pearls to the panel to finish.


I'm a bit of a slowpoke when it comes to coloring, but I think the time spent was worth the end result. I hope you like it too.

I want to make sure that you get the most of today's blog hop, so please take note Lovelies:
Be sure to explore the You Are My Favorite release gallery that are packed with inspiration from the releases!!!
Comment on this post to be eligible to win a $25 coupon from Simon Says Stamp. Winners will be chosen and posted on the Simon Says Stamp blog on Wednesday, the 4th of June. Winner should email Simon Says Stamp to claim their prize
Our not-yet-released Simon Says Stamp exclusive Best Fishes 3x4 stamp set is automatically added to your cart that contains any purchase of MOMENTS IN TIME release products! This gift with purchase will expire 6/1 at 11:59 pm EST or while supplies last. (limited time offer - see details below)
Check out the full supply list below for your shopping convenience
Thanks again for stopping by and I hope to see you again soon! Now, do go and check out what the MARVELOUS Miriam Prantner has made for you today!
HOP ORDER:
SUPPLIES:
I listed the products that I have used below. Please note that these are compensated affiliate links used at no cost to you. I really appreciate your support. Simon Says Stamp's MOMENTS IN TIME products were provided as part of my Design Team package. Click on the icons below each product picture to shop with SimonSaysStamp.com.


Now THAT is a goorgeous card! TFS :-)
Love coloured vellum. Always looks stunning. Beautiful card
Such an elegant looking card! Your blending combined with stamping and gold embossing on vellum cut around the flowers make such a pretty card!!
Gorgeous, and very elegant!
Gorgeous card! Love the orange blossom blessing. ~Leanne S