

Simon Says Stamp - Pawsitively Saturated Ink Blog Hop
- Keisha Diann

- May 16, 2025
- 3 min read

Hi Lovelies!
Welcome to the Simon Says Stamp's Pawsitively Saturated Ink Blog Hop! Today I'm sharing four of my favorite, fun inking techniques to create easy backgrounds for your "card-ing" adventures.
I chose techniques that require minimal explanation, but I hope they spark ideas about how you want to experiment with this gorgeous rainbow!

CARD SUPPLIES

Supplies are for this Pawsitively Saturated Inks Blog Hop are linked in the Supplies Section at the end of this post. Click image below to check out the Pawsitively Saturated Inks range:

Today's GIF!
Live footage of me trying to choose ink colors...
Like this card and my corny GIFs? CLICK BUTTON BELOW
to sign up for blog updates:
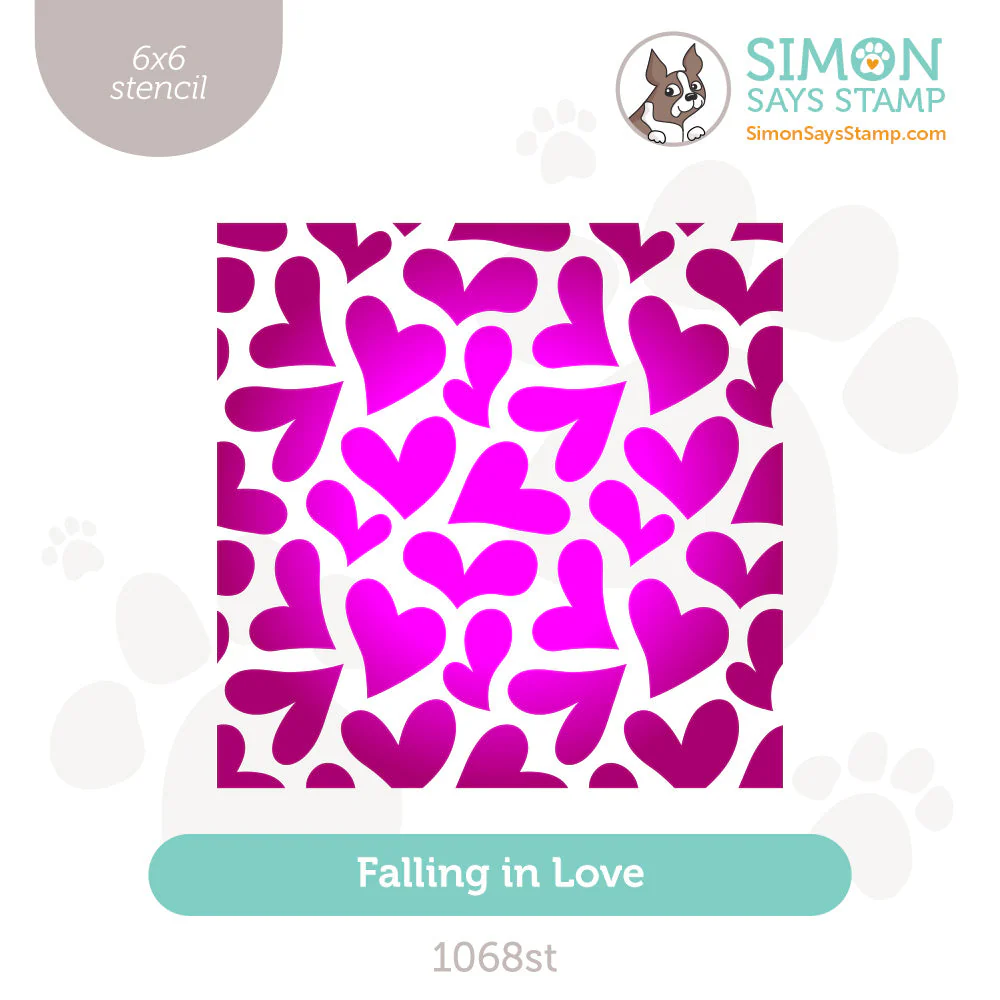
TECHNIQUE 1 - Ink Blending with Stencils
Card Base: 4 1/4" x 5 1/2"

COLOR PALETTE
Simon Says Stamp has a staggering amount of Pawsitively Saturated Ink colors! I keep my sanity by making swatches to help me color match and create color palettes for my makes.

Pawsitively Saturated Ink Pad Colors
Stenciled Background - Royal, Marine, Bubblegum, Sweets, Mandarin, Citrine

CARD HIGHLIGHTS


Finished Ink-Blending Through Stencils Card!
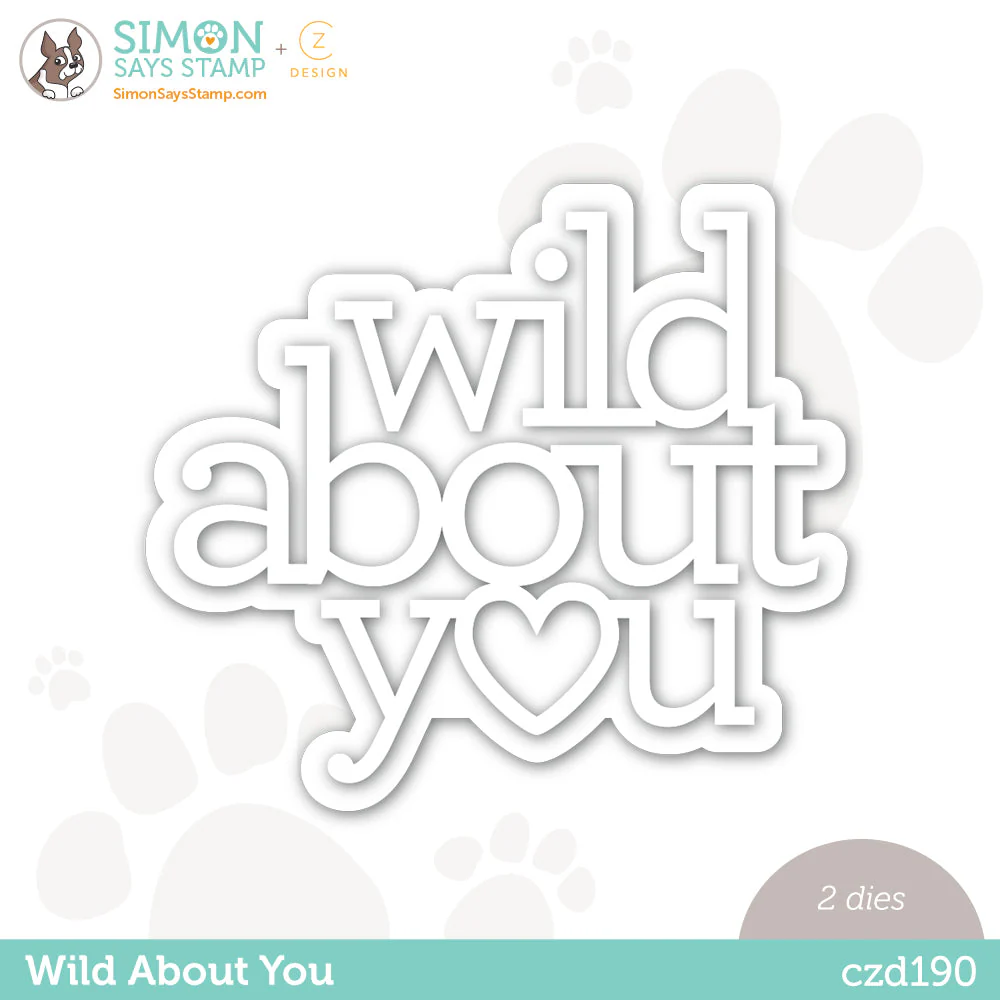
TECHNIQUE 2 - Coloring Die-cuts
Card Base: 4 1/4" x 5 1/2"

COLOR PALETTE
Pawsitively Saturated Ink Pad Colors
Stenciled Background - Cabernet, Punch, Cranberry, Guava and Flannel

CARD HIGHLIGHTS
TIPS
Use a large blending brush to ink-blend Flannel ink onto the card background
Use the edge of the inkpad to create marks that mimic a "marbled" effect on the Flannel background
After arranging bows on the backgorund, cover with Press & Seal film to hold them in place and then pick up off the background to apply craft glue to the back side of the bows before adhering to the background.


Finished Coloring Die-cuts Card!

TECHNIQUE 3 - Stamping Patterns with Mini-Ink Cubes
Card Base: 4 1/4" x 5 1/2"

COLOR PALETTE
Pawsitively Saturated Ink Pad Colors
Stenciled Background - Cabernet, Punch, Cranberry, Guava and Flannel
CARD HIGHLIGHTS
TIPS
Hold the Ink Cube to create a "diamond" shape, as opposed to a square and stamp in rows in a repeating overlapping pattern.
Die-cut the backgound with the 2nd largest die from the Basic Rectangle die-set


Finished Mini-Ink Cube Pattern Card!

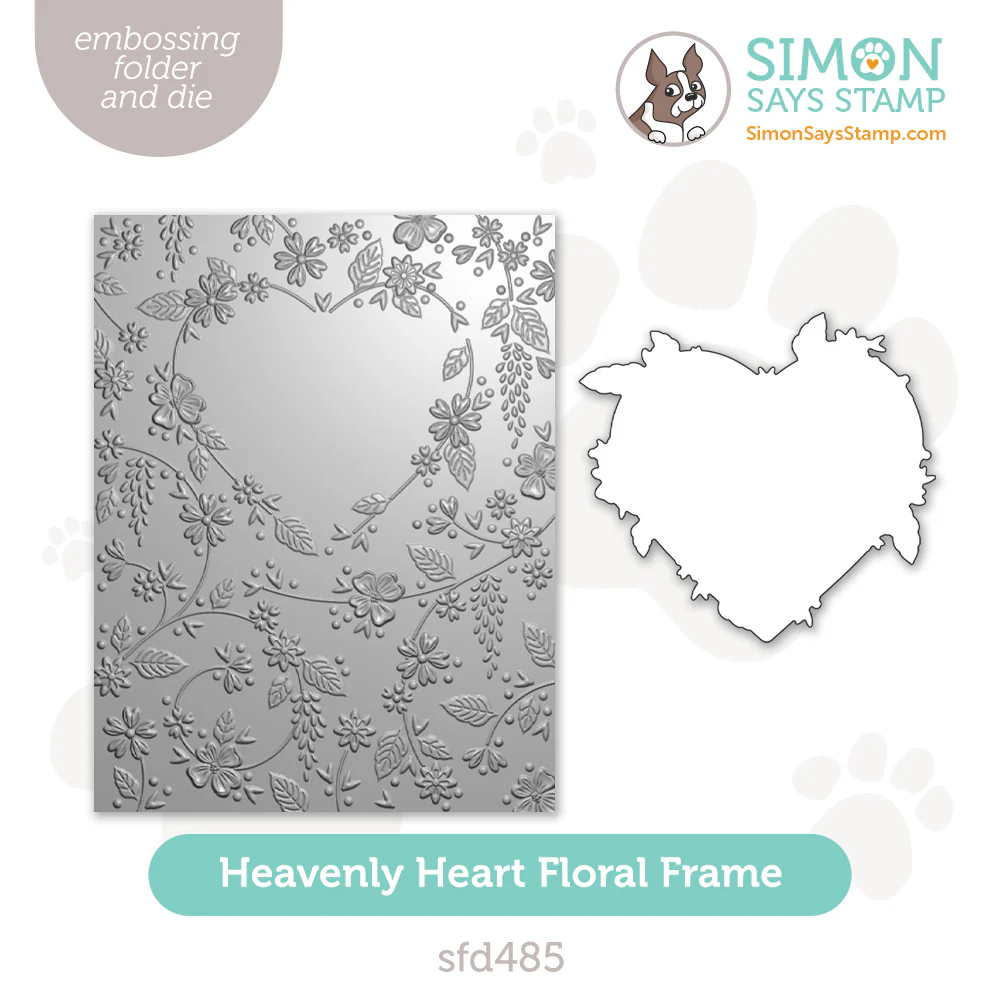
TECHNIQUE 4 - Ink-blending Embossed Cardstock
Card Base: 4 1/4" x 5 1/2"

COLOR PALETTE
Pawsitively Saturated Ink Pad Colors
Stenciled Background - Lilac, Orchid, Sweets, Grapefruit, Butter, Sprout and Fairway

CARD HIGHLIGHTS
TIPS
Use a large blending brush to apply Butter ink to the embossed background
Use round detail blending brushes to color the florals with the selected Pawsitively Saturated Inks


Finished Ink-blending Embossed Card!
Thanks again for stopping by and I hope to see you again soon! Now, do go and check out what the AWESOME Amy Rysavy has made for you today!
HOP ORDER:
SUPPLIES:
I listed the products that I have used below. Please note that these are compensated affiliate links used at no cost to you. I really appreciate your support. Simon Says Stamp's You Are My Favorite products were provided as part of my Design Team package. Click on the icons below each product picture to shop with SimonSaysStamp.com.


Great detail that is much appreciated and lots of creativity going on!
Such beautiful cards!!
Here's a card that would righten anyone's day!
Love all the cards! My fave is the embossed card with the heart!
Scrumptious colors on your beautiful cards! Thanks for sharing these techniques!
-Denise Bryant