

Tim Holtz STAMPERS ANONYMOUS Halloween 2023 Release - THE OBSCURE Halloween Card
- Keisha Diann

- Aug 27, 2023
- 3 min read

Hello Lovelies! I've moved from Fall to Halloween with my second make for Tim Holtz Stampers Anonymous 2023 Halloween Release! I don't make many scary cards, but every now and then, it's fun to explore the spooky side of things.
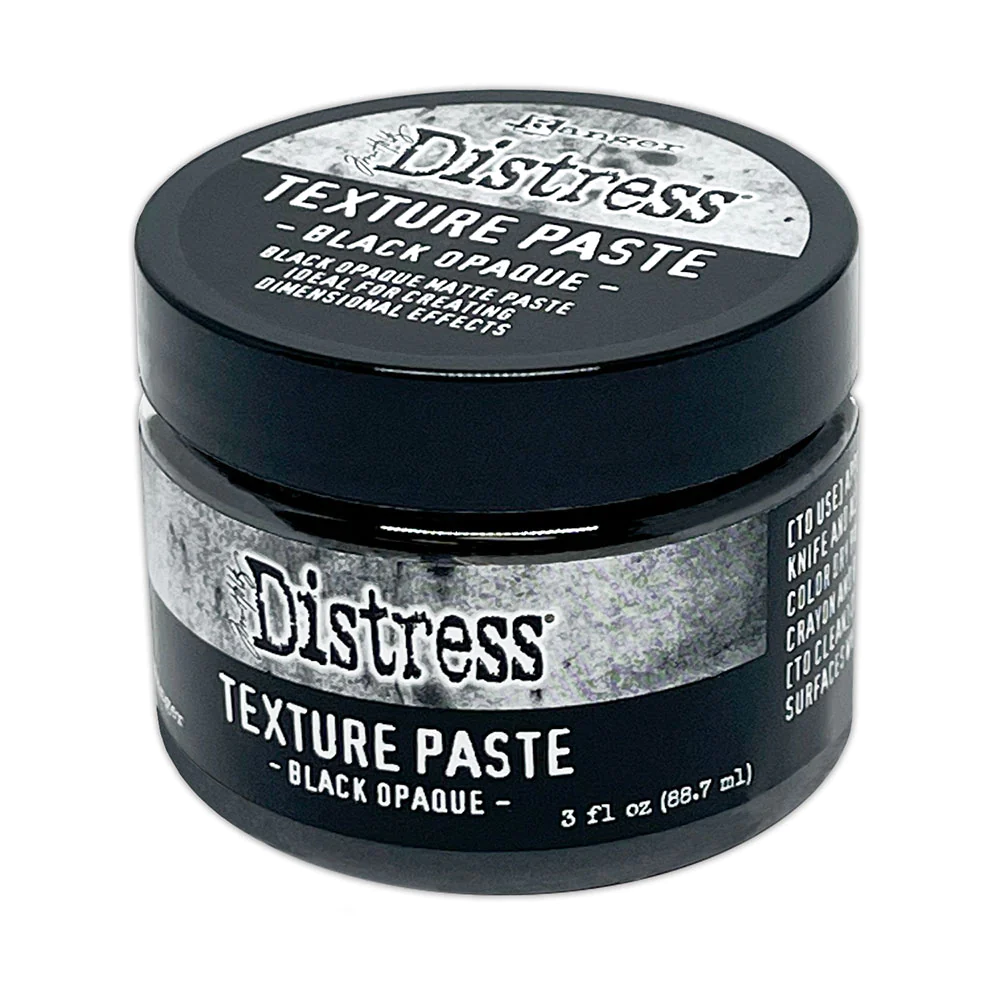
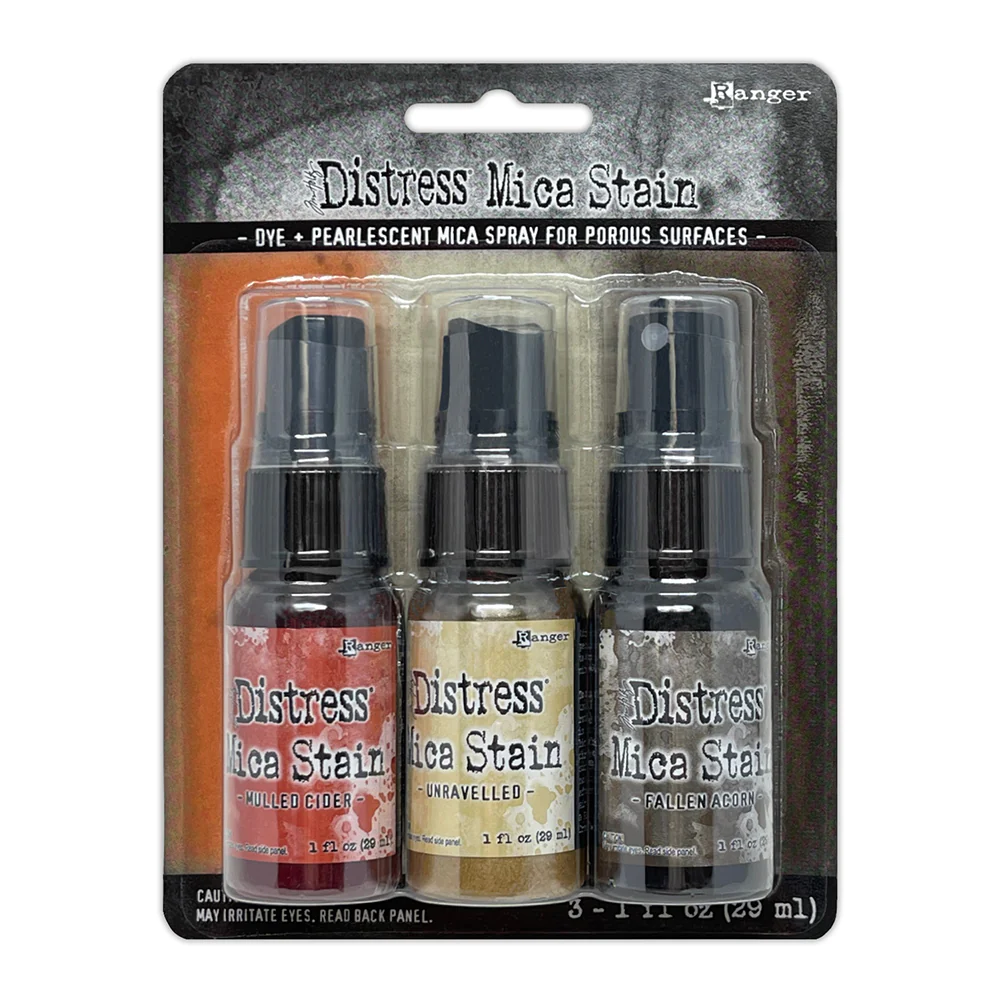
Plus I got to play with some of that new Black Texture Paste and the a few of the Mica Sprays to create the background for this card.

This card is mostly all about the skull from The Obscure stamp set. It is just one of the six stamp sets in the Tim Holtz Stampers Anonymous 2023 Halloween Release, but I like this one especially, as you get some writing, some botanicals, a cool spider's web, lettering AND that spooky skull!
The full release also includes stencils and is shown below. You can get it as a bundle, but each stamp and stencil set is also available to purchase individually from Simon Says Stamp.

Let's take a closer look at the Stamps we'll use for this make:

For the sentiment:

In addition, we'll need a couple of key items to pull off today's make:


Click here to view the full supply list or check out the one linked in the gallery at the bottom of this post when you have finished exploring this project.
Today's GIF!
Who said skeleton's have to be scary?
Like this card and my corny GIFs? CLICK BUTTON BELOW
to sign up for blog updates:
THE OBSCURE HALLOWEEN CARD- Stamping, Embossing, Spray-painting, using Texture Paste and Fussy Cutting
Card Size: 4 1/4" x 5 1/2"
Stenciled Layer: 3 3/4" X 5"
Featuring:
Tim Holtz Distress Halloween Texture Paste Black Opaque Ranger
Tim Holtz Ranger Distress Ink Pads - Black Soot, Crackling Campfire

PROJECT PALETTE
Tim Holtz Ranger Distress Mica Stain - Specimen, Unravelled and Mulled Cider

PROJECT WALKTHROUGH
STAMPING, EMBOSSING (WET) and FUSSY-CUTTIG
Stamp the skull from The Obscure stamp set in Black Soot Distress Ink onto a 4 1/4" x 5 1/2" piece of white 110lb Neenah Cardstock. Cover the inked image with Ranger Clear Embossing Powder and heat set with a heat tool. Fussy-cut with Paper Snips to include an ~1/8" border. Place foam tape on the reverse side.
Stamp the "Feeling Wicked" sentiment from the Halloween Sketchbook stamp set on a piece of Burnt Orange cardstock in Black Soot Distress Ink. Stamp the "Web" image from The Obscure stamp set and emboss with Ranger Gold Embossing Powder. Trim using the Deckle Torn Edge Trimmer. Place foam tape on the reverse side.


Place a 4 1/4" x 5 1/2" piece of Simon Says Stamp Burnt Orange Cardstock inside the Tapestry Embossing Folder and run it through and die-cutting machine. Ink the raised part of the embossed cardstock by gently moving a Crackling Campfire Ink Pad over the raised patterns.


SPRAY PAINTING
Inside a Splat Box, spray the 3 Mica Stains onto the Distress Watercolor Cardstock in the following order, Specimen, Unravelled and Mulled Cider top to bottom. Spritz with water from a Distress Sprayer to create some irregular splotches and let dry.


APPLYING TEXTURE PASTE
Cover the spray-painted background with the Peek-a-boo Stencil and use a palette knife to apply Black Texture Paste through the holes in the stencil to create the pattern. Use the technique shown in my Sketchy Leaves blog post to ensure that you get full coverage of the background. Let dry and trim to 3 3/4" X 5".
Apply foam tape and adhere to the embossed card background. Apply craft glue to the card front and adhere to a card base.


Adhere the skull and sentiment to the card front and embellish with a spider and gold metallic drops to complete the card


The different techniques create 3 different textures, glossy wet embossing, spray-painting and dry embossing which make the card more eye-catching.

The Black Texture Paste is sooo striking. I need to use it on other stencils soon!

If this skull isn't creepy cool, then I don't know what is...

I have never liked spiders, but this one is perfect for the card along with the metallic jewels!

Here is our finished card! I hope you will give this a try!
Thank you for stopping by and visiting the spooky side of The PaperMint with me. Leave me a comment with your thoughts please. I always look forward to hearing your feedback and I am always happy to take any questions.
See you soon!
SUPPLIES:
I listed the products that I have used below. Please note that these are compensated affiliate links used at no cost to you. I really appreciate your support. All stamps used today were part of my maker package from Tim Holtz and Stampers Anonymous. Click on the icons below each product picture to shop with Simon Says Stamp.


Comments