

Tim Holtz Vault Pillow Box with Funky Florals for Spring from Sizzix March 2026 Vault Release
- Keisha Diann

- Mar 15
- 3 min read

Hello, lovelies! Let's make the prettiest pillow boxes and gift tags for Spring treats and gifting with two of my favorite die sets from the Tim Holtz and Sizzix's March 2026 Vault release.
The Tim Holtz Sizzix Vault Pillow Box and Gift Bag set is unassuming and simple to assemble. It is just as easy to elevate with simple techniques and then decorate with the Tim Holtz Sizzix Vault Funky Florals. I filled mine with jelly beans, but you can tuck any small treats, tiny treasures, or something teeny and precious that you are gifting.

Key Supplies - Vault Pillow Box With Funky Florals
Tim Holtz | Sizzix Thinlits HANDWRITTEN LOVE

Tim Holtz | Sizzix Thinlits VAULT PILLOW BOX

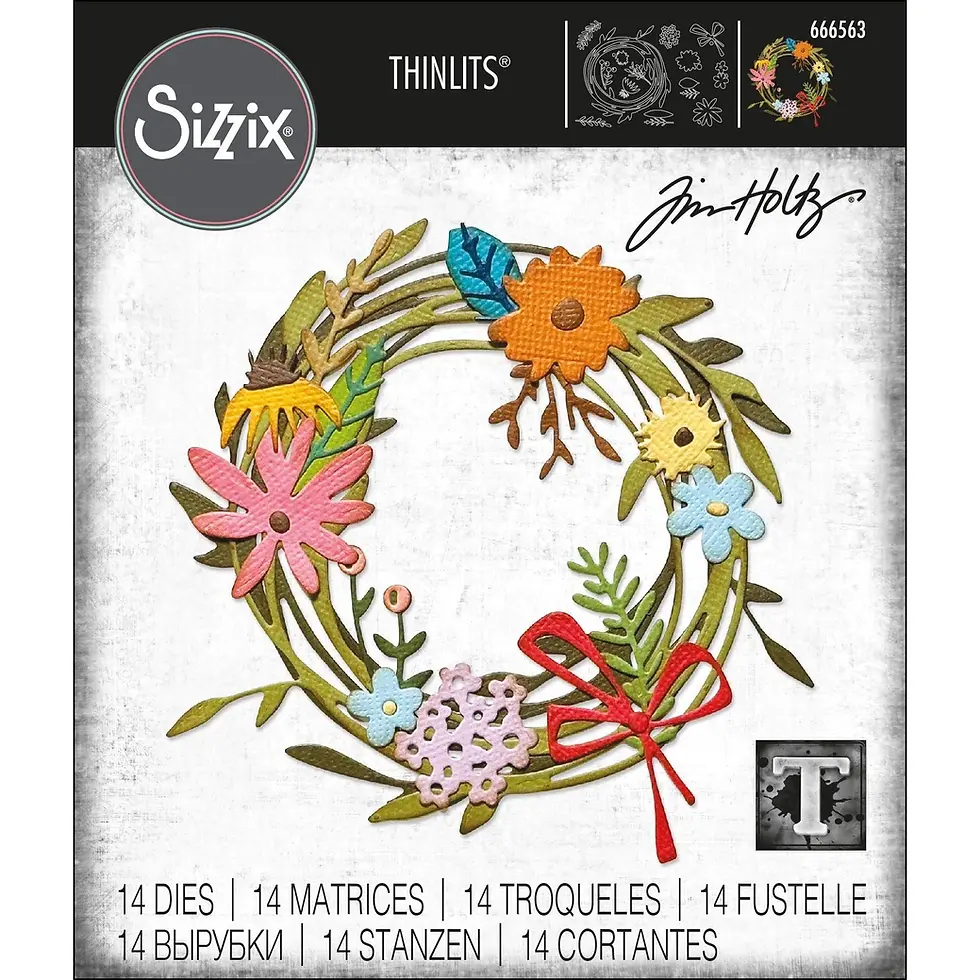
Tim Holtz | Sizzix Thinlits FUNKY FLORALS
Tim Holtz | Sizzix KALEIDOSCOPE

Tim Holtz | Stampers Anonymous TINY PRINTS

Tim Holtz | Stampers Anonymous PERFECT PLAIDS

Click here to explore the full supply list for this project or check out the one linked in the gallery at the bottom of this post when you finish exploring this project.
Today's GIF!
SO much candy to put in our boxes!
Like this card and my corny GIFs? CLICK BUTTON BELOW to sign up for blog updates:
VAULT CANDY PILLOW BOX AND GIFT TAG WITH FUNKY FLORALS - Inking, Die-cutting and Stamping
Holder Size: ~4 1/2" x 4 3/4"

PROJECT PALETTE
TIM HOLTZ | RANGER DISTRESS INK PADS - Saltwater Taffy, Festive Berries, Rustic Wilderness, Twisted Citron, Frayed Burlap, Mustard Seed, and Ground Espresso

Quick tip before we get started. Consider a practice run when experimenting with when assembling items and figuring out placement of your decorations/embellishments.


PROJECT HIGHLIGHTS
Stamp one side of a 5 1/2" x 8 1/4" sheet of white cardstock with one of the Perfect Plaid stamps using Saltwater Taffy Ink. Stamp the other side with the Tiny Prints stamp using Ground Espresso Ink.
Die-cut a 5 1/2" x 8 1/4" sheet of pink cardstock with the Gift Bag/Tag dies.
Use the Kaleidoscope Folder to emboss the gift bag die-cuts.
Gently run the Saltwater Taffy Ink Pad to raised pattern on the die-cuts to ink them
Assemble the Gift Tag using craft glue to adhere.
Die-cut a plaid-stamped cardstock with the Pillow Box dies (x2).
Use the Gift Bag/Tag insert to cut a window into the one of the panels of the Pillow Box as shown.
Adhere a 2 1/4" x 3 1/2" piece of acrylic using double side tape over the Tiny Prints-stamped side of the Pillow Box panel.
Assemble the Pillow box using craft glue to adhere.
Ink-blend each of the selected Distress Ink colors onto 2 3/4" x 4 1/4" pieces of white cardstock.
Die-cut the ink-blended cardstock using the selected flowers from the Funky Florals set and the sentiments from the Handwritten Love set.
Adhere the flowers and sentiments to the Pillow Box and Gift Tag.


D
Please refer to the photos below for the final finishing details for each Gift Card Holder.
UP CLOSE AND CRAFTY


Last Looks!
I hope this pictorial was helpful if you feel like making an EXTRA SPECIAL Gift Card Holder. Thank you for stopping by. Your thoughts mean a lot to me, so leave me a comment! I'm always here to answer any questions you may have.
See you soon!


SUPPLIES:
I listed the products I used below. Please note that these are compensated affiliate links used at no cost to you. I really appreciate your support. All new release dies used today were part of my maker package from Sizzix.


The step-by-step approach made the Tim Holtz Vault Pillow Box project easy to follow and genuinely inspiring for crafting enthusiasts. I recently saw a related discussion on a design blog that also highlighted seasonal creativity in interesting ways. It’s always nice to see how structured creativity shows up in different areas, much like the thoughtful presentation approach I once noticed at https://grandoaksorthodontics.com/ , where small details really stand out.