Tim Holtz Sizzix Christmas 2023 Release - TRIM A TREE COLORIZE Card
- Keisha Diann

- Sep 9, 2023
- 4 min read

Hello Lovelies! I don't know where the color palette for this card came from, but the Tim Holtz Sizzix 2023 Christmas Release! is an absolute joy, so I hope this card looks like a celebration to you!
If my Holiday Knit card was all about cool tones, then this one is bringing the warmth of festivities with friends and family, the glow of a fireplace and the sparkle of a Christmas tree.

I would not be surprised if you have a hard time your favorites from the Tim Holtz Sizzix 2023 Christmas Release. Today we will combine the Trim A Tree Colorize Set with the Sparkle Embossing Folder. The full release is shown below and available as a bundle, but each die set is also available to purchase individually from Simon Says Stamp.
Let's take a closer look at the release items that we will use for today's card:


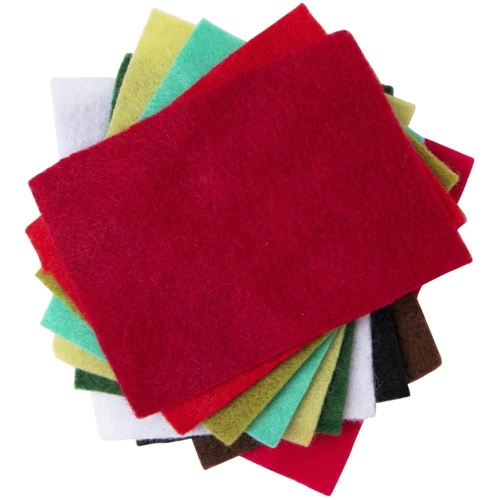
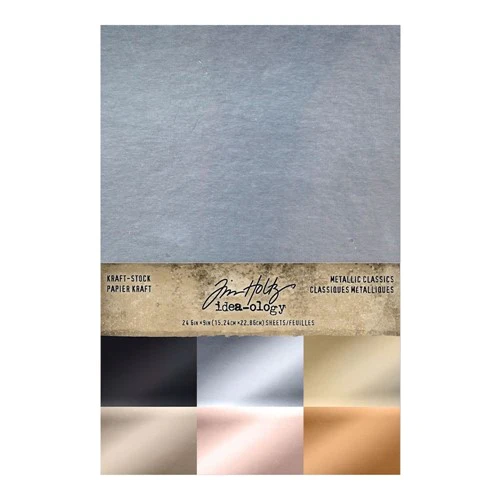
In addition, I snagged some felt from my stash as well as some Tim Holtz Metallic Cardstock for our tree.
Click here to view the full supply list now or check it out at the bottom of this post when you have finished exploring this project.
Today's GIF!
I think our tree will come out looking a bit better than Charlie Brown's...
Like this card and my corny GIFs? CLICK BUTTON BELOW
to sign up for blog updates:
MERRY MERRY CHRISTMAS CARD - Embossing, Ink-blending, Splattering and Die-cutting
Card Size: 4 1/4" x 5 1/2"
Featuring:
Tim Holtz Idea-ology KRAFT STOCK METALLIC CLASSICS Tim Holtz Ranger Distress Ink Pad - Candied Apple, Saltwater Taffy, Squeezed Lemonade
Tim Holtz Rangers Distress Paint - Tarnished Brass

PROJECT PALETTE
Distress Ink Pads - Candied Apple, Saltwater Taffy, Squeezed Lemonade

PROJECT WALKTHROUGH
INK-BLENDING AND SPLATTERING
Emboss a 4 1/4" x 5 1/2" piece of White Neenah 110lb cardstock using the Sparkle Folder
Use a Mini Blending Tool to ink-blend Squeezed Lemonade in a rough triangular shape to echo the shape of the Christmas Tree
Continue by ink-blending Saltwater Taffy on the left and right sides of the cardstock
Finish ink-blending by inking the top-left and right with Candied Apple. Be gentle as you don't want to deepen the red color too much
Dip the Splatter Brush into little of the Tarnished Brass paint and flick the bristles to splatter paint across the embossed layer

DIE-CUTTING
Using the "ornament" dies from the Trim A Tree die set, die-cut the top layer of the ornament out of gold cardstock and the base layer out of silver cardstock
Using the "string" die from the Santa Greeting die set, die-cut the string out of gold cardstock
Using the "alphabet" dies from the Santa Greeting die set, die-cut the word "MERRY" out of red cardstock and adhere to the string with Craft Glue NOTE: I initially did the letters in gold to match the string but they did not stand out enough, so I re-did them in read and layered on top of the gold. You can consider doing this but off-setting the red letters a bit so they reveal a peek/shadow at the gold below; I think that will look nice!
Select three different green colors of felt and die-cut the tree layers. Cut the star out of two shades of yellow felt and the tree base out of two shades of brown felt.
Adhere the tree layers and star as shown with a Felt Glue using the pictures on the Sizzix packaging to guide you
Adhere the ornaments to the tree with the Felt Glue. Note: I first considered making the ornaments out of felt, but preferred the sheen of the metallic cardstock
Adhere the tree base together and trim abut 1/8" off the bottom of the pot
ASSEMBLY AND EMBELLISHING
Create a card base with Tim Holtz BLACK HEAVYSTOCK
Adhere the embossed layer to the card base with foam tape
Adhere the tree to the embossed layer with felt glue
Adhere the ends of string that holds our merry banner with craft glue as shown, overlapping them
Finish by selecting sentiments from the Tim Holtz Idea-ology CHRISTMAS Sticker Book, backing them with paper strips and popping them up on foam tape to adhere to the card front
The ink-blending is so very festive and the splotches of paint somehow give it a sense of movement to me.

The felt helps make this tree even more special!

The Clippings Sticker Book helped me finish my sentiment for a VERY merry card!

I promise you that this is an easy card to make. The most time-consuming step is layering the die-cuts, but that is WELL worth the wait!!

Thank you for stopping by and joining me and getting very MERRY for the holidays! Leave me a comment with your thoughts please. It means a lot and I am happy to take any questions.
See you soon!
SUPPLIES:
I listed the products that I have used below. Please note that these are compensated affiliate links used at no cost to you. I really appreciate your support. All stamps used today were part of my maker package from Tim Holtz and Sizzix. Click on the icons below each product picture to shop with Simon Says Stamp.


This card is lovely! I love the use of felt. It adds an interesting texture. Thank you for the wonderful instructions. Can't wait to get "making" it!