Simon Says Stamp - Wall Decor Series - PAINTED RAINBOW
- Keisha Diann

- May 29, 2023
- 3 min read

Hi Lovelies!
Time to update the Wall Art in my craftroom and hopefully inspire a project for your own space. My craftroom is full of rainbows, so one more won't hurt!
June is PRIDE month and I wanted a piece that celebrate that and love in general, so I thought that the bold arcs of the Painted Rainbow Cling Stamp would stand out even from a distance.

If you would like to check out the other projects in this series, I have linked them below for you to explore:
With that said, let's review the key supplies for today's project:
For the full list, check out the Supplies Section at the end of this post.
Today's GIF!
Now, THIS is a super power that I need!
Like this card and my corny GIFs? CLICK BUTTON BELOW
to sign up for blog updates:
LOVE YOU, JUST AS YOU ARE WALL ART - Stamping and Die-cutting
Wall Art Base: 8" x 8"
Stamped Layer: 5 1/2" x 5 1/2"
Featuring:
Simon Says Stamp Pawsitively Saturated Ink Pad - Intense Black, Amethyst, Royal, Fairway, Sunbeam, Sherbet

COLOR PALETTE
Most of today's rainbow uses Simon Says Stamp Pawsitively Saturated Ink Colors and Distress Ink Barn Door for the perfect bright red!

PROJECT WALKTHROUGH
STAMPING THE BACKGROUND

Trim a sheet of 110LB Neenah Cardstock to 6" x 6" and secure the cardstock inside your MISTI by adhering to the Simon Says Stamp Stamp and Stencil Mat for a secure hold.
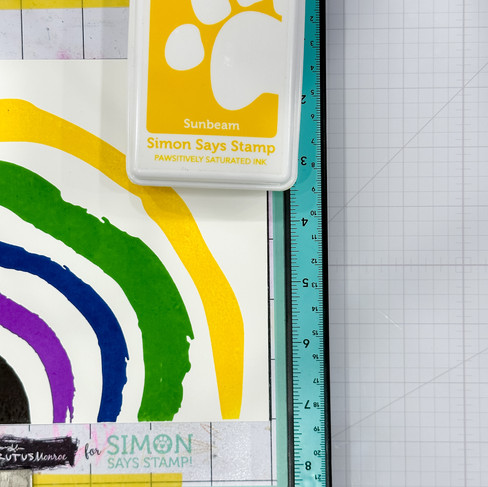
The Painted Rainbow Cling Stamp is sectioned to allow you to stamp each arc of the raombow in a different color.
One-by-one, ink and stamp each section of the rainbow with the selected color.
TIP: To make it easier not to contaminate the adjacent section, temporarily remove it, ink the selection senction, stamp and then replace the section you first removed before removing the currently inked section.
Close-up to see the colors better! Trim the stamped layer to 5 1/2" x 5 1/2".

DIE-CUTTING/LAYERING THE SENTIMENT
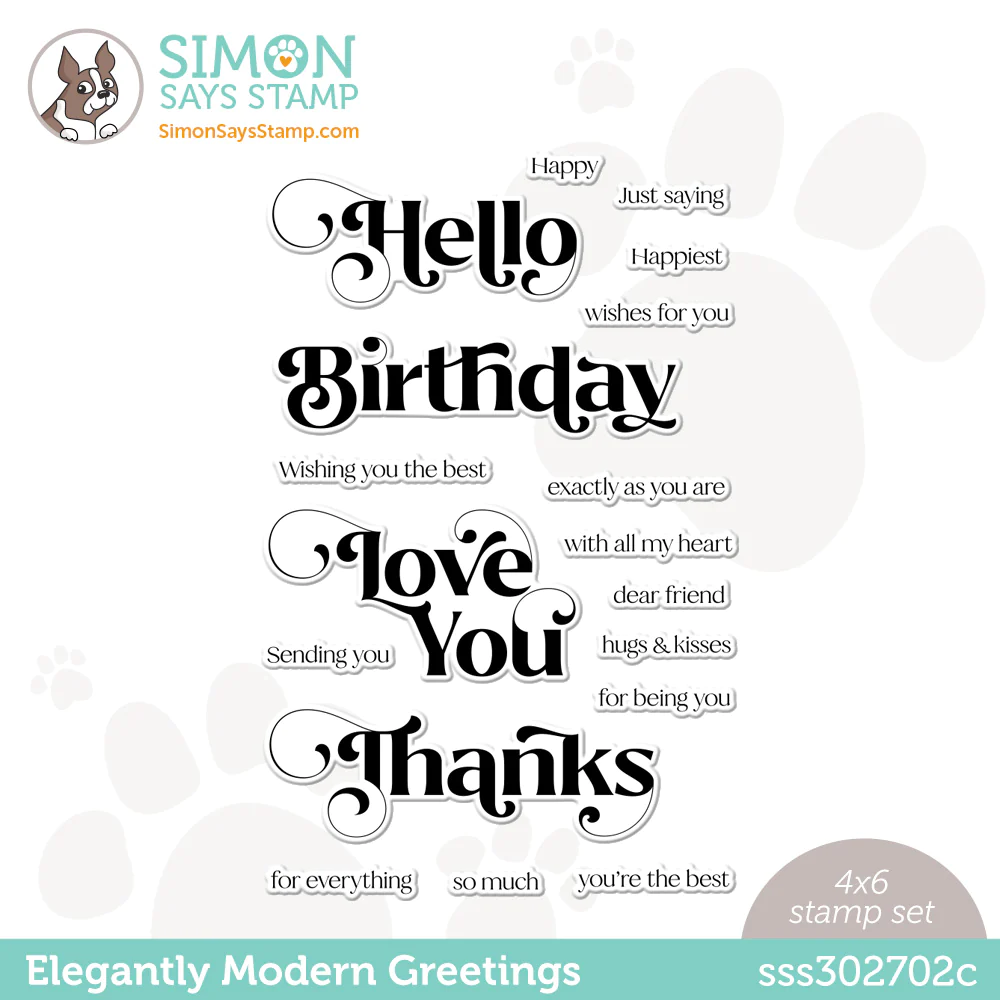
Stamp Love You in Intense Black ink on White Cardstock, then die-cut. Stamp "with all my heart" and "exactly as you are" onto Black Cardstock in Clear Ink and then emboss with White Embossing Powder.
Die-cut the Love-You outline out of White Foam. Layer and adhere to the stamped matching sentiment. That fluffy foam give just the right dimension without needing adhesive dots!
CREATING THE INSERT BASE
Using the Tim Holtz Guillotine, trim 2 pieces of Chipboard to 8" x 8" and ~5 1/2" x 5 1/2". Trim 1 sheet of 130lb White Cardstock to 8" x 8".
Adhere the stamped layer to the ~5 1/2" x 5 1/2" chipboard and the white cardstock to the 8" x 8" chipboard using the Elmer's Spray Adhesive or Craft Tacky Glue
NOTE: If you did this project with me before and plan to switch out a previous insert for this one, you do not need to create the 8" x 8" white backdrop again. The inserts are attached to the backdrop with Velcro, so you just pop the previous one off and attach the new one.
I ended up placing my sentiment in top right of the insert, but you can try other locations that might appeal to you more. :-)

Attached some Velcro or the hook and loop stickers I linked in the supplies to the back side of the stamped layer. I would use at least 2 at each of the four corners to ensure that it stays in place when mounted.
The second photo shows the other side of the Velcro once I removed the protective layer shown in the first pic and pressed the stamped layer onto the 8" x 8" white cardboard-backed layer.
The Velcro gives dimension and makes the stamped layer "float" against the white background.

A rainbow is ALWAYS a win in my book!

My craft space is a sanctuary for me; I like for it not just to be pretty, but celebrate things that matter to me.

Hope this inspired you to bring a little more joy to your own space!

Don't forget to leave me a comment and let me know if you have any questions.
Thanks again for stopping by and I hope to see you again soon Lovelies!
SUPPLIES:
I listed the products that I have used below. Please note that these are compensated affiliate links used at no cost to you. I really appreciate your support. Simon Says Dear Friend Release products were provided as part of my Design Team package. Click on the icons below each product picture to shop with SimonSaysStamp.com.


Checking Krishak Bandhu Status online is very simple. Farmers can verify whether their payment has been credited or not by using voter ID or Aadhaar card details.
Earlier, leave approvals used to take time, but with the Manav Sampada UP system, everything is transparent and faster.
Your use of bold colors really make this project pop! Love it!
Love it! So bright and cheerful!