Simon Says Stamp - Vibrant Floral Cards Using Embossing Folders and Chalk Pastel Pencils
- Keisha Diann

- May 31, 2024
- 3 min read

Hello Lovelies! Several weeks ago, I saw a stunner of a card by @vsjoey on Instagram that inspired my to try his technique of using Chalk Pastel Pencils to color embossed designs. It's been a while since I've tried something new that I really had fun with and though this may not be for everyone, it will definitely be a favorite technique for me. thank you Joey!
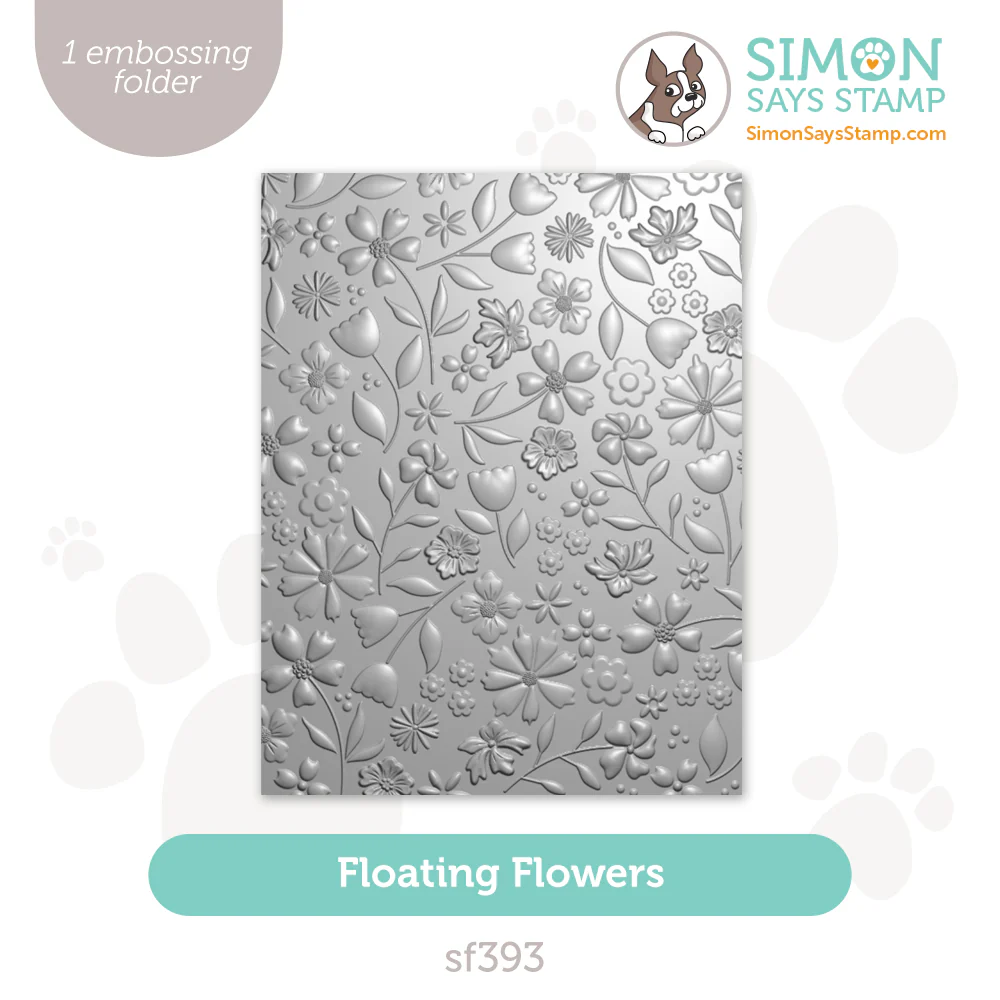
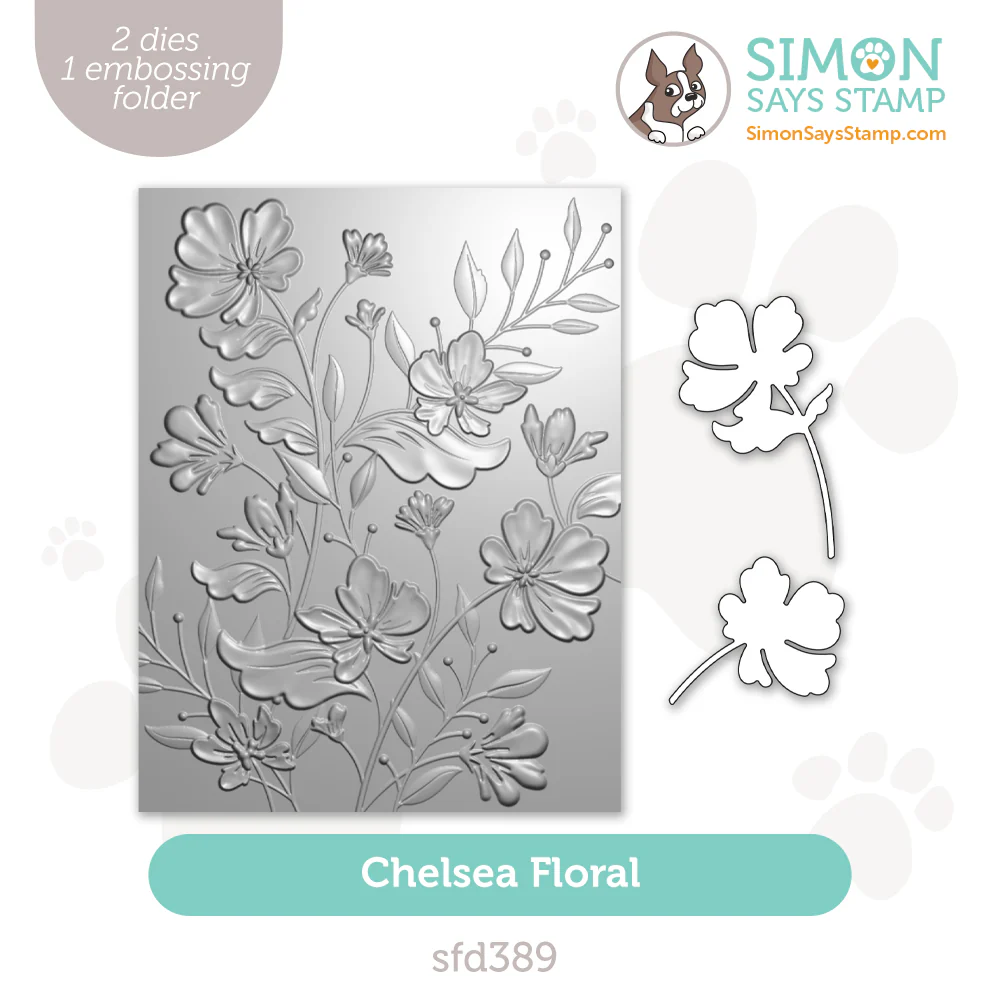
In today's card, we will use some recently released Simon Says Stamp Embossing Folders to create our floral patterns on colored cardstock and then color those designs with Chalk Pastel Pencils. To finish, we will add some of my favorite statement die-cuts in contrasting colors to stand out against our pretty florals.

Time for Key Supplies!
At the time of publishing this post Simon Says Stamp is running at 15% off Sitewide Sale expiring 6/2/24 at 11:59 PM ET!!! See details below:
Notes on Chalk Pastel Pencils
There are three additional key components for success with this technique - pencils, eraser, fixative.
CHALK PASTEL PENCILS: Chalk Pastels are ideal here as they lay down generous amounts of pigment without need for layering to achieve opacity on top of colored cardstock. I used Stabilo Carbothello Chalk Pastel Pencils, I am showing the color range and package below. You can consider Kalour Pro Pastel Chalk Colored Pencils, Faber-Castell Pitt Pastel Pencils or any other widely available brand.
KNEADED ERASER: Please note that the pigment is dusty, powdery and easy to smear, so you will want to be careful about moving the colors around and touching your embossed design as you color, the kneaded eraser I recommended above works magic on cleaning up any oopsies!
FIXATIVE: Finally, you will need a fixative and a mask to spray your colored design when complete. The fixative "binds" the pigment to the paper and leaves you with a finished piece that won't transfer or smear color. I used Krylon Workable Fixative.
STABILO CARBOTHELLO SET OF 60


NOTE: You may try to achieve this look with colored Pencils like Prismacolor Premiere Soft Core or Faber Castell Polychromos, but it may require more layering of color to achieve opacity against the colored cardstock .
Today's GIF!
Yes, I am sucker for flowers!
Like this card and my corny GIFs? CLICK BUTTON BELOW
to sign up for blog updates:
EMBOSSED FLORAL CARDS - Embossing, Pastel Chalk Coloring, Die-cutting
Card Base: 4 1/4" x 5 1/2"


Card Highlights
EMBOSSING
CARD | CARDSTOCK COLOR | EMBOSSING FOLDER |
Love You | Kraft (Lawn Fawn) | Floating Flowers |
Hugs | Sea Glass (SSS) | Chelsea Floral |
Feel Better Soon | Sunshine (SSS) | Beaufort Floral Frame |
Trim the selected cardstock colors to 4 1/4" x 5 1/2" emboss using the appropriate folder as shown in the example below.
COLORING
This will sound strange but the specific colors that I used don't matter, just try to choose similar tones from the set that you have or try an entirely different color palette.
Use the lighter color to outline the flower petals and create a visual guide about where you want to fill in with coor. Use the darker color for the center of the flower and some of the "ridges" of the petals.
Fill in the petal with the lighter color and repeat the process for all the other flowers.

For the leaves I used 3 greens - 2 yellow greens (1 dark and 1 light) and 1 green-blue. The yellow-greens are used on the "pointy" leaves and all the greens are used on the "curly" leaves.
NOTE: The chalk pigment is powdery and some may spread to areas that you do not intend to color, use the kneaded eraser to gently pick that up/rub it away.
APPLYING FIXATIVE
Once you are finished coloring each embossed panel, lightly spray with the Krylon Workable Fixative (or similar) in an open area with any nearby surfaces protected and while wearing a mask. I did this outside with the panels on paper towel and let dry for 15 minutes before handling again to finish the cards.
DIE-CUTTING
Die-cut each sentiment twice
Layer and adhere each sentiment with craft glue to create dimension
Adhere the sentiment with craft glue as shown.
LOVE YOU CARD


HUGS CARD


HUGS CARD


Thank you SO much for stopping by! Drop me a comment and say hi!
SUPPLIES:
I listed the products that I have used below. Please note that these are compensated affiliate links, used at no cost to you. I really appreciate your support. All stamps used today were part of my Celebrate maker package from Simon Says Stamp. Click on the icons below each product picture to shop with SimonSaysStamp.com.


Looking for effective digital marketing services to grow your business? A good agency combines SEO, content, and social media to boost your visibility. Don't just chase trends—focus on a strategy that connects with your audience. For those in Pakistan, I recommend The Deft Crew for their customized and results-driven approach. Always check their past work and client reviews before deciding!
These look very pretty.