

Simon Says Stamp - SEPTEMBER 2023 Card Kit, BEE HAPPY
- Keisha Diann

- Aug 14, 2023
- 4 min read

Hello Lovelies! Simon Says Stamp's Bee Happy Card Kit is celebrating the last weeks of summer with lots of sunflowers and the cutest bees.
I only had time to make two cards so far and didn't get a chance to check out all the pretty patterned paper and the die-cuts and the glossy black paper and the sanding disk and... LOL

Here's a closer look at ALL the kit goodies. Click image below to shop for the kit and the following link to see the full supply list.

Here's the full list of all the crafty goodies that the kit contains:
1 NEW and Exclusive Simon Says Stamp Bee Happy 6x8 inch clear stamp set
1 NEW and Exclusive Simon Says Stamp Criss Cross Floral embossing folder
1 NEW and Exclusive Simon Says Stamp Retro Flowers set of four 6x6 inch layering stencils
1 NEW and Exclusive Simon Says Stamp CZ Design Scripty Hello die set
6 unique double-sided 6x6 inch patterned paper sheets from the Paper Rose Bee Happy collection
2 sheets of Paper Rose Bee Happy 6x8 inch die-cut elements
1 Tim Holtz Ranger Distress Crayon (color will vary)
1 Tim Holtz Ranger Sanding Disk
1 sheet of Scrapbook Adhesives foam adhesive squares
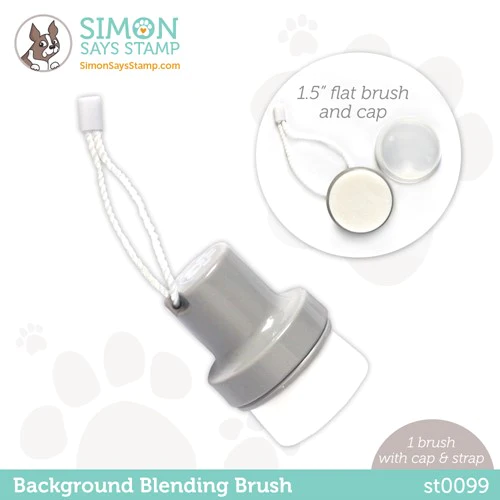
1 Exclusive Simon Says Stamp Background Blending Brush
1 sheet of 8.5 x11 inch Simon Says Stamp 100 lb Black Glossy cardstock
1 sheet of 8.5 x11 inch Neenah 110 lb Solar White cardstock
The items below are the ones that I used most from the kit so far; they are also available separately if you are interested in particular one!


The stencils and stamp set gave me the perfect opportunity to use my new ink cubes, so today's color palette pretty much comes from these compact and affordable sets. If you are traveling and can't leave your crafting behind, they tuck nicely into your luggage for crafting on the go.


Card Kit Jokes
This kit will make you as happy as these bees!
SENDING SUNSHINE CARD - Layered Stamping and Ink-blending
Stamped Layer: 4" x 5 1/4"
Patterned Layer: 4 1/4" x 5 1/2"
Featuring:
IN KIT:
Simon Says Stamp Bee Happy 6x8 inch clear stamp set
Paper Rose Bee Happy 6" x 6" Patterned Paper
Paper Rose Bee Happy 6" x 8" Die-cut Elements
Simon Says Stamp Background Blending Brush
Neenah Solar White 110 lb Cardstock
Scrapbook Adhesives Foam Adhesive
ADDITIONAL:
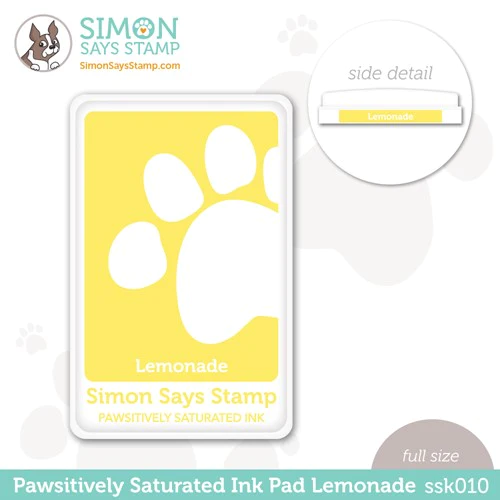
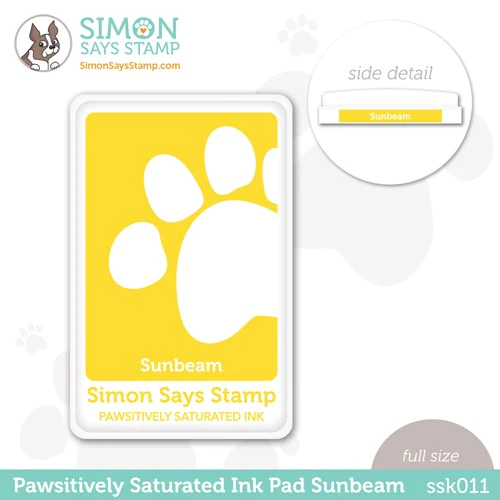
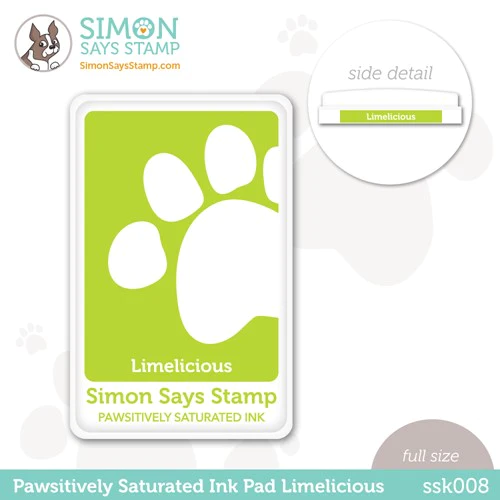
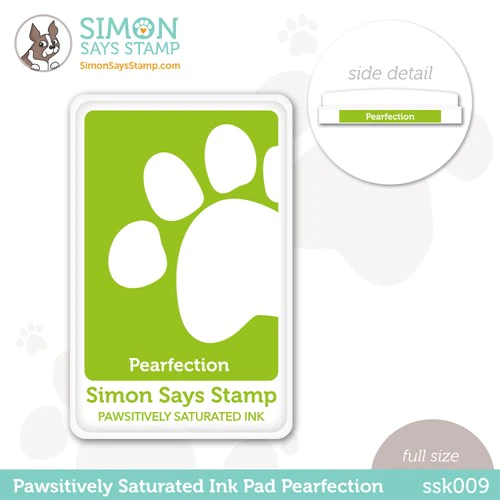
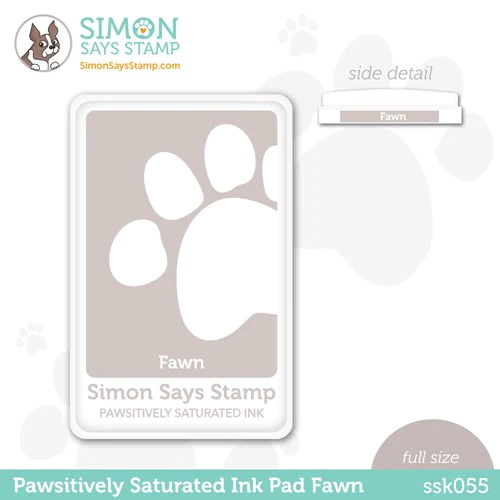
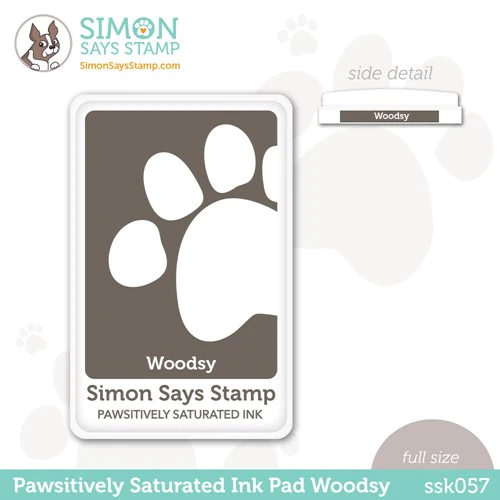
Pawsitively Saturated Inks - Lemonade, Sunbeam, Pearfection, Limelicious, Fawn and Woodsy

CARD PALETTE:
Pawsitively Ink Colors: Lemonade, Sunbeam, Pearfection, Limelicious, Fawn and Woodsy
CARD WALKTHROUGH:
Trim the white cardstock to two pieces sized at 4 1/4" x 5 1/2"
Ink the stamp to "color" the image as follows
Lemonade - flower petal
Sunbeam - inside of flower petal
Limelicious - leaves and stems
Pearfection - shadows on leaves
Fawn - flower center
Woodsy - shadows in flower center
Stamp the "Sending Sunshine" sentiment in Intense Black ink
Sunflower Petals and Leaves


Sunflower Center and Sentiment


Ink Blending
Use the background blending tool to gently ink-blend Lemonade, then Sunbeam and Citrine ink onto the stamped panel in an ombre as shown
Adhere the stamped layer to the selected black patterned paper with foam tape
Adhere the patterned paper to a card base with a wet glue like Bearly Craft Glue


The varying ink colors make the flowers look somehow a bit more interesting and dimensional.

Don't forget to add the bee!

Can you tell that I love yellow???


HELLO CARD - Dry Embossing, Die-cutting and Stenciling
Embossed Layer: 4 1/4" x 5 1/2"
Stenciled Layer: 3 3/4" x 5"
Featuring:
IN KIT:
Simon Says Stamp Retro Flowers 6x6 Stencil Set
Simon Says Steam Criss Cross Floral Embossing Folder
CZ Design Scripty Hello Dies
Tim Holtz Ranger Distress Crayon
Neenah Solar White 110 lb Cardstock
Scrapbook Adhesives Foam Adhesive
ADDITIONAL:
Pawsitively Saturated Inks - Carnation, Orchid, Sunbeam, Citrine, Sprout, Fairway, Field, Fawn and Woodsy

CARD PALETTE:

CARD WALKTHROUGH:
Secure the 1st layer of the stencil over a piece of 4" x 5 1/4" white cardstock as shown
Ink-blend the following colors to through the appropriate openings in the stencil using a small blending brush as follows
Carnation - large flower petals
Orchid - towards the center of the large flower petals
Sprout - leaves and stems
Fairway - shadows on leaves
Field - stems
Sunbeam and Citrine - small flowers
Fawn - large and small flower centers
Woodsy - shadow/darker areas on large flower centers
Flower Petal and Stems


Small Flowers and Flower Centers


Card Background and Sentiment
Using the Sunbeam Ink Pad, directly in a 4 1/4" x 5" piece of white cardstock as shown
Use the Distress Crayon to lightly scribble over that ink and blend with your finger
Ink a piece of white cardstock with carnation ink and die-cut using the "Scripty Hello" die sentiment
Die-cut the outline of the sentiment out of white cardstock
Adhere the sentiment layers together
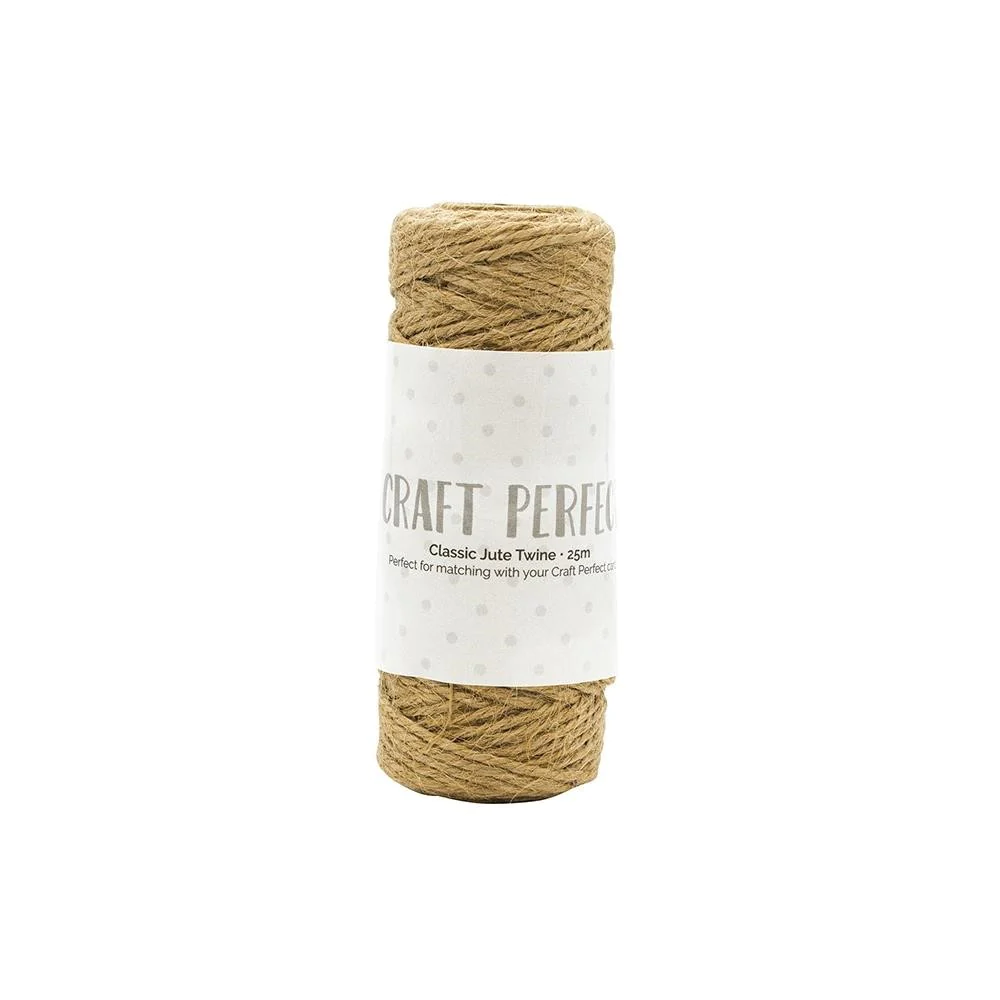
Knot a piece of twine around the stenciled layer
Use foam adhesive to pop-up the stenciled layer on top of the embossed panel
Adhere the embossed panel to a card base with Bearly Craft Glue


I love the simple bold shapes of these florals!

The little peek of the embossed panel offsets the brightly stenciled colors.

Our sweetly pink sentiment and a little bit of twine finish this simple card.

All done!

Last look!

Happy card-making wishes Lovelies! Full supply list below for your shopping convenience.
See you soon!
SUPPLIES:
I listed the products that I have used below. Please note that these are compensated affiliate links used at no cost to you. I really appreciate your support. Simon Says Stamps Card Kit products were provided as part of my Design Team package.
Click image below to shop for the Kit ONLY!
Click on the icons below each product picture to shop additional supplies with SimonSaysStamp.com.


Comments