

Make it Luxe with Monochromatic Layering and Texture in this FLOURISH BIRD Birthday Card
- Keisha Diann

- Dec 31, 2025
- 2 min read

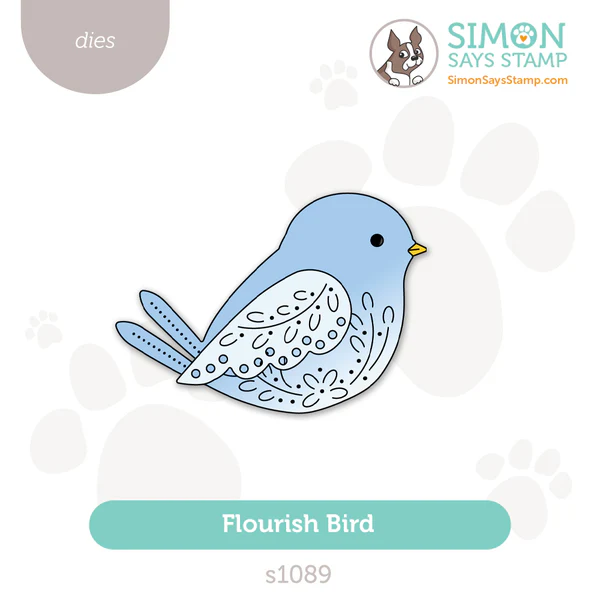
Hello Lovelies! It's my Birthday today and I might have made myself a card! All year my sister-in-law has been trying to get me to embrace bird-watching. She's been unsuccessful in getting me to adobt a new hobby but I'm loving the sweet Flourish Bird from Simon Says Stamp's DieCember release and making it the focal point of my birthday project.
As much as I adore lots of color, monochromatic makes have a special place in my heart. They make elegant easy and you can get away with layering lots of texure through embossing and die-cutting without the card being noisy. We'll get a lot of texture with the following layers in today's card:
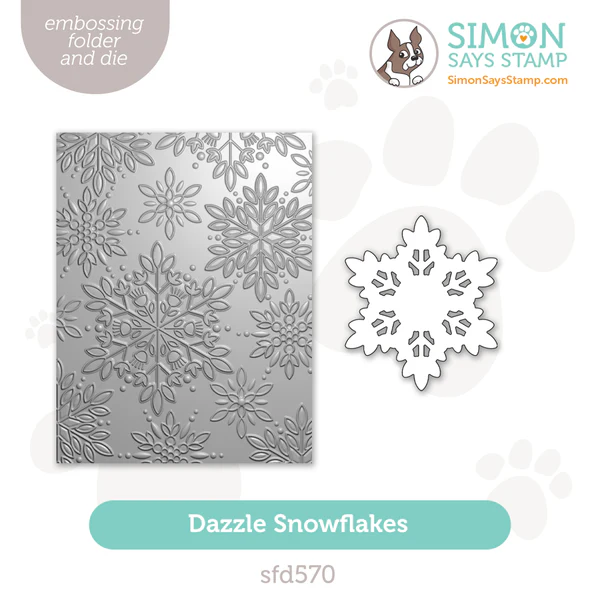
Intricate Embossed Background - Dazzle Snowflakes Embossing Folder and white pigment ink to get us started
Bold Embossed Die-cuts - Layer on the texture with die-cut and embossed snowflakes from the Dazzle Snowflake Embossing Folder
Delicate Patterned Die-cuts - the Flourish Bird die-cuts steal the show
Simple Geometric Die-cuts - Create a custom frame with the Basic Shapes Squares

Lots of pretty layers for an elegant card!
Key Supplies for the Flourish Bird Birthday Card
Click HERE for the full list!
Today's GIF!
I'm party-ready!!!
Like this card and my CORNY GIFs? CLICK BUTTON BELOW
to sign up for blog updates:
FLOURISH BIRD BIRTHDAY CARD - Die-cutting, Embossing and Inking
Card Size: ~4 1/2" x 5 1/2"

COLOR PALETTE
Neenah Solar White 110lb Cardstock
Simon Says Stamp Cornflower Cardstock
Simon Says Stamp White Pigment Ink Pad Ink Pad

CARD HIGHLIGHTS
Intricate Embossed Background - Highlight the intricate embossed Dazzle Snowflakes Embossing Folder pattern with swipes of white pigment ink.
Bold Embossed Die-cuts - Use the same Dazzle Snowflake Embossing Folder to create white die-cuts to layer on top of the background
Delicate Patterned Die-cuts - assemble the Flourish Bird out of white card stock die-cuts, inking some with Pawsitively Saturated Morning Ink in a soft ombre, making it the focal point.
Simple Geometric Die-cuts - Use two sizes of the Basic Shapes Squares to create your custom frame for the focal point Flourish Bird.
UP CLOSE AND CRAFTY


LAST LOOK

Thanks for stopping by today! Drop me a comment and say hi!
SUPPLIES:
I listed the products that I have used below. Please note that these are compensated affiliate links, used at no cost to you. I really appreciate your support. All stamps used today were part of my DieCember maker package from Simon Says Stamp. Click on the icons below each product picture to shop with SimonSaysStamp.com.


Привет! Очень интересная идея с образом в стиле luxe, где монохромные слои и текстуры создают глубину и элегантность. Иногда такие стильные комбинации напоминают атмосферу онлайн казино, где всё построено на ощущении риска и эстетики одновременно. Особенно впечатляет, как детали и фактуры делают образ более дорогим и продуманным. В целом тренд выглядит очень современно и вдохновляюще.
Чесно кажучи, раніше я постійно парився через технічні деталі: де софт швидший, у кого відсоток віддачі вищий або де кнопки зручніші. Але з часом зрозумів, що гемблінг — це взагалі не про математику чи задротство, а про те, щоб видихнути після робочого дня. Мені зараз набагато важливіше просто розслабитися і насолоджуватися процесом, не забиваючи голову зайвим.
Довго шукав місце, де можна просто поспілкуватися з нормальними людьми, які «в темі», і не натрапити на черговий розвод. Якось випадково зайшов на Cardmates і затримався саме через атмосферу в блогах. Там якось все по-людськи, без пафосу. До речі, у них на сайті є актуальні https://cardmates.ua/casinos ліцензійні казино україн які ми з хлопцями в чаті часто обговорюємо, коли хочеться просто покрутити слоти без нервів за…