Simon Says Stamp - Modern Medallion Color Blocked Cards
- Keisha Diann

- Jul 6, 2024
- 3 min read

Hello Lovelies! I adore vibrant color and also using my ink cubes. They are affordable, compact and versatile and work perfectly for today's color-blocking technique.
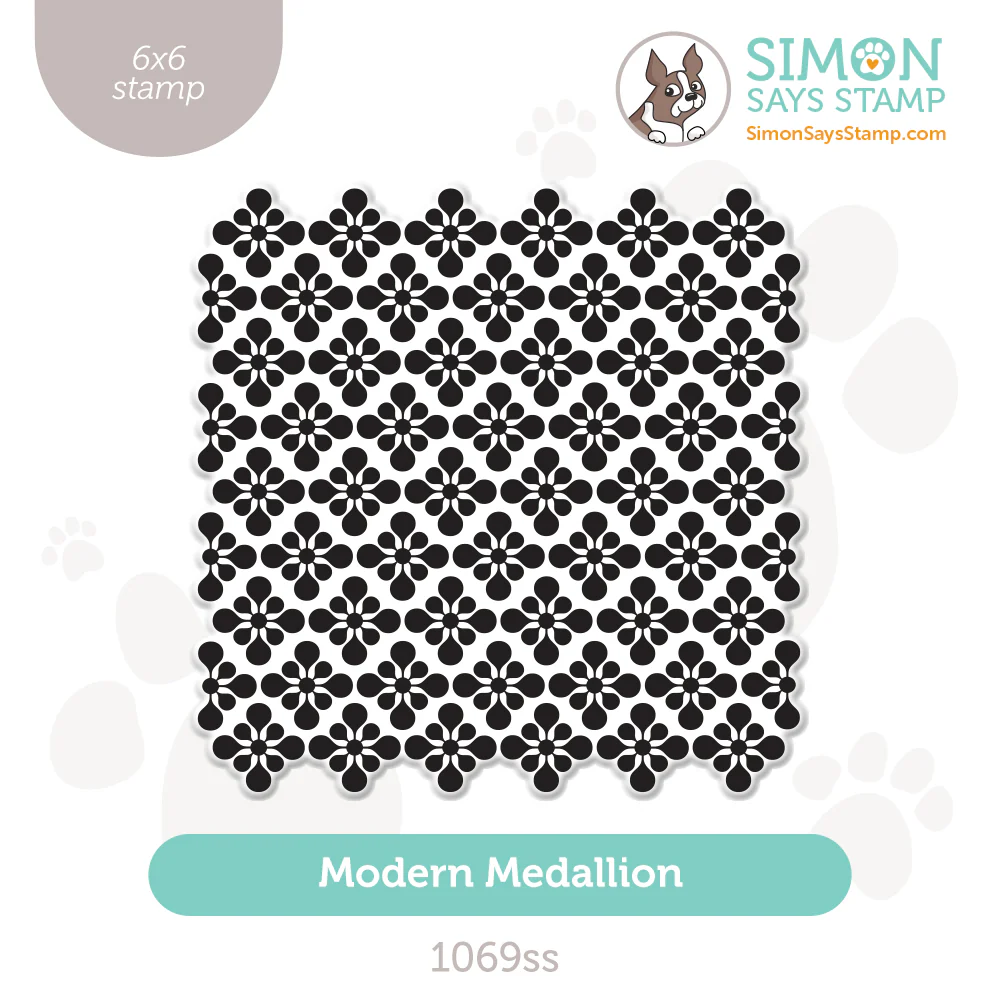
Something about the Modern Medallion stamp from the Sunny Vibes release just makes me happy! When a stamp is not comprised of fine lines and has a lot of even surface area to hold ink, it makes it easy to get bold, crisp patterns and in this case, allows me to play with color combos and do a little color-blocking. Today, I'm also getting a whole lot of help with color choices using Sarah Renee Clark's Color Cubes!

Time for Key Supplies!
Get Your Supplies!
Click on the image below to SHOP THE ENTIRE release OR
SHOP the Supplies section at the bottom of this post
Today's GIF!
How could you NOT love these color schemes? :-)
Like this card and my corny GIFs? CLICK BUTTON BELOW
to sign up for blog updates:
MODERN MEDALLION CARD TRIO - Stamping, Ink-Blending, Die-cutting
Card Base: 4 1/4" x 5 1/2"
COLOR PALETTE
I stated by picking a few combos from one of the cubes that appealed to me. I then used my handmade swatches to select a few similar Pawsitively Saturated Ink colors inspired by the combos until I had 6 colors for each card:
If you have these inks, then you can follow along color for color, if you have other ink lines, try selecting similar colors to create your own combo.
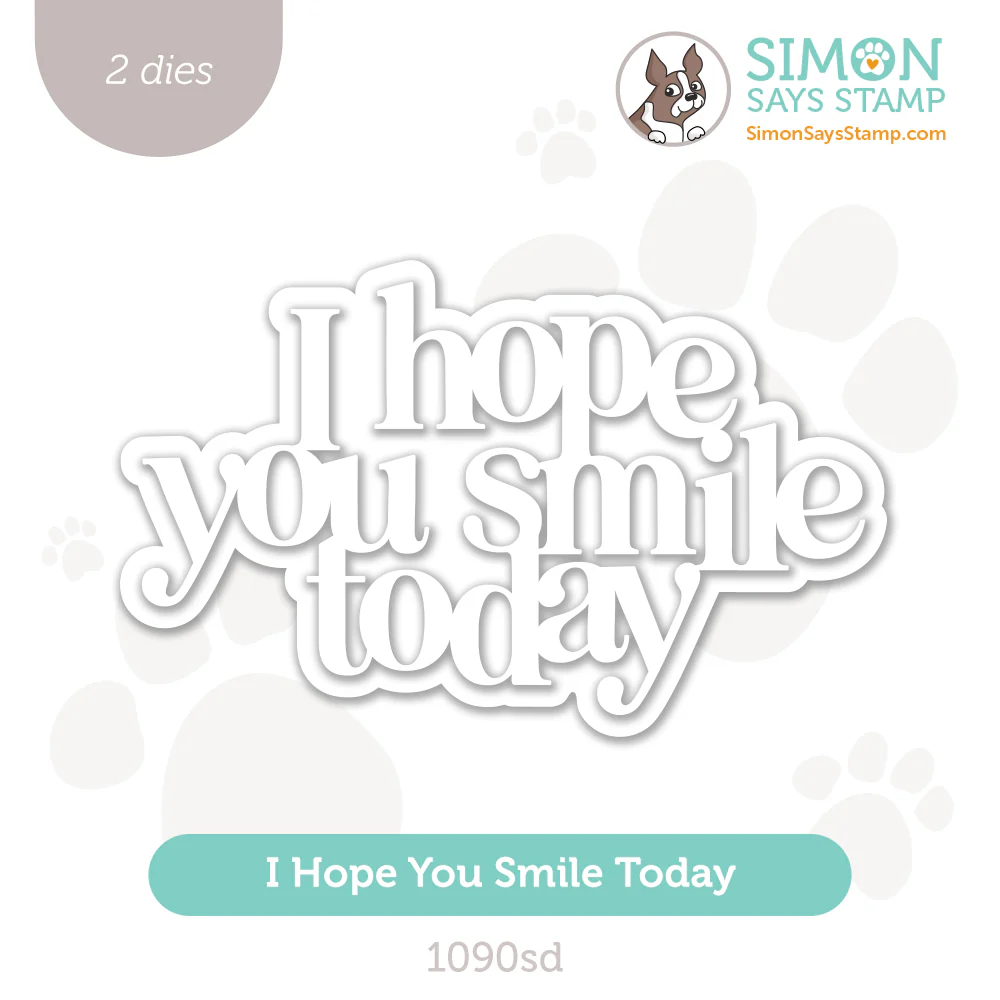
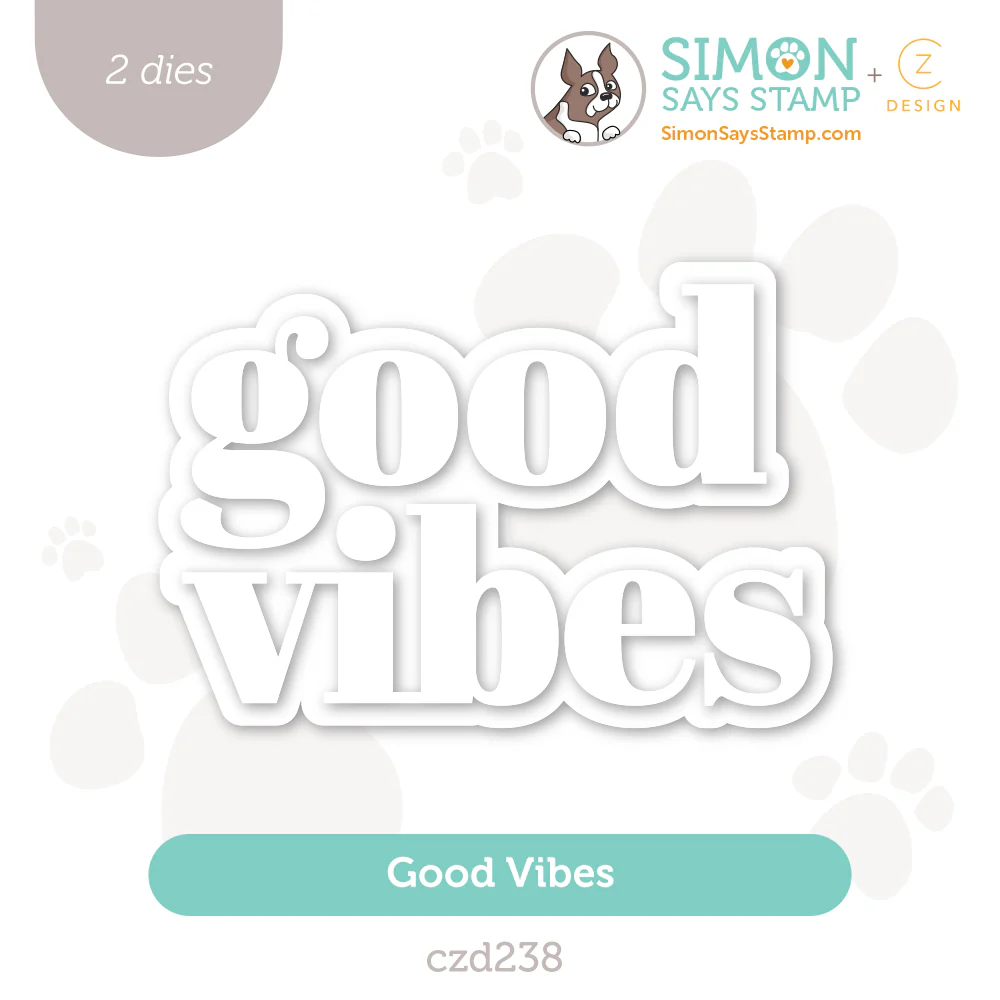
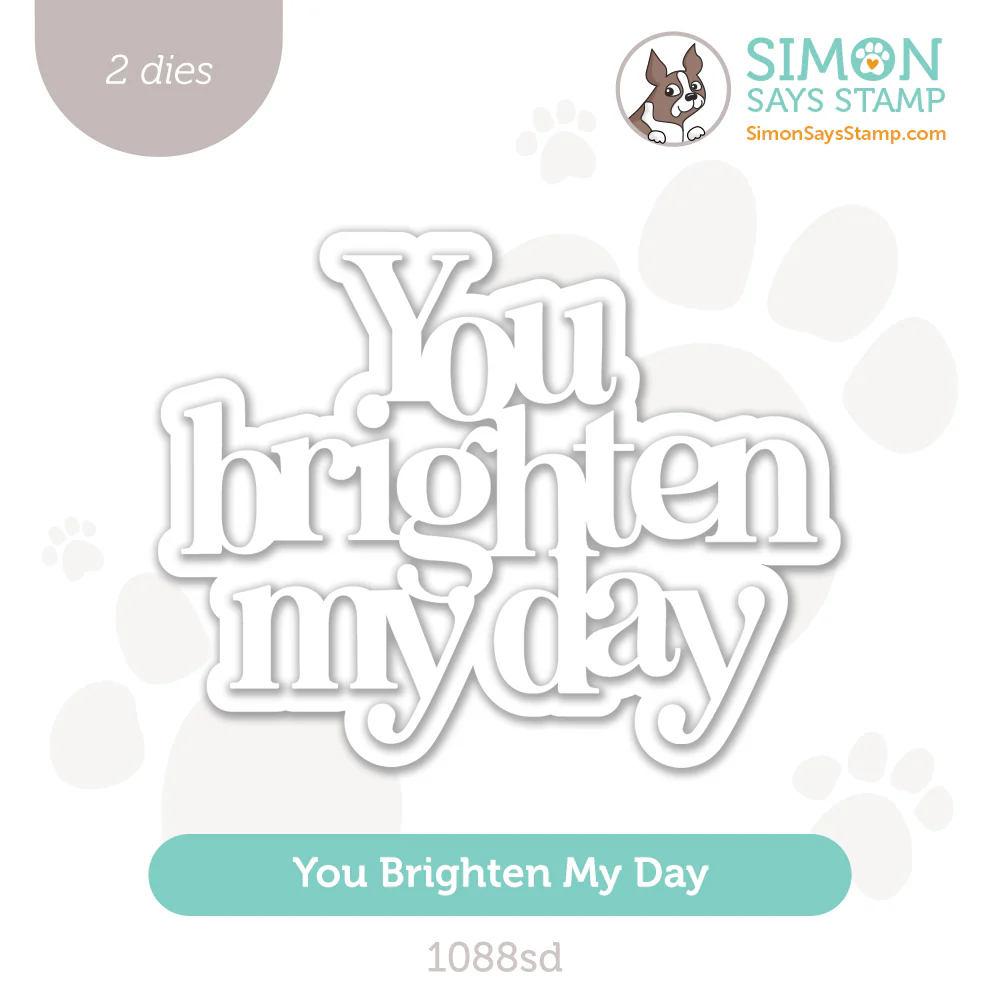
I HOPE YOU SMILE TODAY | YOU BRIGHTEN MY DAY | GOOD VIBES |
Amethyst | Citrine | Cherry |
Lilac | Fairway | Watermelon |
Carnation | Pine | Blush |
Melon | Marine | Latte |
Sherbet | Royal | Cappuccino |
Rose | Galaxy | Earl |
CARD WALKTHROUGH
STAMPING
Stick a 4" x 5 1/4" piece of white cardstock to a Stamp and Stencil Mat inside a MISTI.
Align and stick the Modern Medallion Stamp to the "lid" of the MISTI.
Using one of the selected Pawsitively Saturated Ink Cube ink about 1 and 1/2 rows horizontally of the Medallion pattern and stamp onto the cardstock. Repeat if needed to get even coverage of the selected color.
Clean the stamp of that color using a damp Pawsitively Perfect Microfiber Cleaning Cloth.
select your next color and repeat step 3
Repeat steps 3 and 4 for the 4 remaining colors until the whole piece of cardstock is covered.
INKING & DIECUTTING
Trim 3 pieces of cardstock to 2 3/4" x 4 1/4".
Using a Large Blending Brush, blend one of the following inks onto the cardstock:
Lilac
Fairway
Cappucino
Gather some additional white cardstock scraps of a similar size and die-cut the following layers using each sentiment:
sentiment - inked cardstock
sentiment - white cardstock
outline - white cardstock
Layer and adhere with craft glue.

FINISHING
Create cardbases in red, green and lilac.
Adhere layered sentiments to the Modern Medallion panel with craft glue.
Adhere Foam Tape to the Modern Medallion panel.
Stick panels to the corresponding card bases.
Embellish panels with your favorite jewels.


This might be my favorite color combo of the three!

The jewels add a little luxe to this simple card!

That sentiment looks good enough to eat!

Now off you go to experiment with your inks!


Thank you SO much for stopping by! Drop me a comment and say hi!
SUPPLIES:
I listed the products that I have used below. Please note that these are compensated affiliate links, used at no cost to you. I really appreciate your support. All stamps used today were part of my Sunny Vibes maker package from Simon Says Stamp. Click on the icons below each product picture to shop with SimonSaysStamp.com.


I need to buy the colour cube. I would never have thought to put brown with red and yet it works! I love how cheerful the cards are.
These are so cool!