

Simon Says Stamp - Be Bold Release Blog Hop, Day 1
- Keisha Diann

- Mar 22, 2024
- 3 min read
Updated: Mar 26, 2024

Hi Lovelies!
Welcome to Day 1 of Simon Says Stamp's Be Bold Release Blog Hop! We'll be using the new Alessa Background Stamp to make a pair of cards today with the same easy technique and layout.
This background technique will work will with any large stamp that has a lot of solid surface area where the color can sit as opposed to delicate line art designs which are made to stamp the outline of an image.


The impression that we will get will be a purposely loose watercolor effect as we will mist the stamp to allow the colors to blend together.
Okay, let's get started then by reviewing the key supplies for today's cards. I mixed and matched several things from the release, but I love that they are classic/versatile pieces that I want to use in many other projects!


Supplies are linked in the Supplies Section at the end of this post. Check out the entire Be Bold release by clicking the image below:

Today's GIF!
Just spreading a little Joy during the first week of Spring!
Like this card and my corny GIFs? CLICK BUTTON BELOW
to sign up for blog updates:
ALESSA CARD DUO
Card Base: 4 1/4" x 5 1/2"
Stenciled Layer: 4" x 5 1/2"


COLOR PALETTE
Distress Ink Pads - Wild Honey, Saltwater Taffy, Picked Raspberry, Cracked Pistachio, Mowed Lawn, Twisted Citron


CARD WALKTHROUGH
BACKGROUND
Secure a 4" x 5 1/4" piece of Distress Watercolor Cardstock using the rectangle to align the cardstock on the Stamp and Stencil Mat inside your MISTI
Position the Alessa background over the cardstock using the square on the Mat
Once the stamp is attached to the MISTI lid, ink with the warm Distress Ink colors, starting with the lightest and then adding the darker colors to limit cross contamination
Once generously inked, mist 2-3 times with water and immediately stamp onto the cardstock pressing evenly to get full coverage but not too hard to smoosh the stamp image
Set the stamped image aside to dry
Repeat these steps for the warm trio of Distress Ink colors


DIE-CUTTING
Use the guide below to prepare your die-cuts. *Ink/ink-blend 2 pieces of 2" x3' white cardstock, one with Cracked Pistachio and the other with Saltwater Taffy
Die | Cardstock | Number Needed |
Fancy Mother - Word | Neenah 110lb Solar White | 1 |
Fancy Mother - Outline | Neenah 110lb Solar White | 2 |
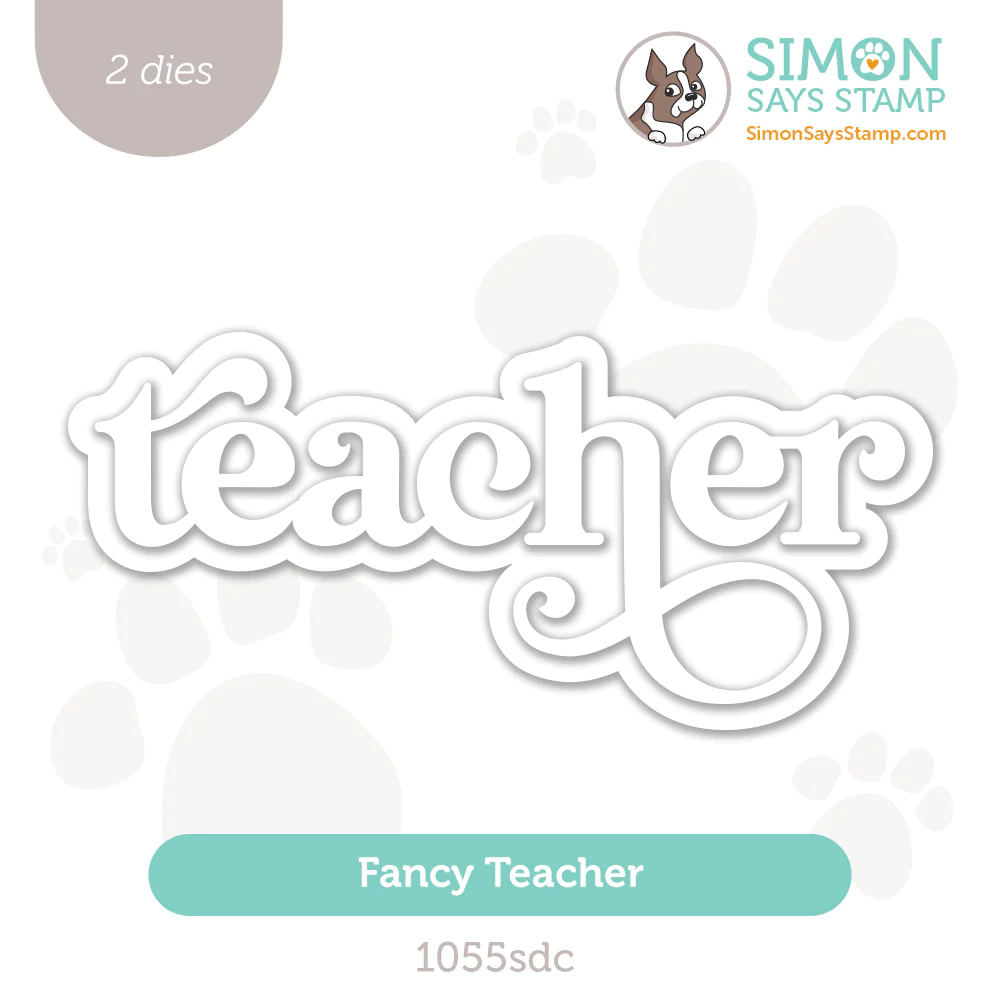
Fancy Teacher - Word | Neenah 110lb Solar White | 1 |
Fancy Mother - Word | Saltwater Taffy* | 1 |
Fancy Teacher - Outline | Neenah 110lb Solar White | 2 |
Fancy Teacher - Outline | Cracked Pistachio* | 1 |
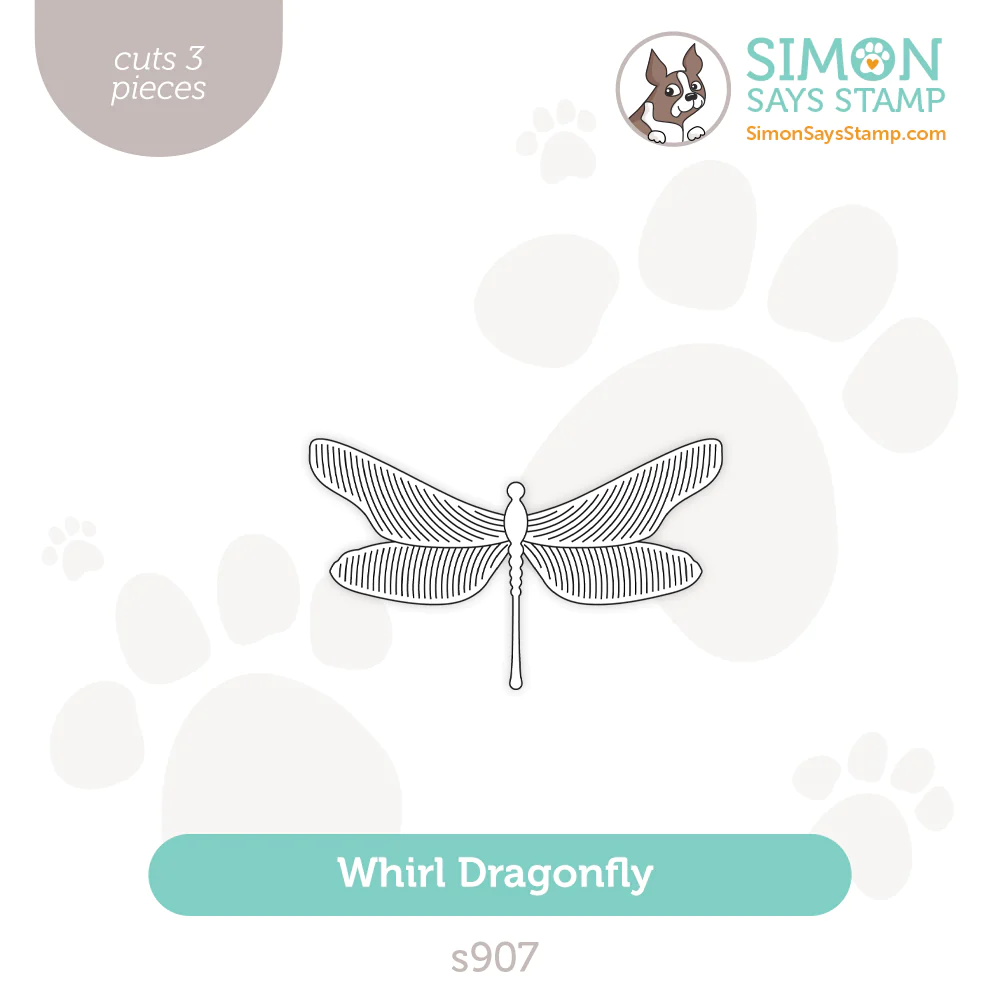
Whirl Dragonfly - Wings | Neenah 110lb Solar White | 1 |
Whirl Dragonfly - Body | SSS Matte Gold | 1 |
Whirl Blossom - Flower | Neenah 110lb Solar White | 2 |
Whirl Blossom - Outline | SSS Matte Gold | 3 |
Use craft glue to assemble the die-cuts as shown on the cards
STAMPING
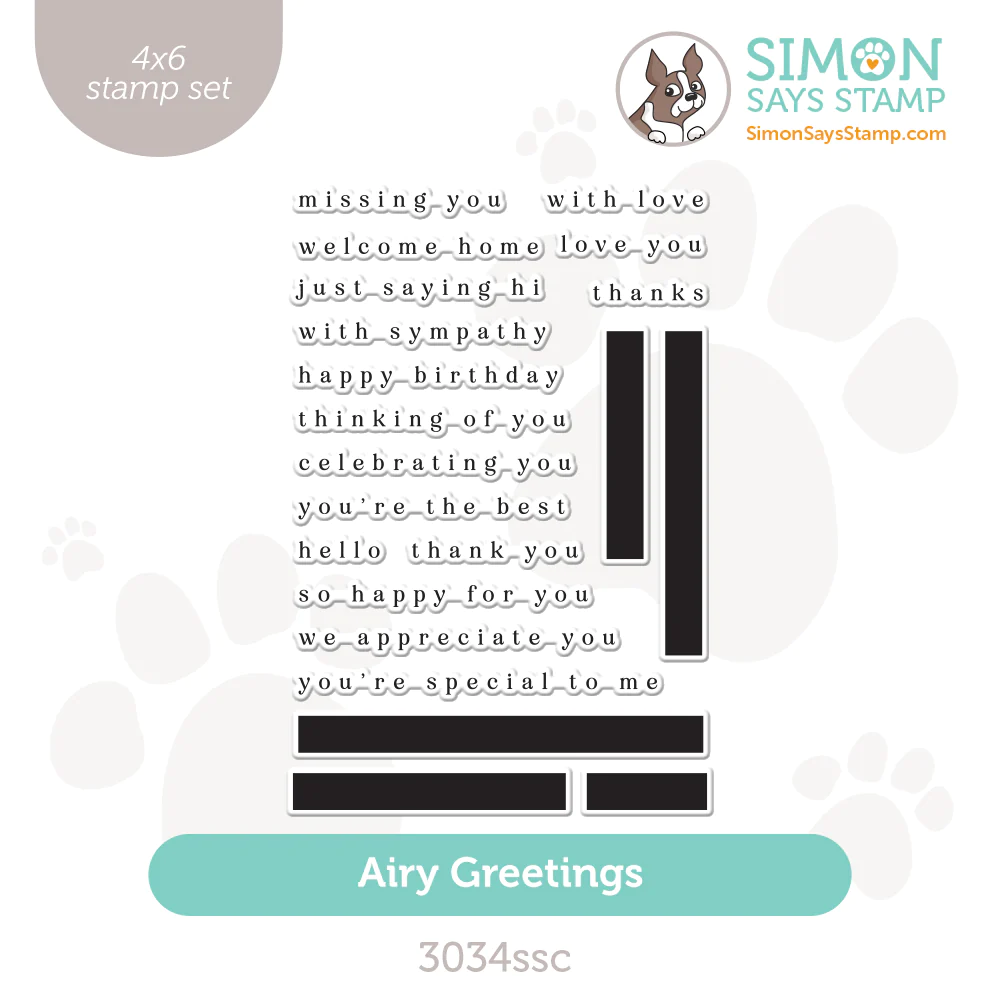
Select the chosen sentiments from the Mamacita stamp set and match their length to the corresponding "rectangle background" stamps from the Airy Greetings set.
Once you have selected the correct rectangles, ink them with Pawsitively Saturated Flannel Ink and stamp onto white cardstock.
Position the corresponding sentiments over the stamped rectangle backgrounds and stamp them in Intense Black ink.
Die-cut the rectangle sentiments using the matching Airy Greetings dies
Pop up with foam tape
ASSEMBLY
Pop up the stamped Alessa backgrounds with foam tape
Arrange and adhere the die-cuts to the background as pictured with craft glue
Use more craft glue to attach the pink and green gems
My Distress Inks never let me down when it comes to water-based techniques!


I love layered greetings - both the stamped one and the die-cut one. You can have such fun with color combos


Gently curling the wings of the dragonfly and pull up the gold petals creates a lively effect on the card!


These cards have a few steps to put them together but the techniques are simple and the end result should definitely make your recipient smile!


I want to make sure that you get the most of today's blog hop, so please take note Lovelies:
Be sure to explore the Be Bold release galleries that are packed with inspiration from this release!!!
Don't mis out on your discount by following the steps below:

Comment to on this post to be eligible to win a $25 coupon from Simon Says Stamp. Winners will be chosen and posted on the Simon Says Stamp blog on Wednesday, the 27th of March. Winner should email Simon Says Stamp to claim their prize
Check out the full supply list below for your shopping convenience
Thanks again for stopping by and I hope to see you again soon Lovelies! Now, do go and check out what the marvelous Miriam Prantner has in store for you!
HOP ORDER:
SUPPLIES:
I listed the products that I have used below. Please note that these are compensated affiliate links used at no cost to you. I really appreciate your support. Simon Says Stamp's Be Bold Release products were provided as part of my Design Team package. Click on the icons below each product picture to shop with SimonSaysStamp.com.


I like how you created these wonderful colorful backgrounds.
I am captivated by the gorgeous colors.
Beautiful cards!! Thank you for sharing your creativity!
Love the beautiful backgrounds on both of these gorgeous cards!
So pretty! I love the watercolour effect of the stamping!