

Simon Say Stamp - Gnome Lucky Card
- Keisha Diann

- Mar 7, 2022
- 3 min read

Hello Lovelies! We have over a week before St. Paddies Day, but I'm already seeing green with my Gnome Lucky Card from Simon Says Stamp's Good Luck Charm Release!
As you may be able to tell if you've seen my craft space, I kinda have a thing for green, so I truly indulged myself here with green cardstock, ink and markers for this festive card. The pop of yellow, gives contrast and your eyes an opportunity to rest from all of that green.

I think that I may be the only PaperCrafter that does not enjoy coloring with markers as much as I should, but I'm so glad that I made the effort here on my little gnome. In addition to markers, let's review the key supplies for this card.
Card Essentials:


Click here to view the full supply list or check out the one linked in the gallery at the bottom of this post when you have finished exploring this card.
Let's go green all the things!
I'M FEELING LUCKY CARD - Stenciling, Copic Coloring, Die-cutting and Paper-piecing
Card Base: 4 1/4" x 5 1/2"
Featuring:
Simon Says Stamp Gnome Lucky Stamp Set
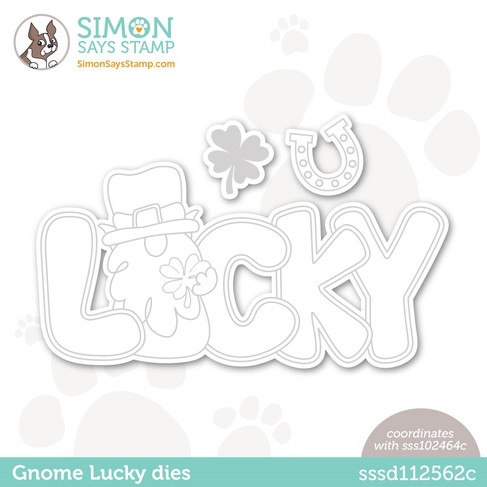
Simon Says Stamp Gnome Lucky Die Set
Simon Says Stamp Layered Confetti Stencils
Simon Says Stamp Nested Domed Arches Die Set
Simon Says Stamp Strips 1 Die Set
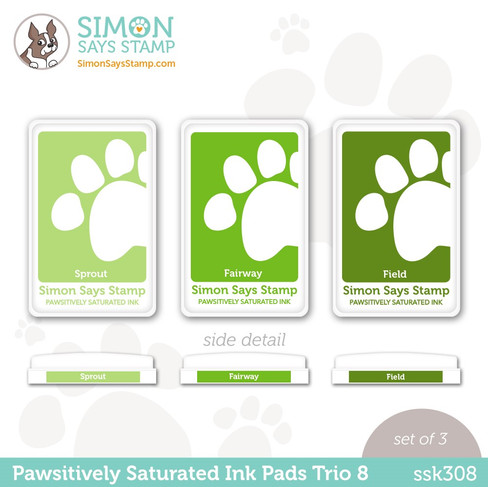
Simon Says Stamp Pawsitively Saturated Ink Pads Trio 8 and Trio 3 OR individually - Sprout, Fairway, Field, Lemonade, Sunbeam
Simon Says Stamp Intense Black Ink Pad
Simon Says Stamp Blending Brushes Small - Lucky, Citrine
Simon Says Stamp Reverse Sentiment Strips - Lucky
Wendy Vecchi Make Art Stay-tion

PREPARE THE STENCIL BACKGROUND & INK-BLENDED DIECUT

Secure largest-size Layered Confetti stencil over white cardstock.

Apply Sprout ink with Lucky Blending Brush through openings in stencil.

Apply Fairway ink with Lucky Blending Brush through openings in stencil.

Apply Field ink with Lucky Blending Brush through openings in stencil.

Completed stenciled background should look like this.

Stamp the Lucky Gnome image in Intense Black over the stenciled background as shown.

Die-cut the image using the corresponding Lucky Gnome outline die.

Die-cut a dome out of white cardstock.

Ink with Lemonade as shown using the Citrine Blending Brush.

Ink with Citrine around the top and 3/4 way down the die-cut as shown using the Citrine Blending Brush.
PREPARE DIE-CUTS

Stamp the Lucky Gnome image again, as well as the horseshoe in Intense Black onto plain white cardstock.
Stamp two clovers, one in Sprout and one in Fairway.

Color gnome with Copics as follows:
Hat Band - C5, C6
Skin - E31, E35
Beard - YR12, YR27
Hat Buckle/Horseshoe - Y08
Hat/Clothing - G07, G14

Completed gnome should look like this minus where I colored outside the lines. :-)

Die-cut Gnome, Horseshoe and Clovers. I am using 3M Artist Tape to secure my dies without damaging my coloring. I also like Thermoweb Pixie Tape, it's very gentle.

With die-cut pieces prepared, use a sharp scissors to sharp scissored to separate the Copic-colored gnome from the "L" and the "C".


Adhere the Copic-colored gnome over the stenciled confetti gnome.


Cut 3 strips of green cardstock using the Strips 1 die.
EMBELLISH & LAYER
Strips are adhered first, followed by the trimmed domed arch and then die-cuts. The stamped/stenciled gnome lucky diecut and lighter clover are popped up on foam tape.

Select, trim and adhere the "I'm Feeling" phrase from the Lucky Reverse Sentiment Strips Set.

Stamp, trim and pop-up the "Let the Shenanigans..." sentiment from the Gnome Lucky Stamp Set.

Last look!

Lovelies, many holidays have theme colors and when you are stuck for color inspiration, choosing a monochromatic scheme from that theme can kick start you card.
Thank you for visiting and see you soon!
SUPPLIES:
I listed the products that I have used below. Please note that these are compensated affiliate links used at no cost to you. I really appreciate your support. All stamps used today were part of my maker package from Simon Says Stamp. Click on the icons below each product picture to shop with SimonSaysStamp.com.


It's a gorgeous card Keisha and so adorable. I love the green dots on the word and I'm not only a green fan (although red stays my favorite colour LOL) but also don't like to use markers perhaps because I don't own Copics but a cheaper version but most likely because I love to colour with my inks or pencils or a combination of both. Thank you so much for sharing, stay safe and have a wonderful day.
Very fun card!