

Simon Say Stamp - Fresh Fruit Card
- Keisha Diann

- Jun 27, 2022
- 3 min read
Updated: Jun 28, 2022

Hello Lovelies! Brace yourself for lots of photos and ink blending fun with this little ray of sunshine!
To be honest, when I started this card, I wasn't sure that I was going to be able to pull it off. I imagined that I could use the new Simon Says Stamp Detail Blending Brushes to add delicate painterly effects to the Fresh Fruit background stamp; I was not quite sure how I would do it, but I think I've actually pulled it off friends! You'll have to let me know what you think.

Let's take a look at the key supplies for our fruity project:
Essential Card Supplies:


Click here to view the full supply list or check it out the one linked in the gallery at the bottom of this post when you have finished exploring this card.
Today's GIF!
How I feel about today's fruit-filled card...🍊
SENDING SUNSHINE - Stamping, Embossing , Die-cutting and Ink-Blending/Painting
Card Base: 4 1/4" x 5 1/2"
Featuring:
Simon Says Stamp Fresh Fruit Stamp
Simon Says Stamp Beachy Keen Stamp and Die Set
Simon Says Stamp Marilyn Full Card Wafer Die
Simon Says Stamp Nested Domed Arches Die Set
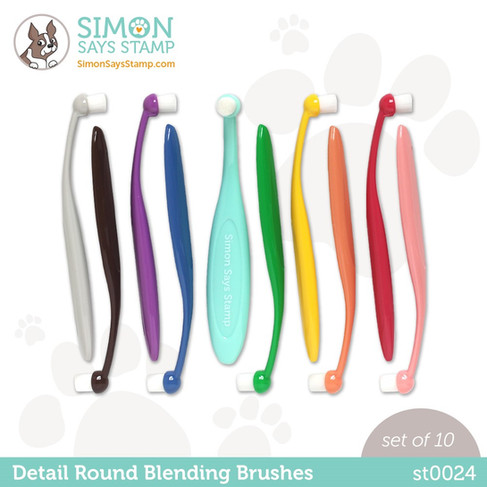
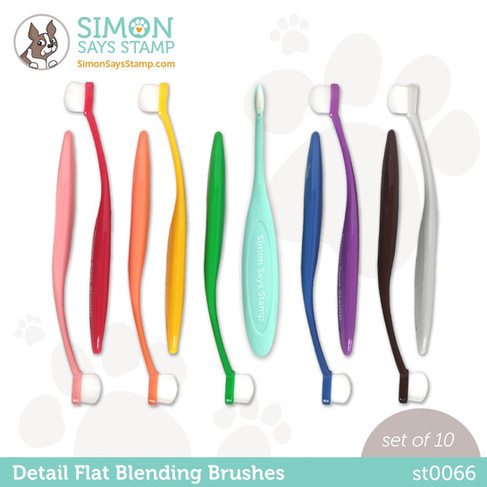
Simon Says Stamp Detail Blending Brushes - Round, Flat
Simon Says Stamp Pawsitively Saturated Inks - Limelicious, Lemonade, Sunbeam, Citrine, Peachy, Pucker, Cherry and Sherbet

CARD WALKTHROUGH
STAMPING AND EMBOSSING

Adhere a 5 1/2" square (from the back) of Distress Watercolor Cardstock to a Stamping Tool using yellow Frog Tape.
Position the Fresh Fruit stamp directly over it.
Dust the paper with an embossing powder tool.

Ink the stamp with Limelicious Ink and stamp repeatedly until you are happy with the coverage.

Clean any residual Limelicious Ink off of the stamp, while keeping the stamp in place on the lid of the Stamping Tool.
Ink the stamp with Clear Ink and stamp again to cover the green ink on the image with clear.

Cover the clear-inked stamped layer with clear embossing powder.

Pick up with tweezers to melt the embossing powder with a heat tool.
Tip: The clear embossing powder protects the green-inked background from the other inks that will be used to color the image.
INK-BLENDING/PAINTING

Secure the image to your preferred working surface. I am using the Wendy Vecchi Make Art Staytion

Select the yellow and orange Round Detail Blending Brushes and set aside the inks used in this project.

Gently press the yellow round brush into the Sunbeam Ink and color all the lemons in a careful circular motion.

Some lemons are whole and others cut, be sure to get all of them. :-)
Shade parts of the lemons with the Citrine Ink.

Add streaks of Lemonade Ink to the peaches using the yellow Flat Detail Brush.

Use the orange Round Detail Brush to add Peachy Ink to the WHOLE peaches. :-)

Add streaks of Pucker Ink to the peaches using the orange Flat Detail Brush.

A close up so you can see this better!

Use the orange Round Detail Brush to add Carved Pumpkin Distress Ink to the oranges.

Up close.

Use the yellow Round Detail Brush to add Citrine Ink to the CUT peaches. :-)

It should look like the below at this stage:

Use the orange Flat Detail Brush to add streaks of Pucker Ink to center of the CUT peaches.

Close up.

Use the pink Flat Detail Brush to deepen the streaks at the center of the CUT peaches.

To give this a more painterly look, spritz with water using a Distress Sprayer, let the water sit on the ink for about 30-45 seconds, then dab with a dry rag to remove some of the excess moisture and dry with a heat tool.

Don't worry, this won't mess it up, but will leave pleasing blotches on our fruit!

DIE-CUTTING
Stamp the sentiment in Citrine Ink
Ink the lower 2/3 of the word sunshine with Carved Pumpkin Distress Ink and stamp again for an ombre effect
Die-cut


Use the Nested Domed Arches to diecut a piece of the colored image, I am saving the rest for another card. :-)

Cut a matching Domed arch out of white cardstock and adhere to the back of the colored piece

Die-cut and adhere the Marilyn diecut to a card front.
LAYERING AND EMBELLISHING

Adhere the Fresh Fruit image to the card front.

Place some jewels in a triangle dish to get them ready to be adhered to the card front

Layer the sentiment with another blank die-cut to give dimension and trim the sentiment strip (You Deserve It) to size.
The white die-cut is a relaxing contrast to the intense color on the Fresh Fruit stamped image.

Layer the sentiments as shown.

Add the sentiment strip with foam tape and the yellow pearls with Craft Tacky glue.

Just bursting with sunshine and good wishes!

Hope you enjoyed this one Lovelies!
Thank you for stopping by and see you soon!
SUPPLIES:
I listed the products that I have used below. Please note that these are compensated affiliate links used at no cost to you. I really appreciate your support. All stamps used today were part of my maker package from Simon Says Stamp. Click on the icons below each product picture to shop with SimonSaysStamp.com.


A real summer card Keisha, love the sentiment and your gorgeous colouring. Beautiful, sunny card! Thank you so much for sharing, stay safe and have a wonderful day.