Tim Holtz STAMPERS ANONYMOUS MR. RABBIT Easter Card
- Keisha Diann

- Mar 4, 2024
- 4 min read

Hello Lovelies! I love when Tim Holtz and Stampers Anonymous surprises us with some seasonal fun! Mr. Rabbit is snazzy in his little bow tie and ready for all the Easter festivities. If that wasn't enough Simon Says Stamp doubled down on the surprises and gave us coordinating dies for this set!
Those dies could have come in handy for this card but I still think Mr. Rabbit is pretty Easter Fab on his pastel background, adorned with polka dots and petals!

Let's take a closer look at Mr. Rabbit and the coordinating die set. You can purchase individually or get it as a bundle from Simon Says Stamp.
Tim Holtz|Stampers Anonymous MR. RABBIT STAMP SET
Simon Says Stamp MR. RABBIT DIE SET

In addition, we'll use one of a mini stencil sets and some Opaque Texture paste mediums to add some dimension to the card:
Click here to view the full supply list or check out the one linked in the gallery at the bottom of this post when you have finished exploring this project.
Today's GIF!
Okay, you're cute, but you're no Mr. Rabbit!
Like this card and my corny GIFs? CLICK BUTTON BELOW
to sign up for blog updates:
HOPPY EASTER CARD - Stamping, Embossing, Stenciling, Watercolor Background
Card Size: 4 1/4" x 5 1/2"
Featuring:

PROJECT PALETTE
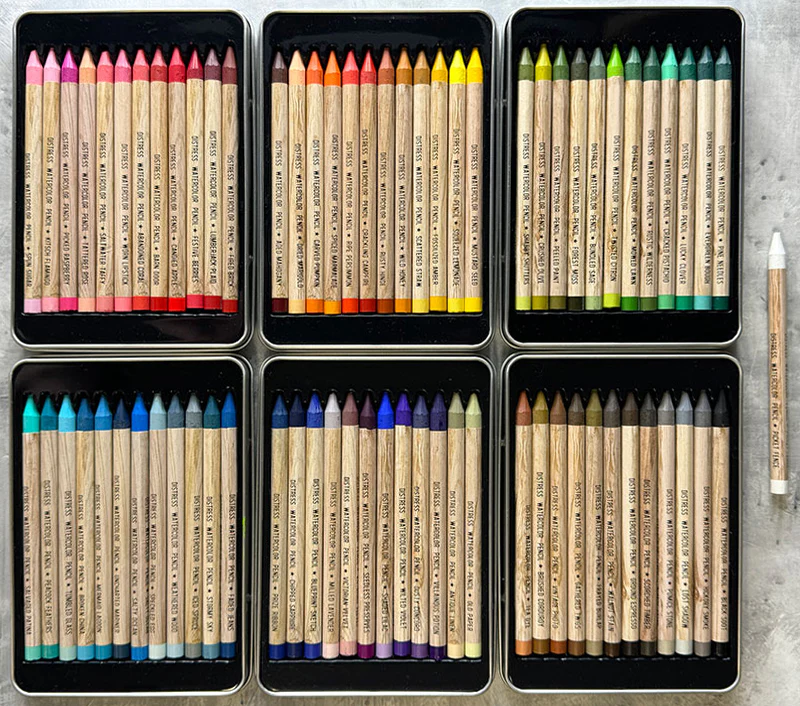
Tim Holtz Ranger Watercolor Pencils - Don't panic!!! Just pick a pink, orange, yellow, blue and green.
Background: Picked Raspberry, Abandoned Coral, Crushed Olive and Peacock Feathers Bow Tie: Mustard Yellow and Spiced Marmalade

PROJECT WALKTHROUGH
STAMPING
Stamp the Mr. Rabbit image in Hickory Smoke Distress Archival Ink onto a 4 1/4" x 5 1/2" piece of Distress Watercolor Paper. Heat set with the Ranger Heat Tool.

"WATERCOLORING"
Use the Watercolor Pencils to color in the Background around Mr. Rabbit as shown below:
Mist generously with the Distress Sprayer and use a paintbrush to dissolve the pencil pigment and create a roughly blended background.
STAMPING
Stamp the "plaid fragment" image in the top left in Peacock Feathers and Crushed Olive and in Abandoned Coral Distress Ink in the bottom right as shown. Continue adding "texture" with stamping the "polka dots" image in the same places as shown below. For the polka dots, mist the stamp with water to give it a slightly distressed look and dilute the intensity of the ink.
Use a the Mustard Seed and a little Spiced Marmalade Watercolor Pencil to color in the bow tie with a small paintbrush.
EMBOSSING
Ink the "Easter Egg Dyes" stamp with Distress Clear Embossing Ink. Cover with Ranger White Embossing Powder, dusting off the excess before heat setting with an embossing tool.
STENCILING WITH TEXTURE PASTE
Secure the card front to the your craft surface
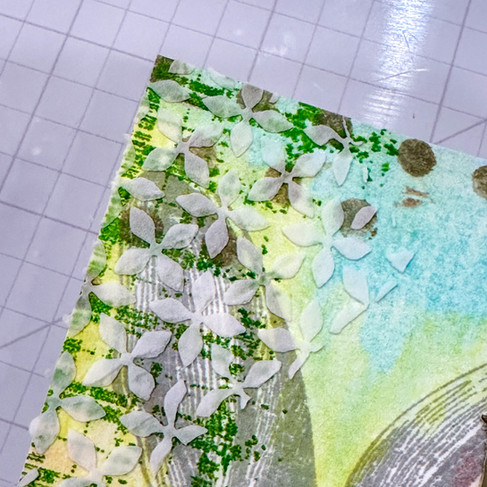
Secure the Nordic or similar stencil over the left side of the card
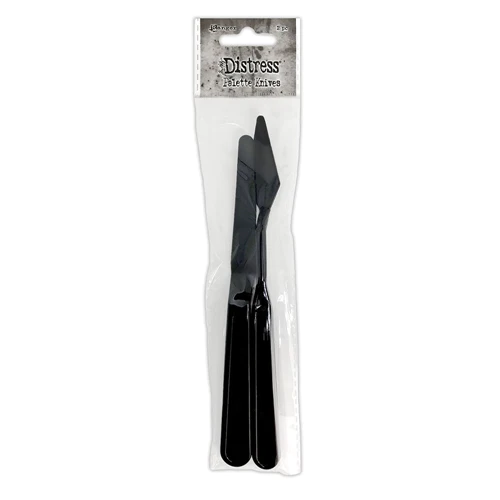
Use the Palette Knife to apply Opaque Distress Texture Paste through the openings in the stencil in an uneven patch
Quickly but carefully, lift up the stencil and move to the right side of the card and repeat the stenciling with the Texture Paste
Set aside to dry
Once dry, dab a little Picket Fence Distress Paint onto your finger and smear over the stenciling to make it stand out a little more and distress some of the edge of the card front
DIE-CUTTING THE SENTIMENT
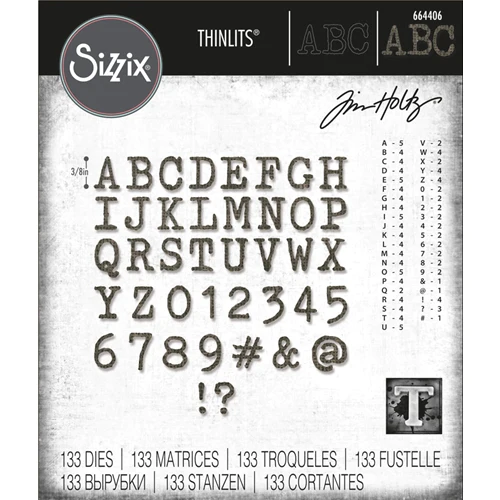
Gently rub the frayed Burlap Ink Pad over a scrap of white cardstock. Once dry, die-cut the selected letters from the Tiny Type Die Set. Tip: I used a strip of painters tape to hold the small letter in place when die-cutting. I then lined up the die-cut letters as I wanted to see them and again adhered the painters tape to hold them in place while I applied crafters glue to the back. Finally, flipping them over again to keep them aligned while sticking to the card front.
Add some foam tape to the back if you like and adhere to a white card base to finish.
Distress Watercolor Pencils are so easy to create background with and that Archival Ink once set does not mind all the moisture from the watercolor1

Stamps and stenciling layered together create great visual interest and make the card more fun!

The pop pf the bow tie somehow works even though nothing else is colored. The white embossing works to tie the card base to the card front while reiterating the Easter theme.

Fun and easy??? Definitely yes, this is a make you will not regret!

Thank you for stopping by and I hope this was helpful. Leave me a comment with your thoughts please. It really does make my day and I am always happy to take any questions.
See you soon!
SUPPLIES:
I listed the products that I have used below. Please note that these are compensated affiliate links used at no cost to you. I really appreciate your support. All stamps used today were part of my maker package from Tim Holtz and Stampers Anonymous.
Click the image below to shop the Mr. Rabbit Stamp Set and Coordinating Dies.
Click on the icons below each product picture to shop with Simon Says Stamp.


Kaiser OTC benefits provide members with discounts on over-the-counter medications, vitamins, and health essentials, promoting better health management and cost-effective wellness solutions.
Obituaries near me help you find recent death notices, providing information about funeral services, memorials, and tributes for loved ones in your area.
is traveluro legit? Many users have had mixed experiences with the platform, so it's important to read reviews and verify deals before booking.
He is such a dapper bunny! This card is wonderful - I love all the different textures and things you did in the background. Thanks for sharing!!
Fabulous card! The design and layout are masterfully done. I always look forward to your makes!