

Tim Holtz Stampers Anonymous CROCHET TRIMS Cards
- Keisha Diann

- Apr 13, 2024
- 4 min read

Hello Lovelies! I have a soft spot in my heart for Spring releases. Of course Tim Holtz and Stampers Anonymous did not disappoint! Today we'll make a pair of sweet cards using two of the new sets and a new stencil.These Everyday cards are ones that you will always want in your stash to be ready for any reason and no reason. Sometimes, I think that "no reason" cards are some of the best!
We'll be doing a classic embossed resist on the Crochet Trims Stamp Set, splattering our Kraft Cardstock with Distress Oxide Spray and making a pristine white on white texture paste layer, so buckle up for lots of pics and simple tricks to make this easy pair.

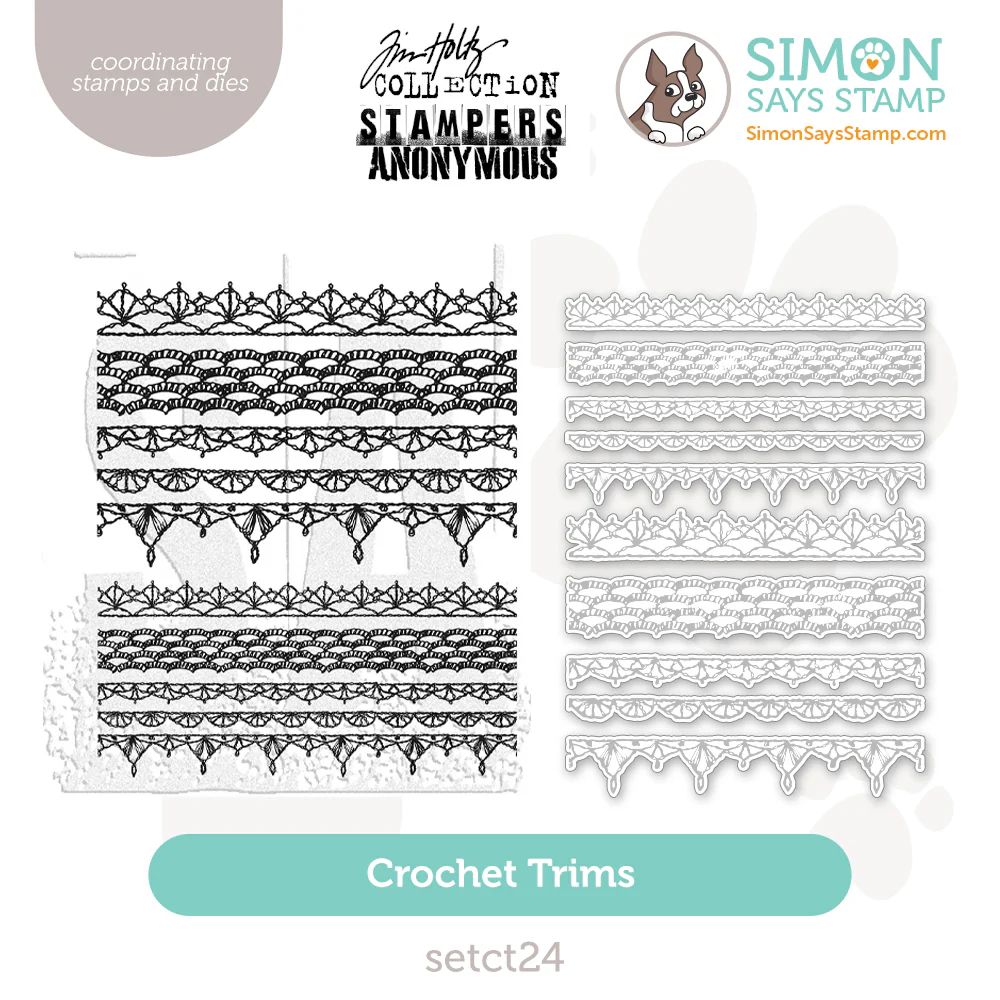
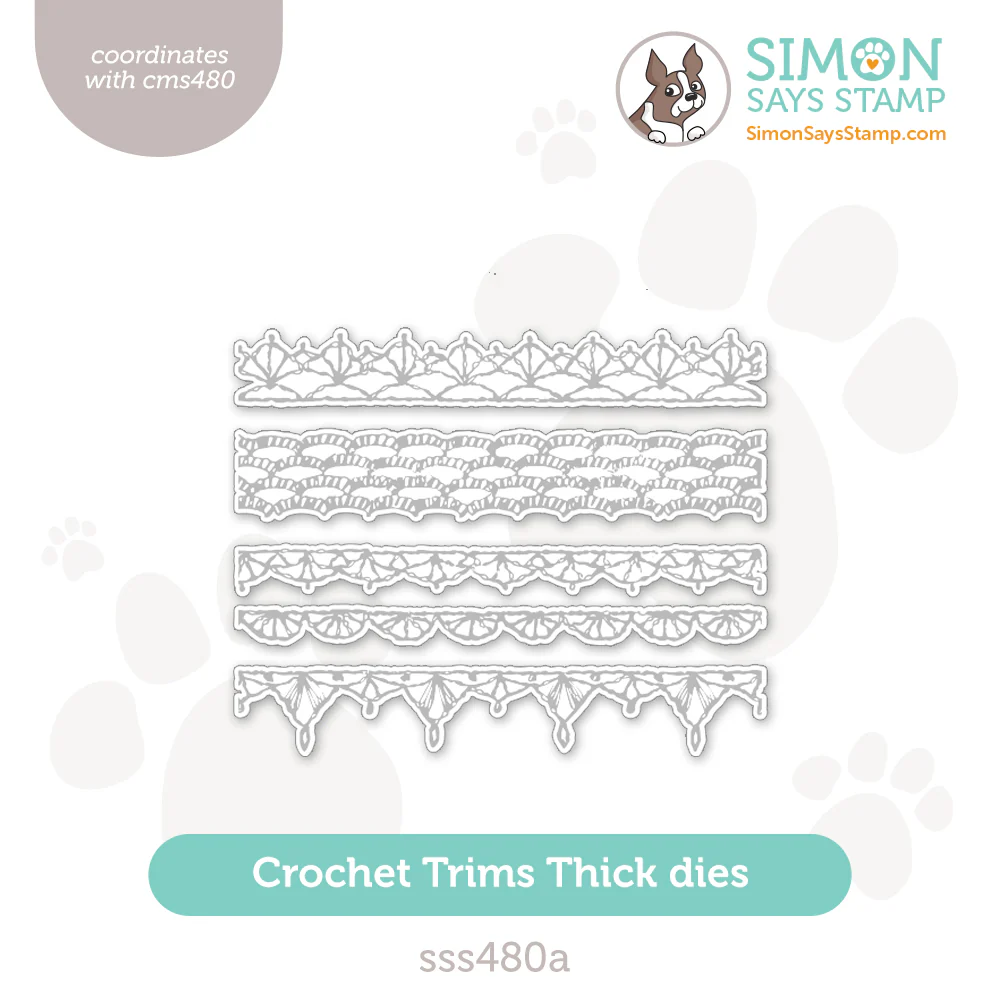
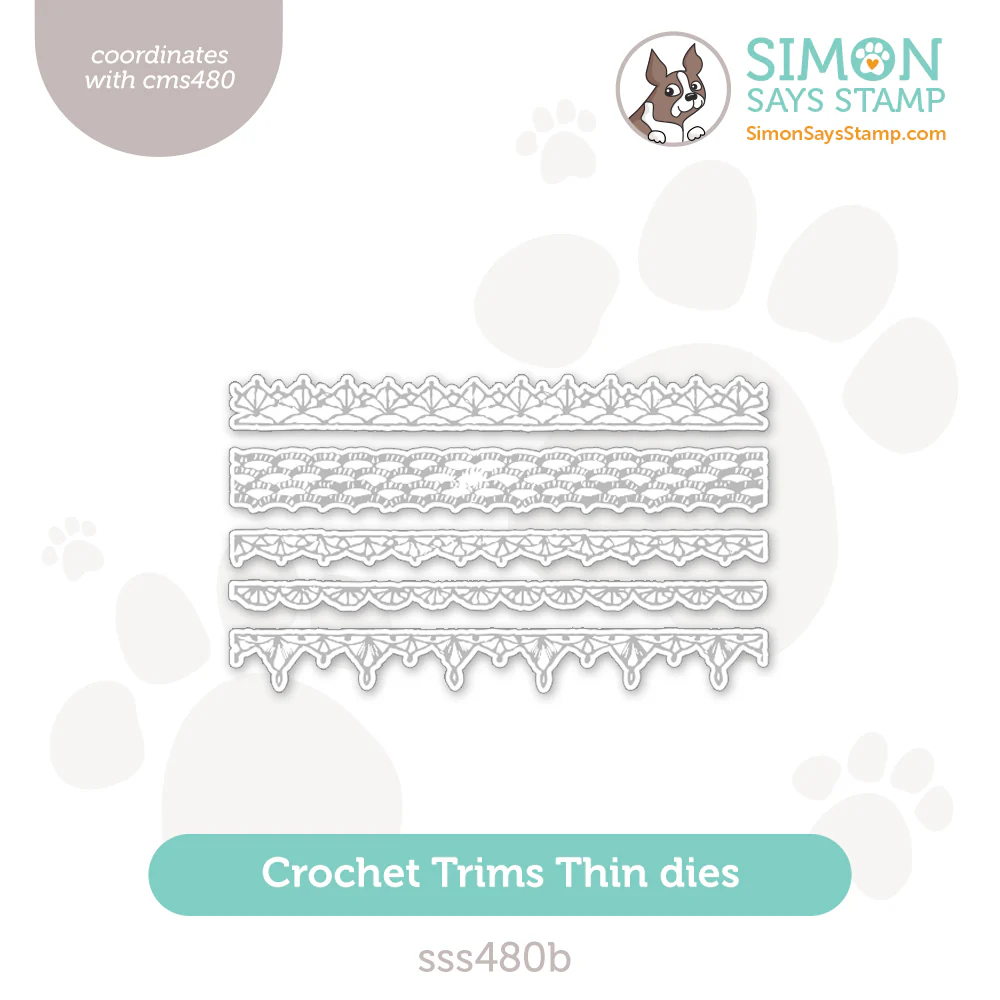
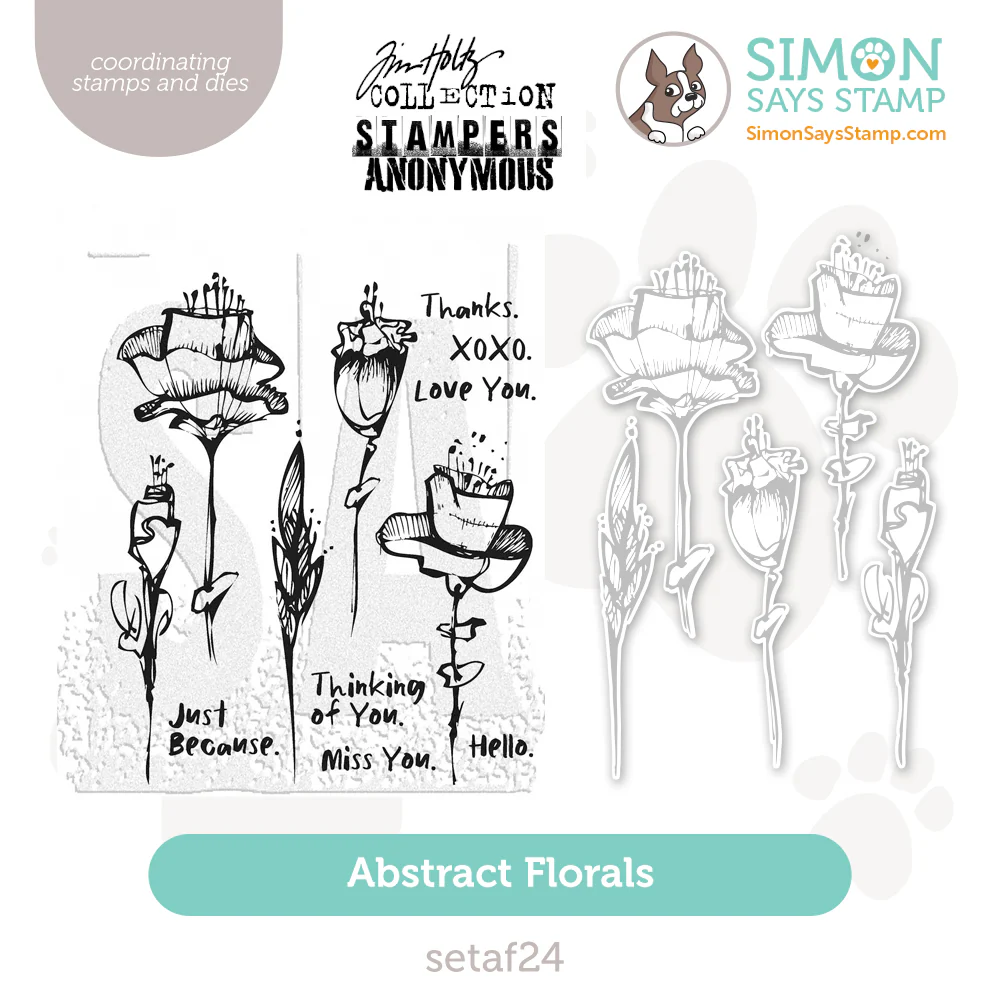
Let's take a closer look at both of these stamp sets. You can purchase them individually or get the whole bundle from Simon Says Stamp. Also, if you don't want to fussy cut the Crochet Trims like I did, I highly recommend considering the matching dies sets!
Tim Holtz|Stampers Anonymous CROCHET TRIMS Stamp Set

CROCHET TRIMS Die Sets by Simon Says Stamp
Tim Holtz|Stampers Anonymous ABSTRACT FLORAL Stamp Set

CROCHET TRIMS Die Sets by Simon Says Stamp
Click here to view the full supply list or check out the one linked in the gallery at the bottom of this post when you have finished exploring this project.
Today's GIF!
I don't think I have space in my life for another craft,
but these crochet dolls are sooo cute!
Like this card and my corny GIFs? CLICK BUTTON BELOW
to sign up for blog updates:
RAINBOW CROCHET TRIMS CARDS - Rainbow Resist, Distress Oxide Splatter, Texture Paste Stenciling
Card Size: 4 1/4" x 5 1/2"


PROJECT PALETTE
Tim Holtz Distress Ink - Speckled Egg, Shaded Lilac, Kitsch Flamingo, Wild Honey, Cracked Pistachio

PROJECT WALKTHROUGH
STENCILING
Trim two pieces of white cardstock to 4" x 5 1/4"
Position the Deco Floral Stencil as shown below and apply Opaque Texture Paste using a palette knife
Carefully shift the stencil to the right aligning and overlapping the stenciled pattern to the stencil openings
Apply more paste to complete the pattern on the right side of the paper. Do not press down too firmly so that you do not smudge the pattern too much
Repeat and set aside to dry


Very "pristine and precise" as you can see! :-)

DISTRESS OXIDE SPLATTER
Trim a piece of Kraft cardstock to 4 1/2" x 6"
Place inside a splat box, mist randomly with Antique Linen Distress Oxide Spray
Remove nozzle from bottom and use the "straw" end to add large splotches of the Oxide to the Kraft cardstock
Set aside to dry


RAINBOW RESIST
Step 1: Embossing
Secure a 4 1/4" x 5 1/2" piece of cardstock inside your MISTI or preferred stamp positioning tool
Align the large crochet trims image over the paper, ink with Black Soot Distress Ink and stamp onto the cardstock. Heat set with a heat tool to dry it quickly and then dust with an anti-static tool
Leaving the stamp in place on the "lid" of the MISTI (or similar), clean the excess ink with a damp cloth
Ink the stamp with Distress Embossing Ink and stamp again directly over the original image
Remove the stamped cardstock from the MISTI and dust with Ranger Clear Embossing Powder
Heat set to melt the powder and reveal the raised black design


Step 2: Inking
Ink Mini Ink Blending Tools to apply Distress Ink in the following order:
Speckled Egg, Shaded Lilac, Kitsch Flamingo, Wild Honey, Cracked Pistachio

FUSSY-CUTTING OR DIE-CUTTING
Use Tim Holtz Paper Snips to fussy-cut the Trims OR
Use Simon Says Stamp Crochet Trims Thick Set Wafer Dies to die-cut the Trims

CREATING THE CROCHET PANELS
Adhere the trims to the splatter Kraft panel with Bearly Precision Craft Glue.
Cut the panel in half to 2 3/4" x 4 1/2"


Use a Tim Holtz Deckle Edge Trimmer to create the uneven edges all around each Trims panel

SENTIMENTS & FINISHING
Pop up the Deco Floral Texture Paste Panels with foam tape and adhere to a Lavender Card Base and a Sea Glass Card Base. NOTE: these card bases are created from Simon Says Stamp Cardstock
Stamp the sentiments in Black Soot Distress Ink. NOTE: Instead of "Just Because" as shown below, I doubled up the "XOXO" and "Love You"
Fussy-cut the sentiments with Paper Snips and adhere to the Trims Panel
Pop up the Trims panel with foam tape and adhere to Deco Floral Texture Paste Panel


The white on white Deco Floral Texture Paste Panel creates an almost embossed look, but even more interesting for its imperfections.

The Crochet Trims look lovely in black and a Distress Rainbow

All done and all pretty!

Thank you for stopping by and I hope this was helpful. Leave me a comment with your thoughts please. It really does make my day and I am always happy to take any questions.
See you soon!
SUPPLIES:
I listed the products that I have used below. Please note that these are compensated affiliate links used at no cost to you. I really appreciate your support. All new release Stamps and stencils used today were part of my maker package from Tim Holtz and Stampers Anonymous.


Comments