Tim Holtz Sizzix Halloween 2023 Release - LAYERED DOTS Cards
- Keisha Diann

- Aug 18, 2023
- 3 min read

Hello Lovelies! The Layered Dots Thinlits Dies are definitely part of theTim Holtz Sizzix 2023 Halloween Release... but I decided to go off script and use them for everyday card-making. I'm sure that these won't appeal to everyone, but doing something out of my comfort zone helps me grow and learn, so bear with me. LOL
I decided on a primary color palette and got to die-cutting! I couldn't resist using the cut-out dots to make a modern background for my greetings/sentiments and ended up with TWO very non-traditional cards

Layered Dots is just one of the seven die-sets in the Tim Holtz Sizzix 2023 Halloween Release. The full release is shown below and available as a bundle, but each die set is also available to purchase individually from Simon Says Stamp.
Let's take a closer look at the Layered Dots set:

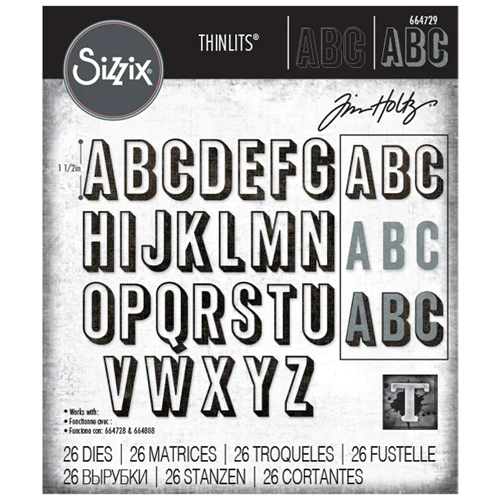
In addition, we'll be using some old favorites for today's make for our simple, but striking sentiments:
Click here to view the full supply list or check out the one linked in the gallery at the bottom of this post when you have finished exploring this project.
Today's GIF!
My face whenever I'm up to no good in my craft room!
Like this card and my corny GIFs? CLICK BUTTON BELOW
to sign up for blog updates:
LAYERED DOTS CARDS - Die-cutting and Paper-piecing
Decor Size: 4 1/4" x 5 1/2"
Featuring:

PROJECT PALETTE
Simon Says Stamp Cardstock - Schoolhouse Red, Bright Yellow, Soft Navy
PROJECT WALKTHROUGH
HBD CARD
Die-cut and adhere the Layered Dots die-cuts layers to create the card front.
Die-cut and adhere the HBD sentiment letters. I gave by H a little help in keeping the layers together with a little bit of Scotch tape on the back of the letter.
Pop-up the Sentiment sticker with foam squares and adhere to the card-front

TKU CARD
Die-cut a "guide" out of white cardstock.
Attach the guide with painters/washi tape to your card base. You will use this to place and align your dot die-cuts
Gather the dots from the first project
Use an embellishment want and wet glue to place the dots in the guide in a random pattern
Take a look at the pattern and adjust any dots as needed
Remove your painter's tape
Carefully remove the white die-cut "guide"
Frame with the blue outline left over from the previous card, popped up with 1/8" wide foam tape.
Die-cut the T, K and U letters from red and from white cardstock. Layer and attach a little scotch tape on the reverse side to help you adhere
Select the "Sending Love" Sticker and pop up with foam tape
Adhere the die-cuts and sentiments to the card front

I choose bold colors for my card, but of course you can make this in whatever combos appeal to you!

There's something almost therapeutic for me in placing the dots inside the positive die-cut "guide" and making this abstract pattern.

When you are done you will have a striking pair of contemporary cards to share with your loved ones who prefer less frills and fuss. BTW, frills and fuss is the zip code that I normally live in. LOL

Thank you for stopping by and living on the wild side with me. Leave me a comment with your thoughts please. It means a lot and I am happy to take any questions.
See you soon!
SUPPLIES:
I listed the products that I have used below. Please note that these are compensated affiliate links used at no cost to you. I really appreciate your support. All stamps used today were part of my maker package from Tim Holtz and Sizzix. Click on the icons below each product picture to shop with Simon Says Stamp.


I like that you masked the white card-blue frame with another die cut. I bet your card cleaned up some too. I always end up with a little bit of glue somewhere!