Tim Holtz - October 2024 Distress Spritz Everyday Embroidery Cards
- Keisha Diann

- Oct 31, 2024
- 4 min read

Hello Lovelies! It's taken me FOREVER to do this post, but I really wanted to share the joy of trying out ALL the October 2024 Distress Spritz colors in this trio of cards. The cards are purposely "Everyday" themed so you can make them all year round!
Of course, we will spray the Spritzes, but we'll paint and splatter them as well, while pairing with layers of Archival Ink stamping that will resist the Spritz. The cards show the Spritzes on their own (painted) and how they look layered on similar or contrasting colors. I definitely enjoyed getting to know this selection of shimmering Distress colors from Tim Holtz and Ranger!
This is going to be a LOOONG post becuase I will share the swatches I made in addition to walking you through the cards. I also finally got to try the coordinating dies by Simon Says Stamp for the Embroidery Stamp set. These cards wouldn't have been possible for me without them, as I'm not that ambitious with my fussy-cutting. 😅


Let's take a closer look at what's needed for the swatches and cards. You can get the Distress Spritzes individually or get the whole bundle from Simon Says Stamp.
Tim Holtz|Ranger October 2024 Distress Spritzes
Tim Holtz|Stampers Anonymous Embroidery Stamp Set

Simon Says Stamp French Garden Dies

Tim Holtz|Stampers Anonymous Deconstructed Stamp Set

Click here to view the full supply list or check out the one linked in the gallery at the bottom of this post when you have finished exploring this project.
Today's GIF!
I think these Spritzes deserve a little dance!
Like this card and my corny GIFs? CLICK BUTTON BELOW
to sign up for blog updates:
SWATCHING THE DISTRESS SPRITZES
I decided to swatch my Spritzes over the matching Distress Ink because I think that this is how I will most often use them, I also made some smaller tags of the colors on their own. If you choose to swatch, do it in the way that is most useful to you and helps YOU understand the color better.

EMBROIDERY SPRITZ CARDS - Stamping, Painting, Die-cutting, Ink-blending, Spraying and Splattering
Size: 3 1/2" x 6 1/4"
As all the cards use the same layout, I will review a step-by-step for one that can be copied for the others, but first let's paint the Embroidery Flowers with some Spritz.
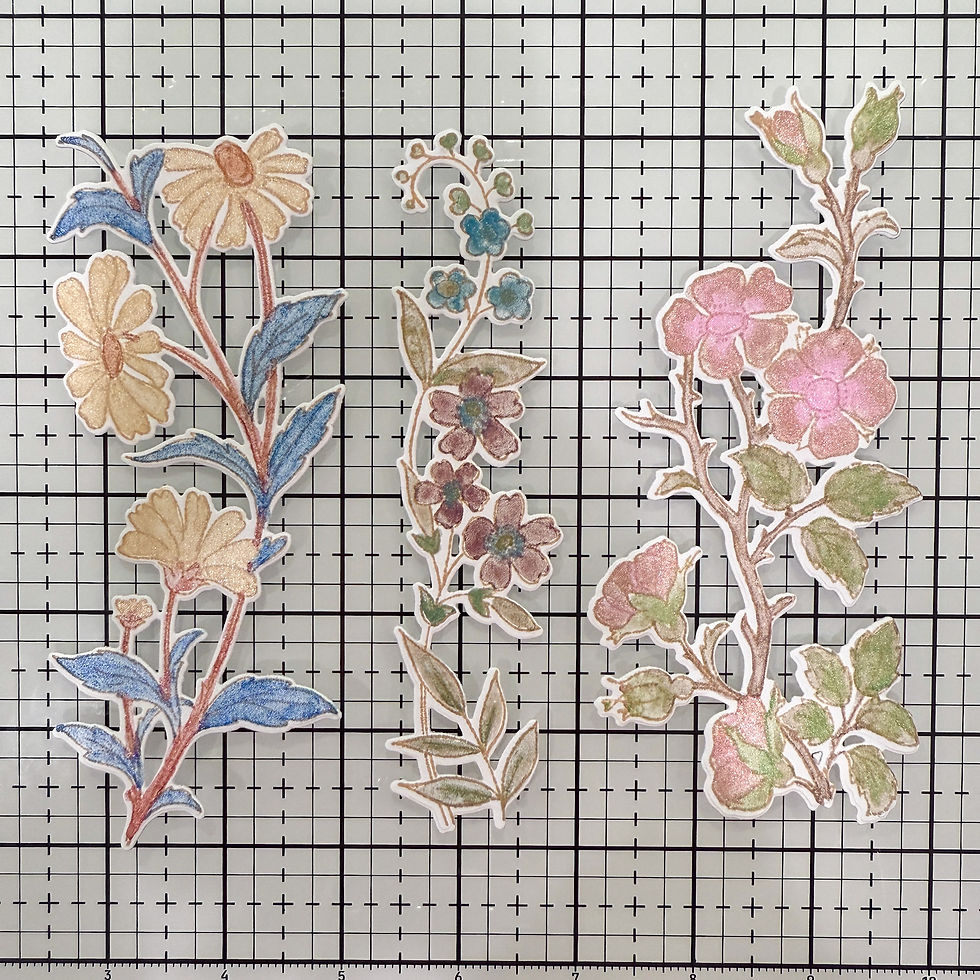
Stamp the flowers onto Distress Watercolor Cardstock in Pumice Stone Archival Ink
Referring to the table below select the 4 Spritz colors applicable to the spray of flowers you are painting.
Shake well to mix the liquid and the shimmery particles and pour a little of each of the 4 colors into separate wells on a Palette
Use a small round paintbrush to paint the Spritz onto the flower, rinsing in water between colors
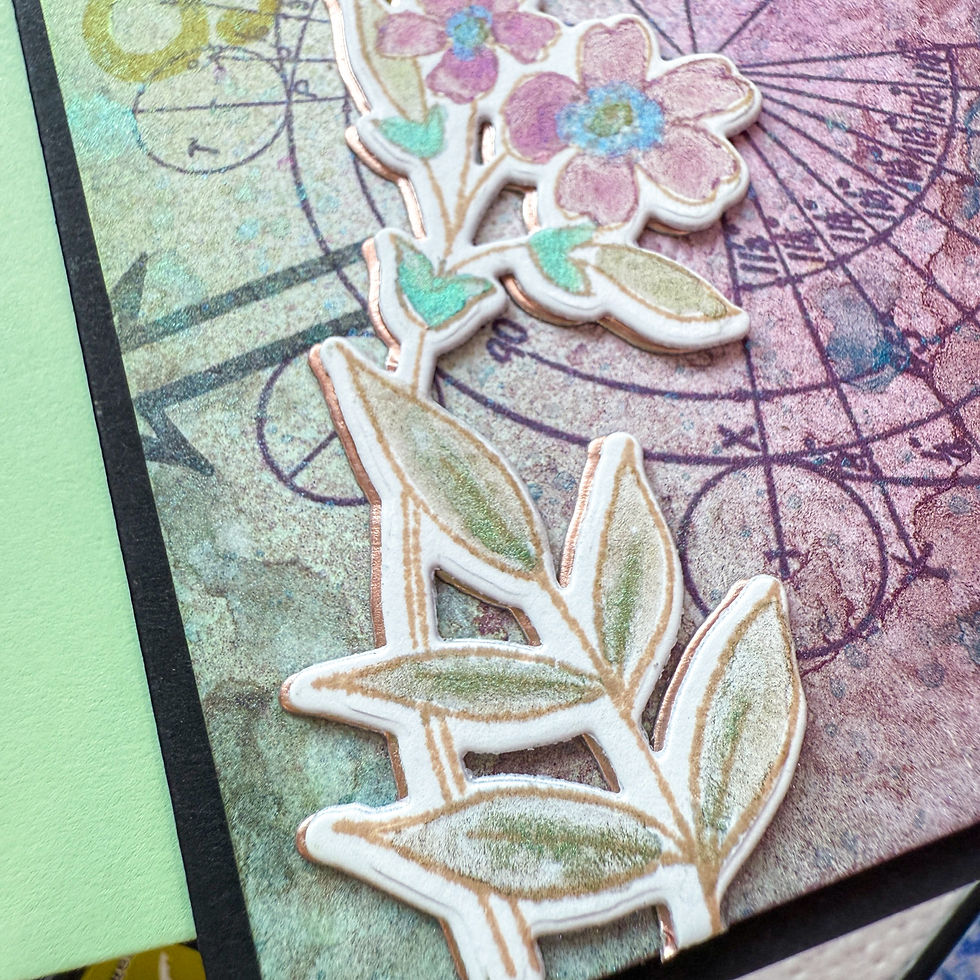
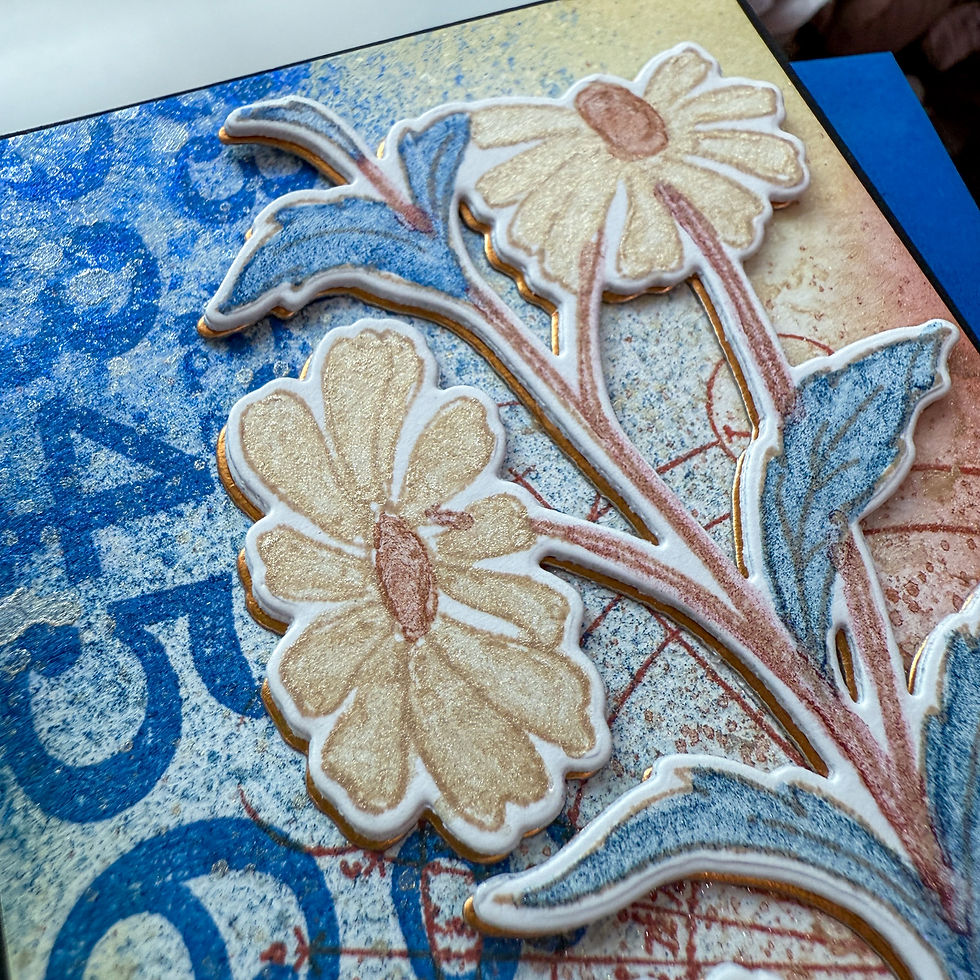
Once dry, die-cut with the coordinating die. Also die-cut a matching piece of metallic cardstock.
Adhere the flower to the metallic layer with Craft Glue at a slight offset.


PROJECT PALETTE
Each card features 4 Spritz colors from the release, 3 Archival Inks and Distress Ink as follows:
SHINE BRIGHTLY | LOVE YOU | BE BRAVE |
SPRITZES: | ||
Prize Ribbon, Fired Brick, Rusty Hinge, Antique Linen | Worn Lipstick, Saltwater Taffy, Mowed Lawn, Vintage Photo | Seedless Preserves, Tumbled Glass, Cracked Pistashio, Crushed Olive |
ARCHIVAL INKS: | ||
Prize Ribbon, Barn Door, Black Soot | Kitsch Flamingo, Rustic Wilderness, Black Soot | Crushed Olive, Dusty Concord, Black Soot |
DISTRESS INKS: | ||
Antique Linen, Fired Brick | Saltwater Taffy | Cracked Pistachio, Seedless Preserves |
CARD STEPS
Trim Distress Watercolor Cardstock to a 3 1/4" x 6 1/4".
Stamp the images from the Deconstructed set in the selected Archival Ink colors
Blend the selected Distress Ink around the perimeter of the cardstock adding more color to the top right and bottom left corners.
Place inside a Splat Box or other cardboard box.
Spray with the selected Spritzes. In this example, the LOVE YOU card:
Kitsch Flamingo over the numbers, with a little on the top right
Saltwater Taffy on the bottom left and mixed with the Kitsch Flamingo on the top right
Mowed Lawn on the bottom right, mixed with a little Vintage Photo
Splatter the middle to bottom right with more Vintage Photo
Once dry, stamp the little "X" in Black Soot Archival as shown.
Adhere the layered Embroidery flowers and the sentiment sticker.
Apply Foam Tape to the back.
Trim black cardstock to 6 1/4" x 7". Score and fold at 3 1/2" to create a card base.
Adhere the card front to finish.
LOVE YOU CARD


BE BRAVE CARD


SHINE BRIGHTLY CARD


A card with shimmer is always better seen in person and in sunlight, but I tried my best to capture just a little of the magic in the close-up pictures. I hope it inspired you and if you like these enough to make them, that's even better.
Do leave me a comment with your thoughts please. It really does make my day and I am always happy to take any questions.
See you soon!
SUPPLIES:
I listed the products that I have used below. Please note that these are compensated affiliate links used at no cost to you. I really appreciate your support. All new release products used today were part of my maker package from Tim Holtz and Stampers Anonymous.


link link link link link link link link link link link link link link link link link link link link link link link link link link link link link link link link link link link link link link link link link link link link link link link link link link link link link link link link link link link link link link link link link link link link link link link link link link link link link link link link link link link link link link link link link link link link link link link link link link link link
Kaiser OTC benefits provide members with discounts on over-the-counter medications, vitamins, and health essentials, promoting better health management and cost-effective wellness solutions.
Obituaries near me help you find recent death notices, providing information about funeral services, memorials, and tributes for loved ones in your area.
is traveluro legit? Many users have had mixed experiences with the platform, so it's important to read reviews and verify deals before booking.
Buying a research paper can be a practical solution for students juggling multiple responsibilities. Opting for buying a research paper from Studyprofy ensures access to well-researched, high-quality academic content. Known for their professional approach, Studyprofy provides custom-written papers tailored to individual requirements. Their team of expert writers ensures that each paper is original and meets academic standards.
The "Tim Holtz - October 2024 Distress Spritz Everyday Embroidery Cards" are a great way to add some creativity and unique flair to your projects. The vibrant designs really make your work stand out, just like how personalized assistance can elevate your academic performance. Sometimes, just like when you're crafting something special, it can be challenging to perfect everything on your own. That’s when the right support can make all the difference.
If you're ever feeling overwhelmed by your assignments, it's okay to seek expert help. If you've ever thought, “I need someone to write my assignment for me,” there are services like DoMyAssignment.Help that can handle your academic tasks while you focus on other priorities. Just like a unique…
Tim Holtz’s *October 2024 Distress Spritz Everyday Embroidery Cards* collection offers a unique and creative twist to crafting enthusiasts. These cards bring together a stunning mix of color, design, and artistic flair, allowing users to express themselves in a distinctive and personal way. Whether you’re an experienced crafter or just starting, these cards provide endless creative possibilities.
While many focus on artistic projects, students and professionals might sometimes need a *fast essay writing service* to meet deadlines or improve efficiency. Much like these Distress Spritz cards that bring ideas to life, a reliable essay service helps bring clarity and structure to your academic writing projects. Combining creativity with productivity is crucial in all walks of life, and having tools that…