

Simon Says Stamp - VITAMIN SEA Card
- Keisha Diann

- Feb 28, 2023
- 3 min read

Hello Lovelies! We're watercoloring the Vitamin Sea Stamp Set by adding dabs of color with water-based markers today, then spreading and mixing the color with a wet brush.
I needed a seascape and much like our lazy watercoloring, we'll make an easy one with the help of some ink blending and Tim Holtz's Crackle Embossing Folder!

Here's a closer look at today's key supplies:


Click on the image below to check out the ENTIRE release or SHOP THIS CARD in the Supplies section at the bottom of this post:

Today's GIF!
Now this has got to be my favorite MERMAID ever!!!
Like this card and my corny GIFs? CLICK BUTTON BELOW
to sign up for blog updates:
MERMAZING BIRTHDAY CARD - Wet and Dry Embossing, Watercoloring, Die-cutting
Card Base: 4 1/4" x 5 1/2"

COLOR PALETTE
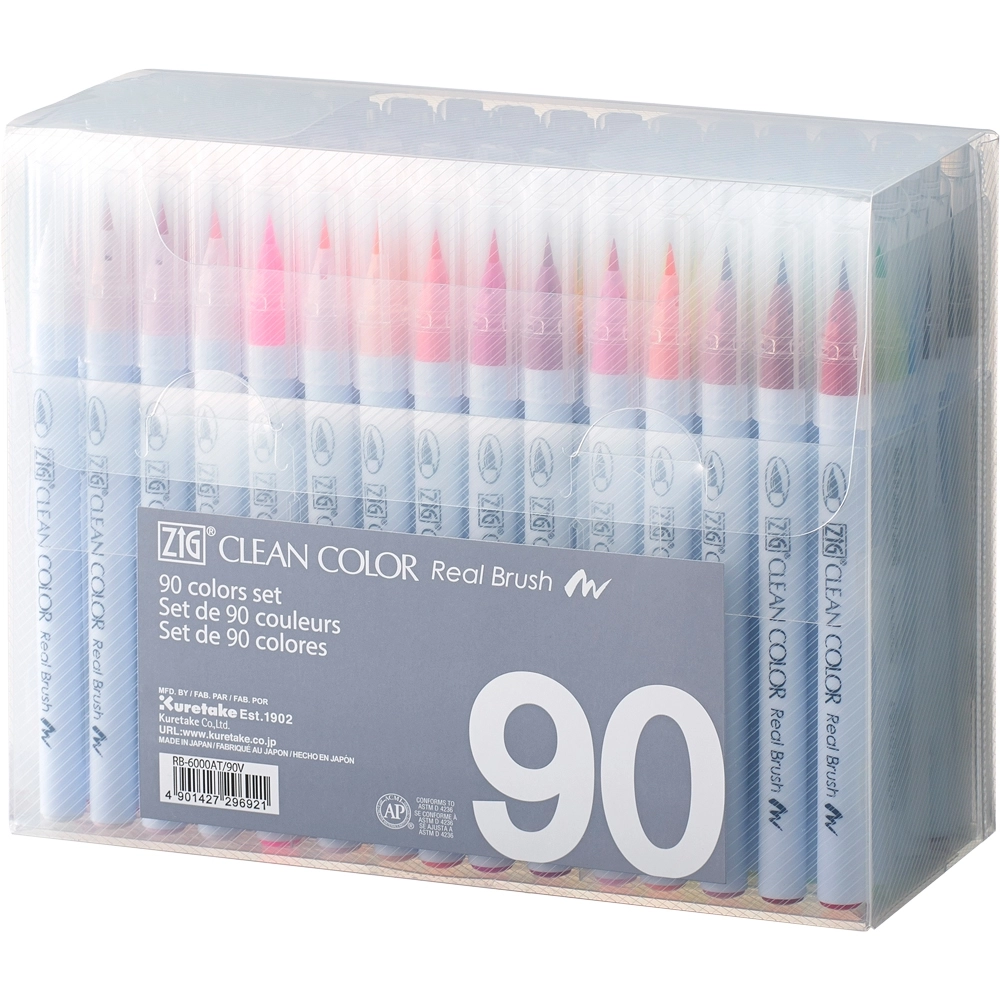
Zig Clean Color Real Brush Pens: 041-Light Green, 042 - Turquoise Green, 031-Cobalt Blue, 081- Light Violet, 082-Purple, 202-Peach Pink, 028-Pale Pink, 071-Natural Beige, 050-Yellow, 070-Orange, 067-Mustard, 094-Gray Brown

PICTORIAL GUIDE
WATERCOLORING THE STAMPED IMAGES
Stamp and heat emboss the selected images using white embossing powder onto Distress Watercolor Cardstock. I stamped more than I needed and just colored the ones that I selected for the little sea scene on this card
Have a wet paintbrush or a water brush handy. Using the selected markers, use the brush tip to add color to the darkest parts of the section of the image that you are coloring, where the shadows or deepest tones would be
Then use the wet brush to draw that color out across the rest of the section as well as to mix with other colors and create blends
NOTE: don't worry about going outside the lines a bit, this is supposed to be messy and we will be die-cutting these shapes and it won't matter as much when completed
Stamp the sentiment onto cardstock colored with the 071 marker or Marigold Distress Ink
Die-cut or fussy-cut the colored images and sentiment when complete


Large pic so you can see better!

CREATING THE BACKGROUND AND COLLAGING THE DIE-CUTS
Emboss white cardstock using the Crackle Embossing Folder and use a blending brush to apply Ocean Pawsitively Saturated Ink in a deepening gradient from top to bottom of the embossed cardstock
Arrange the die-cuts on the background as desired
Lay a Glad Press N Seal Sheet sticky-side down over the collage, and press the sheet onto each die-cut so they are adhered to the sheet
Lift the Press N Seal sheet up with the die-cuts adhered and place on your craft surface
Ensure that you have space for you sentiment
Flip the Press N Seal sheet over and while still adhere to the Press N Seal sheet use Bearly Glue (or your favorite wet glue) to adhere any die-cuts that are layered on top of one another. Separately, use Foam Tape and Foam Dots to elevate some elements of the collage


I am in love with my mermaid's glam hair!

I know this is a little thing...but the background brings it all together for me.

Don't forget to add the Bubble Blower Jewels to give that little extra touch!

Lovelies, the larger sets of Zigs is an investment and one that you won't regret if now is the right time for you to take the plunge. Alternatively, if you just want to see if you like them, I have linked the individual markers below so you can buy a few open stock rather than making a big commitment.
Thank you for stopping by and see you soon!
SUPPLIES:
I listed the products that I have used below. Please note that these are compensated affiliate links used at no cost to you. I really appreciate your support. All stamps used today were part of my maker package from Simon Says Stamp. Click on the icons below each product picture to shop with SimonSaysStamp.com.


Comments