Simon Says Stamp - Tim Holtz Watercolor Cards
- Keisha Diann

- Mar 29, 2024
- 4 min read

Hello Lovelies! I am thrilled that Simon sto have Tim Holtz's gorgeous stamps paired with matching dies! A lazy bones like me is NOT a fan of fussy-cutting... I do it, but I don't like it at all!!!
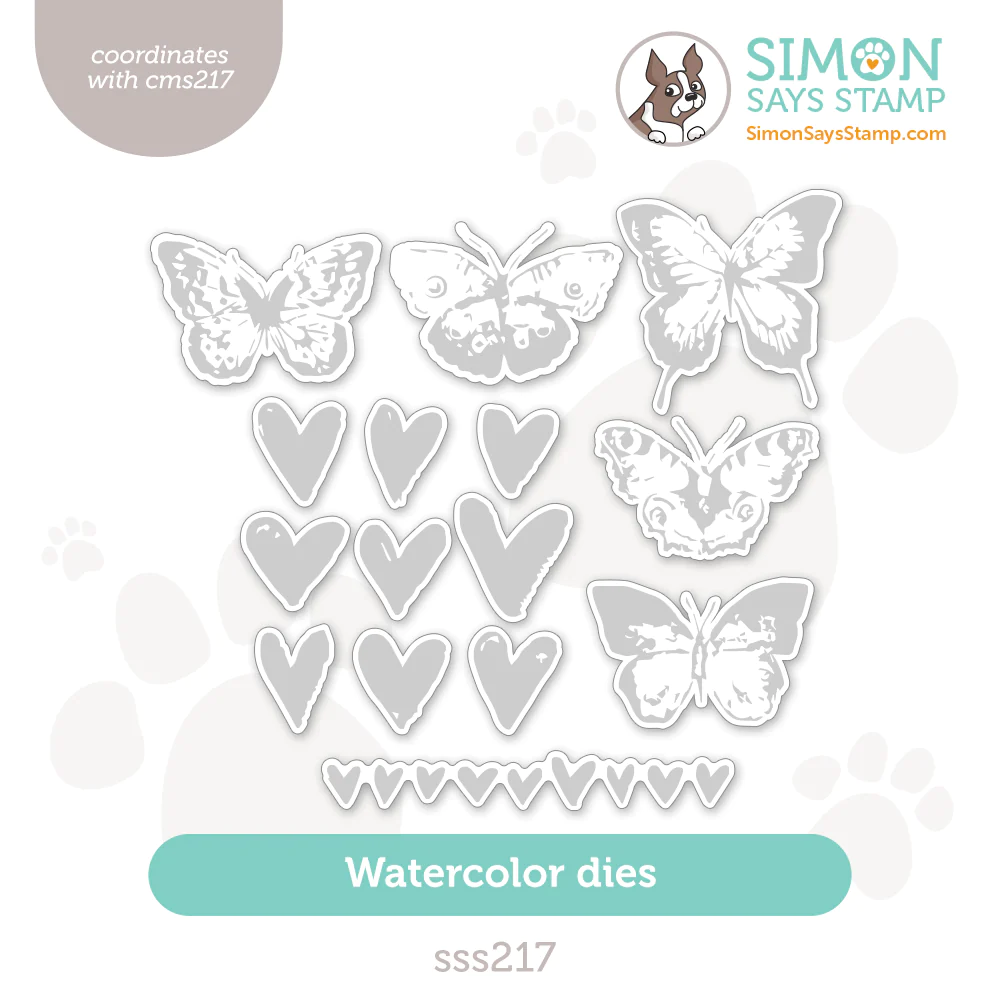
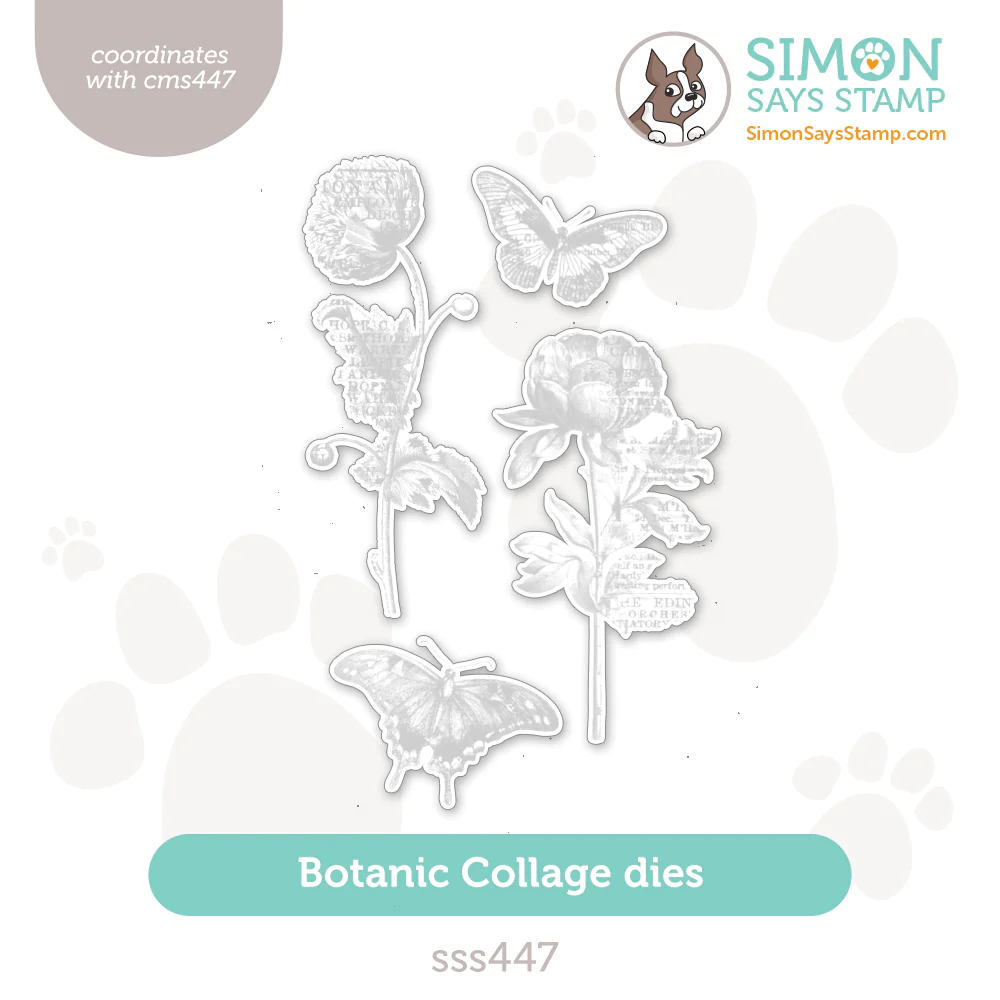
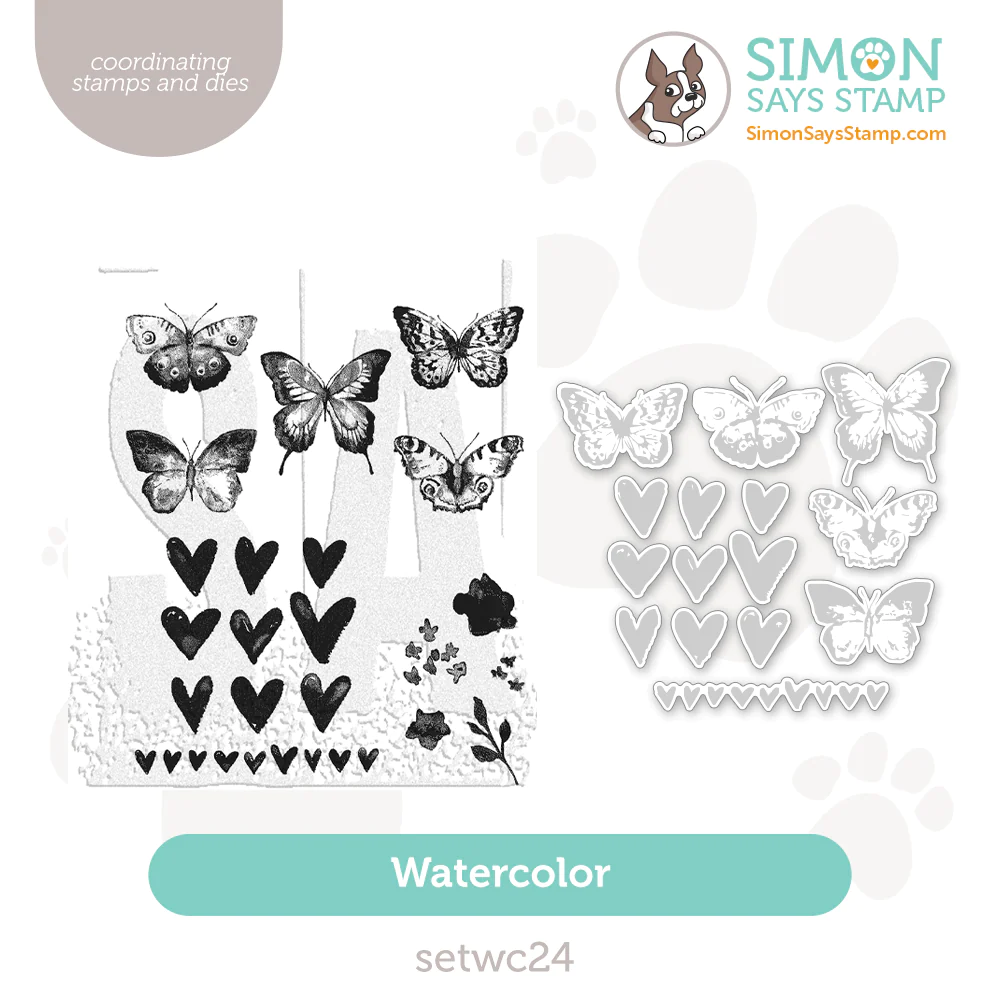
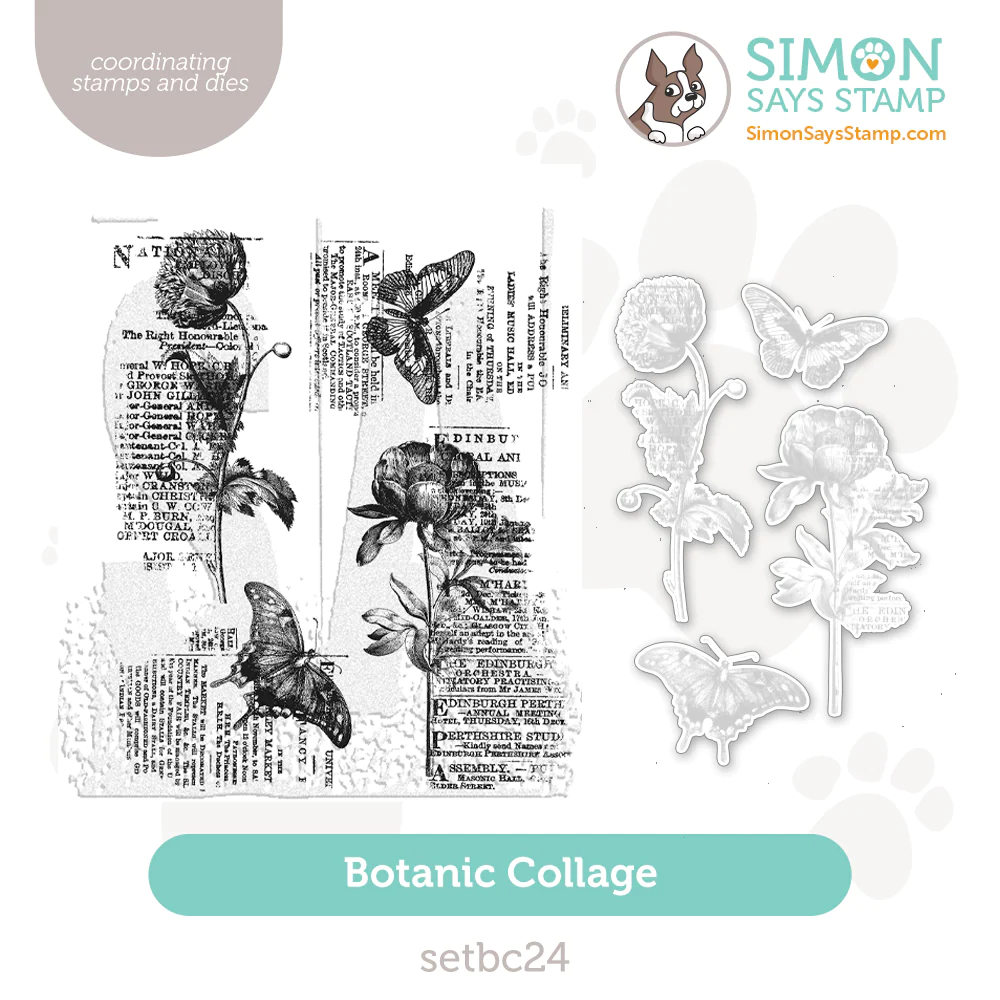
Simon Says Stamp's Be Bold release included the awesome surprise of getting 3 Tim Holtz Stamps with coordinating dies, and today we will do some "Watercolor Stamping" with the Watercolor and Botanic Collage sets.

Time for Key Supplies!
NOTE that the stamps and dies are also offered as bundles!
When I created these cards, I used both my Distress Inks and my Distress Markers. Distress Markers though not available in ALL the colors, are still available for purchase.
Get Your Supplies!
Click on the image below to SHOP THE ENTIRE release OR
SHOP THIS CARD using the links throughout the post OR
SHOP the Supplies section at the bottom of this post
Today's GIF!
Go ahead and press the Easy Button, this will be fun!
Like this card and my corny GIFs? CLICK BUTTON BELOW
to sign up for blog updates:
WATERCOLOR CARDS - "Watercolor" Stamping, Die-cutting
Card Base: 4 1/4" x 5 1/2"

COLOR PALETTE
Distress Inks/Markers - Dusty Concord, Seedless Preserves, Picked Raspberry, Barn Door, Spiced Marmalade, Mustard Seed, Fossilized Amber, Pine Needles

CARD WALKTHROUGH
WATERCOLOR STAMPING
YOU DO YOU CARD
Adhere Distress Watercolor Cardstock to Stamp and Stencil Mat inside MISTI
Align and secure large hearts stamp to the cover of the MISTI
Use Mini Distress Ink Pads or Distress Markers noted above/below to color each heart in a different color
Use the Distress Sprayer to mist the stamp with water
Stamp on to the cardstock
Repeat steps 3-5 to deepen the color
FOCUS ON THE GOOD CARD
Adhere Distress Watercolor Cardstock to Stamp and Stencil Mat inside MISTI
Align and secure "small hearts strip" stamp to the cover of the MISTI
Use the Mini Distress Ink Pads or Distress Markers to color the butterflies using the following colors: Seedless Preserves, Picked Raspberry, Barn Door, Spiced Marmalade, Fossilized Amber
Use the Distress Sprayer to mist the stamp with water
Stamp on to the cardstock
Repeat steps 3-5 to deepen the color

FREE TO FLY CARD
Adhere Distress Watercolor Cardstock to Stamp and Stencil Mat inside MISTI
Align and secure each of the butterfly stamps from the Watercolor set to the cover of the MISTI
Use the Mini Distress Ink Pads to color each of the butterflies in a different color, as follows: Picked Raspberry, Kitcsh Flamingo, Fossilized Amber, Pumice Stone and Ground Espresso (NOTE: picture below shows different colors than the colors I just mentioned)
Use the Distress Sprayer to mist the stamp with water
Stamp on to the cardstock
Repeat steps 3-5 for each color until your cardstock looks as pictured below.
DIE-CUTTING
YOU DO YOU CARD
Align the die over the stamped hearts and run through the die-cutting machine
Leave the hearts intact in the original piece of cardstock
Flip over that die-cut cardstock and place a foam dot on the back of each heart
Die-cut another piece of watercolor cardstock using the deckled rectangle die with the textured side facing up
Gently place the die-cut heart cardstock over the rectangle to adhere the popped up hearts while keeping the spacing alignment
Remove the negative of the die-cut heart cardstock
FOCUS ON THE GOOD CARD
Align the die over the stamped hearts and run through the die-cutting machine
Repeat until each strip of hearts are die-cut
Die-cut another piece of watercolor cardstock using the deckled rectangle die with the textured side facing up
Adhere the hearts strips
FREE TO FLY CARD
Align the matching dies over the stamped butterflies and run through the die-cutting machine
Die-cut another piece of watercolor cardstock using the deckled rectangle die with the textured side facing up

CREATING THE CARD BASES/FINISHING
YOU DO YOU CARD
Ink one of the large flower stamps from the Botanic Collage Stamp Set in Pumice Stone.
Align and stamp onto the top left and right side of a 4 1/4" x 5 1/2" khaki card base.
Adhere "You Do You" stick to deckled rectangle.
Pop-up the deckled rectangle with foam tape and adhere to the card base.
Splatter with black paint using the Distress Splatter Brush or a paint brush.

FOCUS ON THE GOOD CARD
Ink one of the large flower stamps from the Botanic Collage Stamp Set in Pumice Stone.
Align and stamp onto the bottom left and right side of a 4 1/4" x 5 1/2" khaki card base.
Trim and adhere "Focus On The Good" stick to deckled rectangle.
Pop-up the deckled rectangle with foam tape and adhere to the card base.
Splatter with black paint using the Distress Splatter Brush or a paint brush.

FREE TO FLY CARD
Ink one of the large flower stamps from the Botanic Collage Stamp Set in Pumice Stone.
Stamp onto the top left and right side of the deckled rectangle.
Very lightly ink blend Kitsch Flamingo onto the top left corner of the rectangle and Pumice Stone onto the bottom right of the rectangle
Adhere "Free to Fly" sticker to deckled rectangle.
Pop-up the deckled rectangle with foam tape and adhere to the card base.

Thank you SO much for stopping by! I hope that you will try this simple technique for creating a watercolor effect with your stamps. These ones are already designed to give you that look when stamping but the misting with water will enhance it and allow the Distress Ink to show it's gorgeous reactive properties even more.
SUPPLIES:
I listed the products that I have used below. Please note that these are compensated affiliate links, used at no cost to you. I really appreciate your support. All stamps used today were part of my Be Bold maker package from Simon Says Stamp. Click on the icons below each product picture to shop with SimonSaysStamp.com.


Comments