

Simon Says Stamp - THANK YOU TEACHER Gift Card Holders
- Keisha Diann

- Jun 20, 2025
- 3 min read

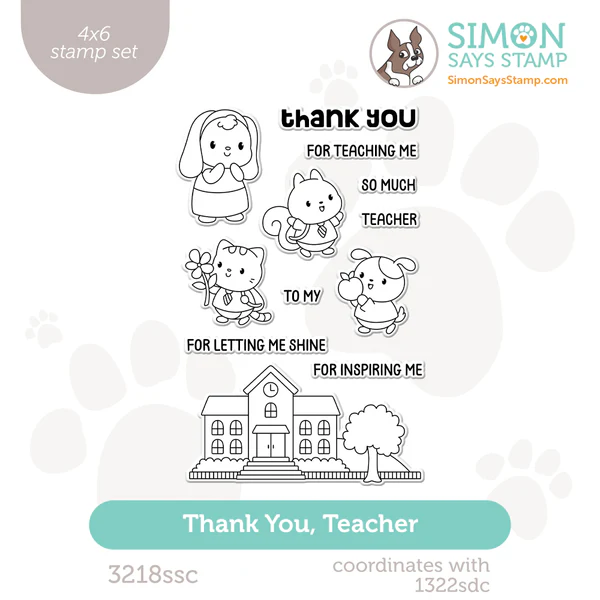
Hello Lovelies! We have so many reason to be grateful to our teachers for, so today's project is a trio of Gift Card Holders using the Thank You Teacher set from Simon Says Stamp's Moments In Time release.
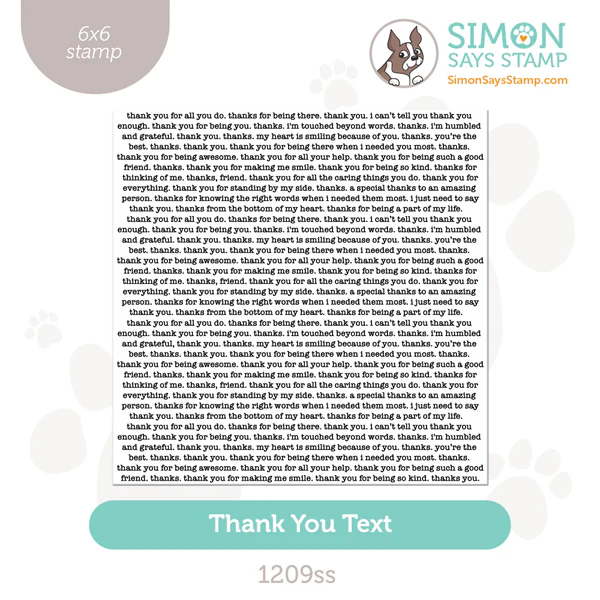
I love that the coloring for these adorable critter images is super easy and that we will make some small personalizations to enhance the gift card holders and make them even more special. Added bonus - using a large background stamp like the Thank You Teacher Text allows you to quickl create your own patterned paper.

Key Supplies for Thank You Teacher Gift Card Holders!
Get Your Supplies!
Click on the image below to SHOP THE ENTIRE release OR
SHOP the Supplies section at the bottom of this post

Today's GIF!
Teachers are everyday heroes!
Like this card and my CORNY GIFs? CLICK BUTTON BELOW
to sign up for blog updates:
THANK YOU TEACHER GIFT CARD HOLDER - Alcohol Marker Coloring, Ink-Blended Gradient and Custom Patterned Paper
Holder Size: ~2 1/4" x 3 1/2"
COLOR PALETTE
Pawsitively Saturated Ink Pads: Apple, Twilight, Zest


Ohuhu Colors: e220, E160, CG020, CG050, B290, B140, B120, RV260, R10, Y5, YR172, YR170, YR8, Y120, G050, GY1
Copic Colors: E13, E11, C0, C4, B29, B23, B21, RV32, RV10, R08, YR18, YR14, YR02, YR31, YG01, G40
PREPARING THE DIE-CUTS

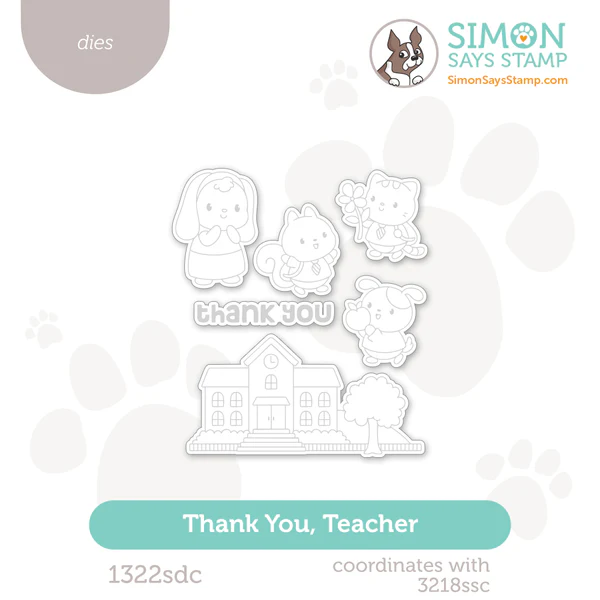
Stamp all the images from the Thank You Teacher Stamp Set in Memento Tuxedo Black ink onto white cardstock.
Color with the selected markers.
Die-cut with the coordinating Thank You Teacher Die Set.
CREATING THE GIFT CARD INSERTS & HOLDERS
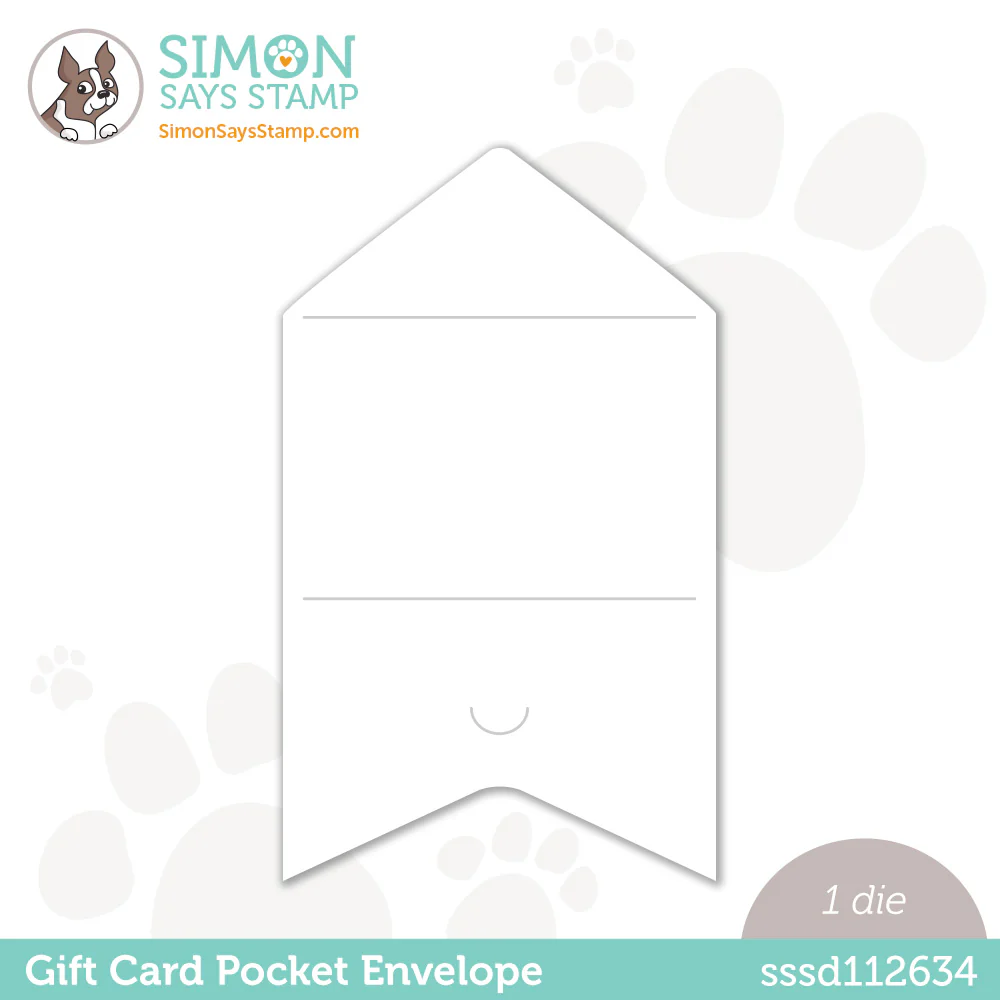
Die-cut the Gift Card Holders and Inserts using the Gift Card Pocket Envelope Die.
use solid color cardstock for each of the holders in red, green and navy blue.
use white cardstock for the inserts.
Use the to ink-blend one color in a soft gradient onto each of the inserts in a soft gradient.
Stamp each insert using the sentiments from the Thank You Teacher set and using Simon Says Stamp Nocturne VersaFine Clair Ink.
Stamp the outside of the Gift Card Holders using the Thank You Text Background Stamp and each of the coordinating ink colors: Apple, Twilight, Zest NOTE: there is an ERROR in the imae below and you will need stamp the sentiments for the yellow and red gradient backgrounds to the top right instead of the top center.


ASSEMBLY & FINISHING
Adhere the colored die-cuts to the coordinating backgrounds as shown.
Adhere the backgrounds to the gift card holders.
Fold the holder into an envelope to finish.


Last Look!

Thanks for stopping by today! Drop me a comment and say hi!
SUPPLIES:
I listed the products that I have used below. Please note that these are compensated affiliate links, used at no cost to you. I really appreciate your support. All stamps used today were part of my Moments in Time maker package from Simon Says Stamp. Click on the icons below each product picture to shop with SimonSaysStamp.com.


Comments