

Simon Says Stamp - HAPPY BEE-DAY Honeycomb Gift Tags
- Keisha Diann

- Jun 6, 2025
- 2 min read

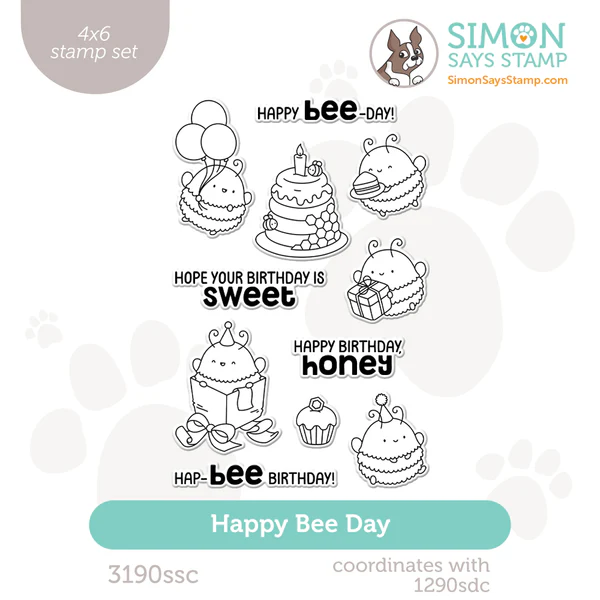
Hello Lovelies! I'm not done with the adorable bee-themed crafty goodies from the Simon Says Stamp Moments In Time release. I hope you'll find them as easy as I did to put together!
A gradient stenciled background and custom colored die-cuts make this Happy Bee-Day Honeycomb Gift Tags pair un-BEE-lievably adorable. We'll make this together, all you have to do is decide who you want to give this to!

Key Supplies for Happy Bee-Day Honeycomb Gift Tags!

Get Your Supplies!
Click on the image below to SHOP THE ENTIRE release OR
SHOP the Supplies section at the bottom of this post

Today's GIF!
Winnie looks a LITTLE different today...
Like this card and my CORNY GIFs? CLICK BUTTON BELOW
to sign up for blog updates:
HAPPY BEE DAY HONEYCOMB GIFT TAGS - Creating Die-cuts with Details and Gradient Stenciling
Tag Size: 4 1/4" x 5 1/2"

COLOR PALETTE
Pawsitively Saturated Ink Pads: Apple, Peachy, Zest, Limelicious, Fairway, Flannel

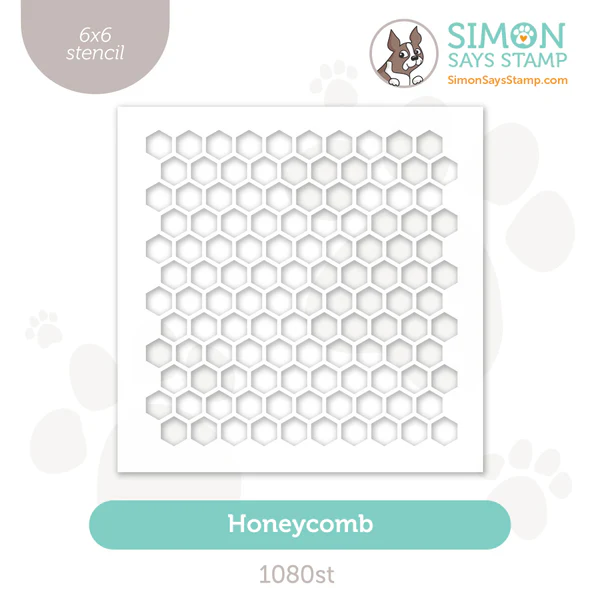
GRADIENT STENCILING
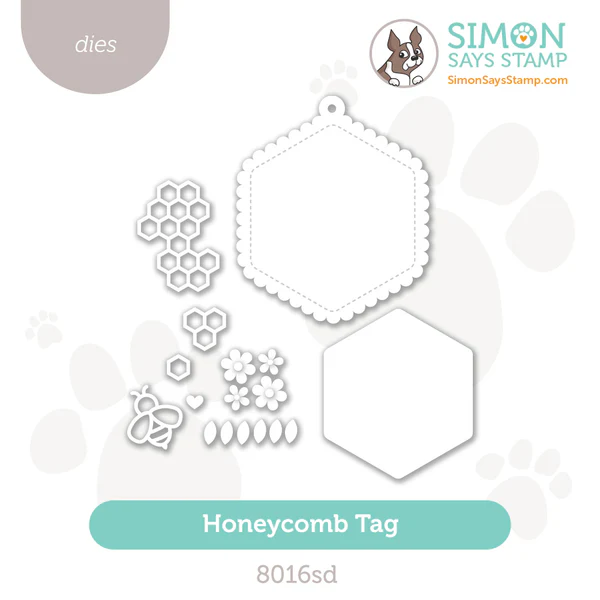
Place four hexagonal die-cuts from the Honeycomb Tag Die Set on a Craft Tacky Mat as shown and cover with the Honeycomb Stencil.
Apply Lemonade Ink in with a Large Blending Brush all over the hexagons and then darken in select areas with the Zest Ink.
Add a little Peachy Ink over some of the Zest ink-blended area to deepen the color.
Remove the stencil to show the honeycomb pattern.


COPIC COLORING, DIE-CUTTING & FINISHING
Die-cut the bees, flowers and leaves out of white cardstock.
Identify the insides of the bee wings.
Dab them with a Sheer Shimmer Stix Dauber to make them shimmery.
Let them dry before assembling.
Color the remaining die-cuts as shown in the large image below using a Round Detail Brush.


Adhere the hexagons to the tag bases.

Layout selected die-cuts on the gift tag base.
Cover with Glad Press & Seal Film to hold the die-cuts in place and apply craft glue to the back.
Adhere to the tag base.
Adhere the inside wings and bee "head" to the bee outline.


Repeat for the other tag as shown below.


Last Look!


Thanks for stopping by today! Drop me a comment and say hi!
SUPPLIES:
I listed the products that I have used below. Please note that these are compensated affiliate links, used at no cost to you. I really appreciate your support. All stamps used today were part of my Moments in Time maker package from Simon Says Stamp. Click on the icons below each product picture to shop with SimonSaysStamp.com.


Your creative approach to designing these honeycomb gift tags is both inspiring and easy to follow. The step-by-step explanation really helps bring the idea to life, especially for those who enjoy crafting but need a bit of guidance. I recently came across a similar discussion on https://www.rosedalewellness.com/, and it offered an interesting perspective on how creative hobbies can also contribute to relaxation and mindfulness. It’s great to see such thoughtful and practical content shared here.
I frequently compare Jadi Buti Price List, and Yuvika Herbs offers fair and transparent prices. It's like shopping at a reputable herbal shop close to my home. They are one of the most reputable Herbs Online India sellers with reliable delivery and high-quality Ayurvedic herbal products.
With its infinite potential, Infinite Craft is less about solving puzzles and more about crafting your own creative journey.