

Simon Says Stamp - Rainbow Stamping and Copic-Coloring a HAPPY BEE-DAY Card
- Keisha Diann

- Jun 4, 2025
- 2 min read

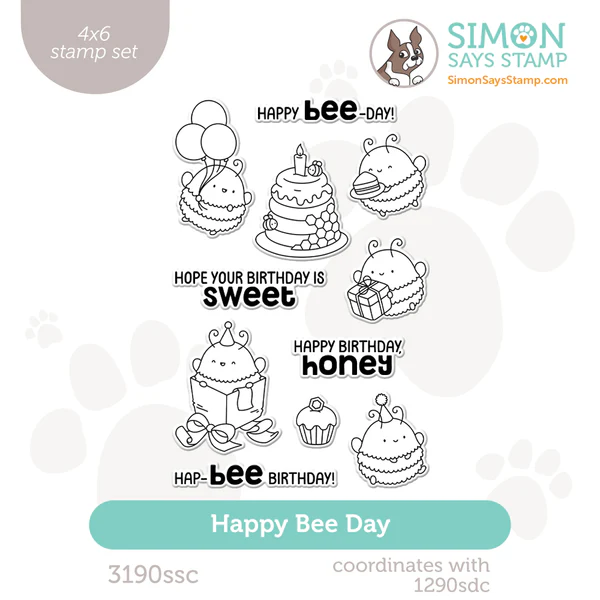
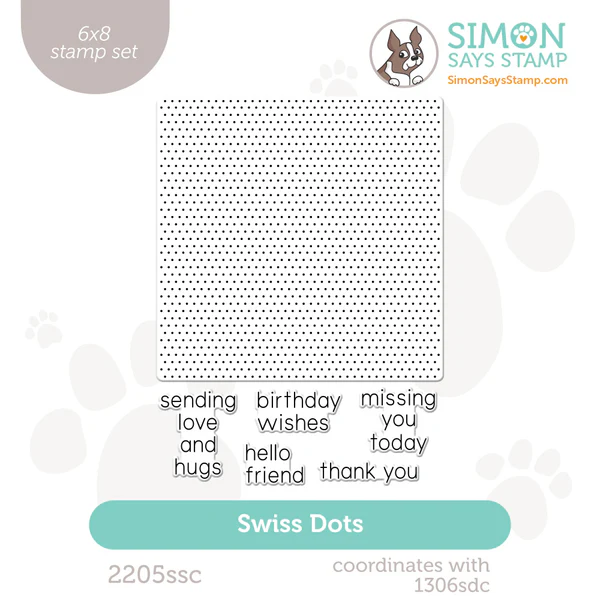
Hello Lovelies! I'm back again with the Swiss Dots background! Rainbow stamping and Copic-Coloring this Bee-Day card was the first thing I did with the Moments In Time release. When I finished it, I realized that I also had a honeycomb stencil that would have been another fun option as the background for this card.
I love it that you can have multiple options for cuteness on this card! Whether you choose to stick with my "mistake" or stencil a honeycomb rainbow, I think you'll be smiling either way when you are done.

Key Supplies for Rainbow Stamping & Copic-Coloring the Happy Bee Day Card!

Get Your Supplies!
Click on the image below to SHOP THE ENTIRE release OR
SHOP the Supplies section at the bottom of this post

Today's GIF!
The bees are VERY happy about today's card!
Like this card and my CORNY GIFs? CLICK BUTTON BELOW
to sign up for blog updates:
HAPPY BEE DAY CARD - Rainbow-Stamping, COPIC Coloring, Die-cutting, Collage
Card Size: 4 1/4" x 5 1/2"

COLOR PALETTE
Pawsitively Saturated Ink Pads: Carnation, Lilac, Marine, Tidepool, Celery and Lemonade

Pick your favorite pastel Copic or Ohuhu markers.
Ohuhu Markers: Y2, Y070, Y040, G050, G120, B120, V230, RV280, RV130, E010, CG020

RAINBOW STAMPED BACKGROUND
Startling with the Lemonade ink, stamp a single row of color as wide as the ink pad across the Swiss Dots BG.
Repeat with each ink-cube in rainbow order until the whole background stamp is covered.
Stamp the background onto white cardstock.
Repeat the rainbow inking steps if needed to darken the colors.

COPIC COLORING, DIE-CUTTING & FINISHING
Stamp all the images onto white cardstock using Memento Tuxedo Black ink.
Color all the "bodies" of the bees in yellow and grey colors.
Color the rest of the birthday images the selection of pastel markers.

Die-cut the sentiments and images.
Die-cut the rainbow background with the 2nd to largest A2 rectangle die.
Arrange all the die-cuts on the rainbow background and cover with film.
Adhere thin foam squares and apply glue to the die-cuts as shown.
Adhere to a card base and embellish with sequins to finish.


Last Look!

Thanks for stopping by today! Drop me a comment and say hi!
SUPPLIES:
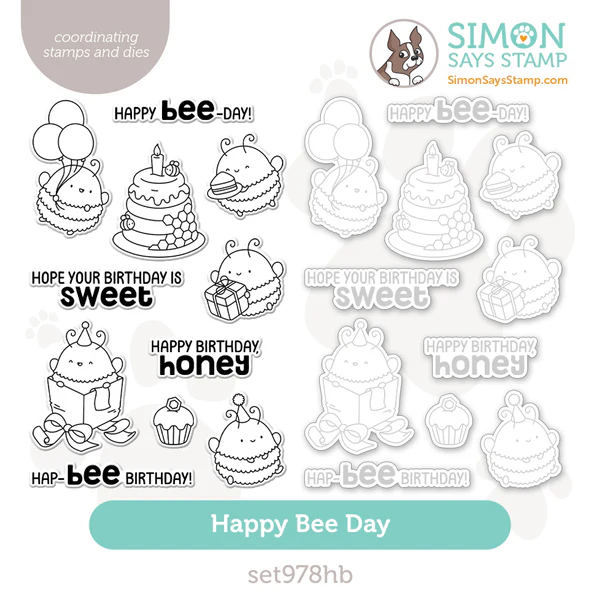
I listed the products that I have used below. Please note that these are compensated affiliate links, used at no cost to you. I really appreciate your support. All stamps used today were part of my Moments in Time maker package from Simon Says Stamp. Click on the icons below each product picture to shop with SimonSaysStamp.com.


Comments