

Simon Says Stamp - Sending Cheer Release Blog Hop, Day 2


Hi Lovelies!
Welcome to Day 2 of Simon Says Stamp's Sending Cheer Blog Hop! Ink-blending is one of my go-to techniques when crafter’s block comes calling. Sometimes a little color is all I need to get the ideas moving again!
For this no-stamping Christmas card, I paired the Joyful Snowman Die Set from the Sending Cheer release with a snowy background and traditional red and green accents. Just a few inking touches help turn the die-cuts into a sweet winter scene.
Today I’m sharing how I colored the small pieces, softened the background edges and brought everything together.
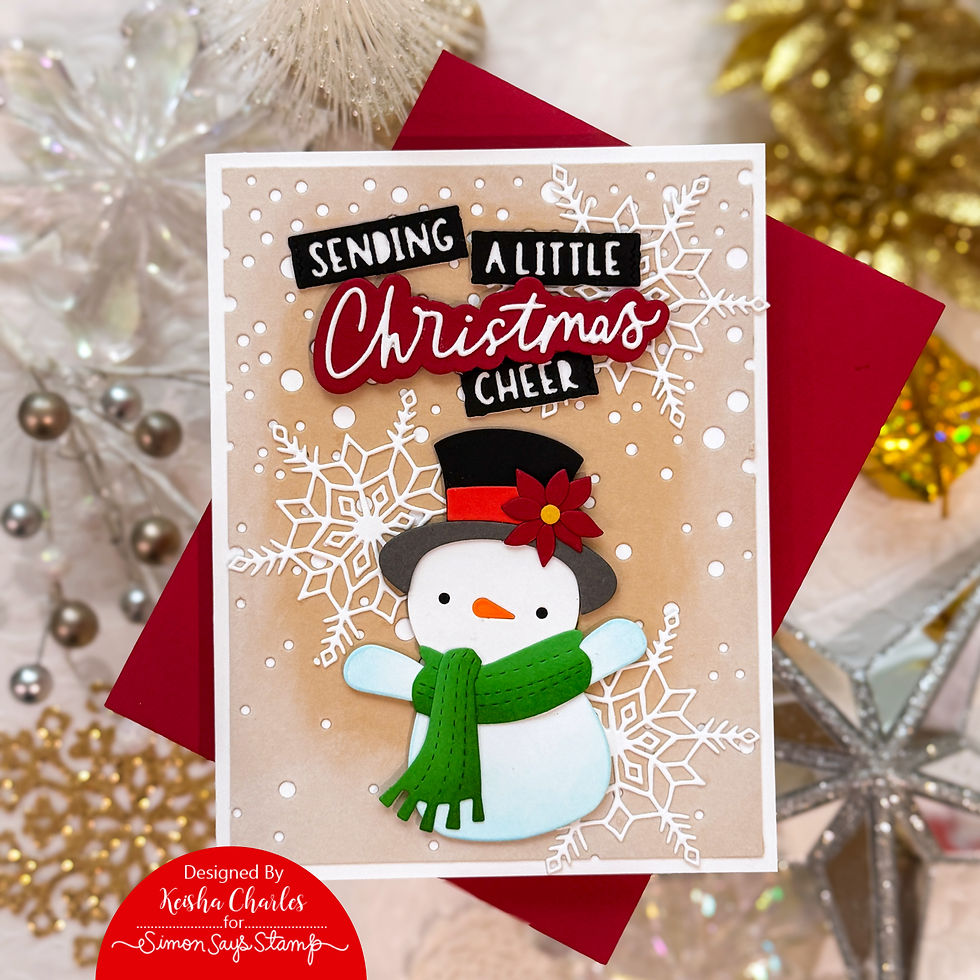
SENDING CHEER BLOG HOP CARD SUPPLIES
All Sending Cheer Release supplies used for this project were gifted by Simon Says Stamp.
Click the image below to check out the entire Sending Cheer Release. All supplies for this project are linked in the Supplies Section at the end of this post.

Today's GIF!
My snowman has a plan to keep me warm!
Like this card and my corny GIFs?
CLICK THE BUTTON BELOW to sign up for blog updates:
JOYFUL SNOWMAN CARD
Project Snapshot
Finished size: 4 1/4” x 5 1/2”
Skill level: Beginner—minimal ink-blending and easy die-cut assembly
Active time: 25 mins (estimated)
Waiting time: 0 mins
Techniques: Die-cutting, ink-blending and dimensional layering; no stamping

Key Supplies
Joyful Snowman Die Set
Hand-drawn Snowflake Die
Falling Snow Cover Die
Sending Christmas Cheer Die Set
Cardstock, ink pads and Blending Brushes
Craft glue and foam square
COLOR PALETTE
I chose traditional reds and green to give this wintry card a festive focus. These are the inks I used to enhance the snowman and its details:
Ink | Placement |
Pawsitively Saturated Marine Ink Pad | Snowman body |
Pawsitively Saturated Fairway Ink Pad | Scarf |
Pawsitively Saturated Apple Ink Pad | Hat band |
Pawsitively Saturated Honey Ink Pad | Poinsettia center |
Pawsitively Saturated Mandarin Ink Pad | Carrot nose |
White Pigment Ink | Perimeter of the falling-snow background |
PROJECT TUTORIAL
1.Cut and Score the Card Base
Cut the white cardstock for the base to 5 1/2” x 8 1/2”.
Using the Scoring Board and scoring tool, score at 4 1/4” on the long side, then fold and crease with the Bone Folder.This creates a 4 1/4” x 5 1/2” card base.
2. Prepare the Snowy Panel and Die-Cuts
Create the 4” x 5 1/4” card-front layer using the Falling Snow Cover Die and your Die-cutting Machine.
Die-cut the snowman, snowflakes and sentiment from the selected cardstock colors.
The falling-snow texture provides the backdrop, with the separate pieces ready for coloring and assembly.
3. Give the Snowman a Little Color
Using Blending Brushes, very lightly apply Marine to the snowman body, Fairway to the scarf and Apple to the hat band. Color the carrot nose with Mandarin and the poinsettia center with Honey.
These small touches add shading and color without requiring a separate cardstock shade for every tiny detail.
My blue blending got a little more enthusiastic than I intended! Next time, I’d use a lighter touch on the body to keep the gradient softer.
4. Assemble the Sentiment and Soften the Background
Assemble the layers from the Sending Christmas Cheer Die Set.
Then blend White Pigment Ink around the perimeter of the 4” x 5 1/4” falling-snow panel to create the snowy scene.
I like an imperfect sentiment layout here—it adds visual interest without making the arrangement feel overly formal.
5. Layer and Adhere the Winter Scene
Arrange the snowman, snowflakes and sentiment on the Snowfall background. Assemble and adhere the card layers and embellishments using craft glue and foam squares.
The finished scene brings together textured snowfall, softly inked edges and festive die-cut details.
 |  |
 |  |
A Handy Ink-Blending Tip
Use ink to color White Cardstock when you need a small piece in a particular shade. It saves you from needing every cardstock color—or cutting into a full colored sheet for one tiny carrot nose!
Ink-blending also adds visual interest beyond a flat, solid cardstock color.
UP CLOSE AND CRAFTY
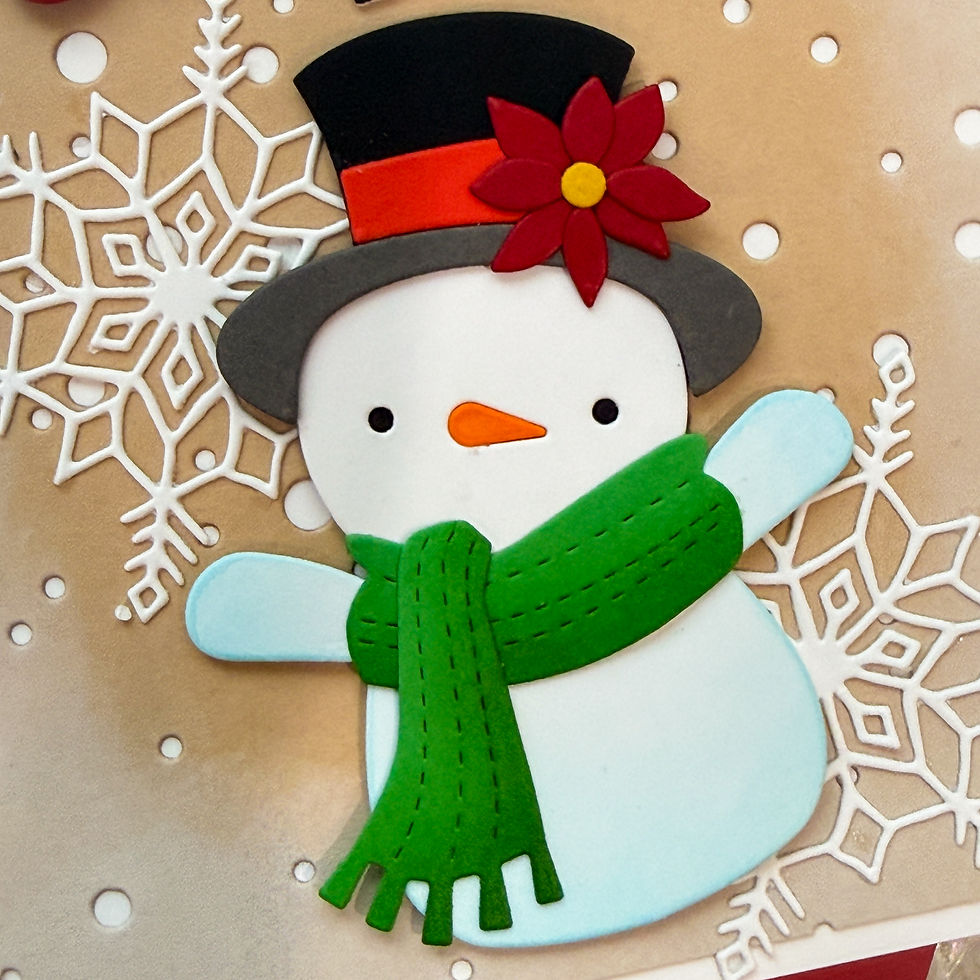

LAST LOOK!
When crafter’s block visits, this combination of die-cutting and simple ink-blending gives me a place to start. A few colorful details, a snowy backdrop and a sweet snowman—no stamping required!
I want to make sure that you get the most out of today's blog hop, so please take note, Lovelies:
Be sure to explore the Sending Cheer release gallery. It's packed with inspiration from the releases! Remember, this is DAY 2 of the Blog Hop. You've got another delightful world of inspo to explore from Day 1. Be sure to head back to the Simon Says Stamp Blog to check out all the inspiration from Day 1!
Comment on this post to be eligible to win a $25 coupon from Simon Says Stamp. Winners will be chosen and posted on the Simon Says Stamp blog. The winner should email Simon Says Stamp to claim their prize.
Our not-yet-released Simon Says Stamp exclusive Hedge Hugs stamp set will be automatically added to your cart with any purchase of Sending Cheer release products! This gift with purchase will expire 10/11at 11:59 pm EDT or while supplies last. (Limited time offer - see details below.)
Thanks again for stopping by! I hope to see you again soon! Now, do go and check out what the beautiful Barbara Tarayao has in store for you today!
HOP ORDER:
SUPPLIES:
I’ve listed the products I used below. Please note that these are compensated affiliate links used at no cost to you. I really appreciate your support. Sending Cheer Release products were provided as part of my Design Team package from Simon Says Stamp. Click on the icons below each product picture to shop with SimonSaysStamp.com.


THank you for the detailed steps!
Love this and that snowman!