Simon Says Stamp - PLENTIFUL POPPIES Thank You Card
- Keisha Diann

- Sep 3, 2023
- 3 min read

Hello Lovelies! STAMPtember®! gave us TEN Embossing Folders and I did detailed ink blending on a few of them. This is my second attempt and as I did with the Brilliant Coneflower, I wanted the flowers to glow. You will have to let me know if I succeeded.
The Plentiful Poppies Embossing Folder looked like it would be a little more of a challenge to color because it is bursting with flowers, but I promise you it was fun and I have oodles of photos to walk us through it!

Exactly as I said with the Brilliant Coneflower project, "you really have to worry about being precise with this project; we are going for a dreamy effect and a lot of softness, we want our flowers to glow".
Let's take a look at the key supplies:
Get Your Supplies!
Click on the image below to SHOP THE ENTIRE release;
SHOP THIS CARD using the links throughout the post OR;
SHOP the Supplies section at the bottom of this post:
Today's GIF!
Let's make our Poppies DANCE!
...or at least GLOW LOL
Like this card and my corny GIFs? CLICK BUTTON BELOW
to sign up for blog updates:
THANKFUL CARD - Embossing, Detailed Ink-Blending, Foiling and Die-cutting
Card Base: 4 1/4" x 5 1/2"
Embossed Layer: 4 " x 5 1/4"
Simon Says Stamp Orange Fields Sequins
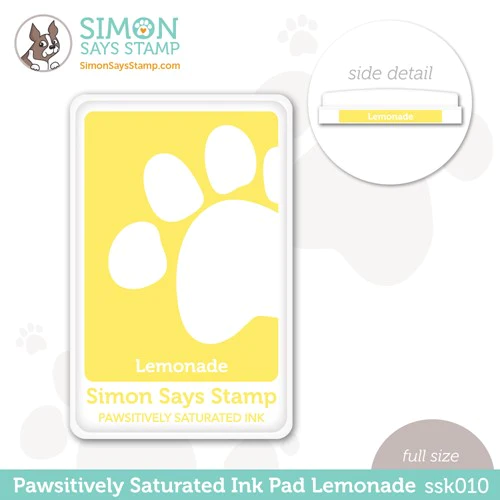
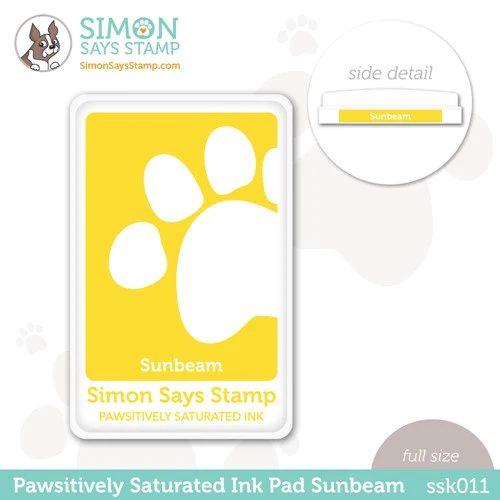
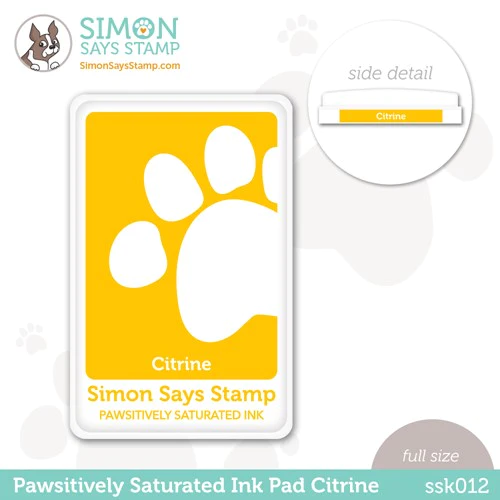
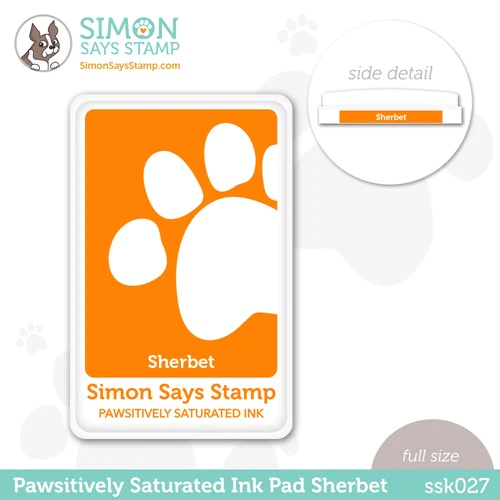
Simon Says Stamp Pawsitively Saturated Ink Pads - Lemonade, Sunbeam, Citrine, Sherbet
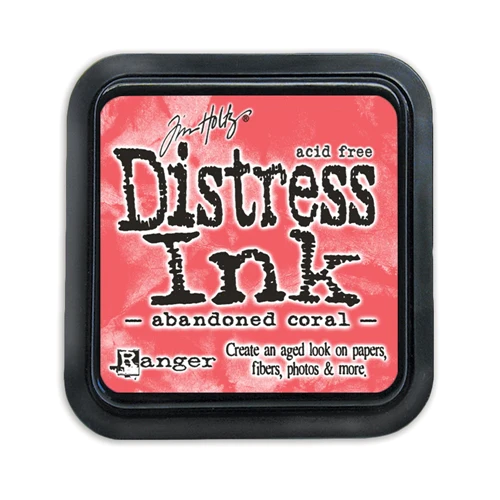
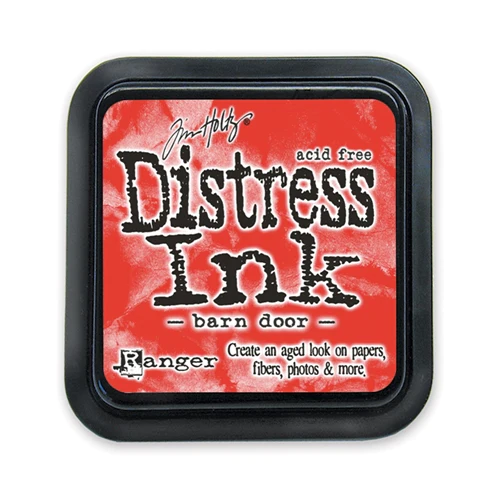
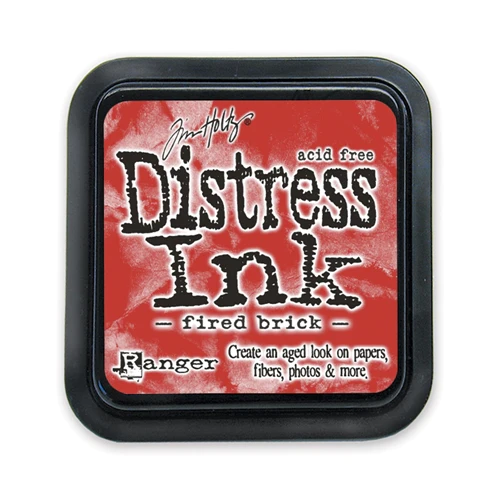
Tim Holtz Ranger Distress Ink Pads - Abandoned Coral, Barn Door, Fired Brick, Aged Mahogany
Tim Holtz Ranger Distress Paint - Picket Fence

COLOR PALETTE
We are pairing Pawsitively Saturated yellows with Distress Inks reds! - Lemonade, Sunbeam, Citrine, Sherbet Abandoned Coral, Barn Door, Fired Brick, Aged Mahogany
PICTORIAL GUIDE
EMBOSSING AND DETAILED INK-BLENDING
Emboss a 4 1/4" x 5 1/2" piece of white 110lb Neenah Cardstock using the Plentiful Poppies Embossing Folder
Secure the back of the embossed cardstock to the to the your craft surface with painter's tape
Ink-blend color onto the image using the following colors and brushes:
PART 1 - THE BACKGROUND
Lemonade with a Large Blending Brush all over
Sunbeam with a Large Blending Brush on the top and along the right side
Citrine with a Large Blending Brush on the top and along the right side
Sherbet with a Large Blending Brush on the top and along the right side
PART 2 - THE FLOWERS
Abandoned Coral with a Round Detail Brush on the petals of each flower
Barn Door with a Round Detail Brush over most of the petals of each flower
Fired Brick with a Round Detail Brush to highlight the petal edges and shadows of each flower
Aged Mahogany with a Round Detail Brush to deepen the shadows of each flower
SPLATTERING
Place a pea-sized dot of Picket Fence Distress Paint onto your craft surface, spritz ~ 3 times with water to dilute and then mix with a Splatter Brush
Splatter the entire embossed panel with the white paint

FOILING, DIE-CUTTING AND INK-BLENDING
Foil the Thankful sentiment in Gold onto White Neenah Cardstock using a foiling machine
Die-cut the folded "Thankful" sentiment using the matching outline die
Ink-blend Sunbeam and Sherbet ink onto the die-cut foiled "Thankful" sentiment
ASSEMBLY AND EMBELLISHING
Pop-up the "Thankful" sentiment sentiment with some foam tape or foam dots
Adhere the sentiment to the embossed layer
Use a Place and Score Embellishment Wand to position and then adhere the Orange Fields Sequins with Craft Tacky Glue
The layers of color help us achieve that GLOW!

The ombre sentiment with a pop of gold elevates the card.

A few sequins echo the gold in the sentiment and the glow in the background!

Time to give this handmade happiness to one of your besties!

I loved taking time with this card and I hope you will too!
Thank you for stopping by and hope that you will be back! Happy Crafting!
SUPPLIES:
I listed the products that I have used below. Please note that these are compensated affiliate links, used at no cost to you. I really appreciate your support. All stamps used today were part of my STAMPTEMBER 2023 maker package from Simon Says Stamp. Click on the icons below each product picture to shop with SimonSaysStamp.com.




Kaiser OTC benefits provide members with discounts on over-the-counter medications, vitamins, and health essentials, promoting better health management and cost-effective wellness solutions.
Obituaries near me help you find recent death notices, providing information about funeral services, memorials, and tributes for loved ones in your area.
is traveluro legit? Many users have had mixed experiences with the platform, so it's important to read reviews and verify deals before booking.