Simon Says Stamp - MADE IN MINUTES HEART BANNER Valentine Card
- Keisha Diann

- Jan 27, 2024
- 2 min read

Hello Lovelies! Stencils AND glitter cardstock??? Two of my card-making faves make this project pretty and simple! The Heart Banner Stencil somehow reminds me of those pastel, chunky Valentine's candy with the little messages on them, and that inspired my color choices.
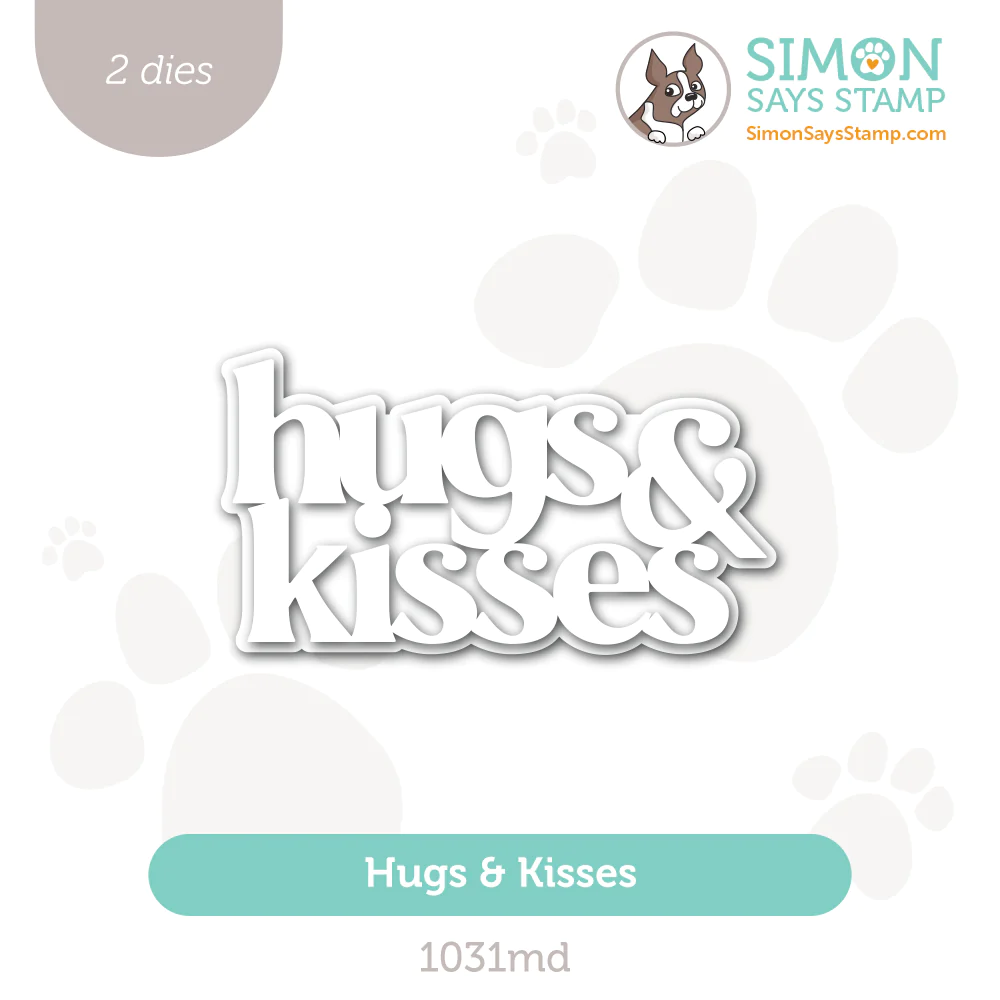
Both the stencil and the Hugs and Kisses die are from the Simon Says Stamp's Smitten Release, which has so many goodies of Valentine's Day, but I love that most of them can be used throughout the year to celebrate so many things!

Time for Key Supplies!
Get Your Supplies!
Click on the image below to SHOP THE ENTIRE release OR
SHOP THIS CARD using the links throughout the post OR
SHOP the Supplies section at the bottom of this post
Today's GIF!
Should we make this a thing???
Like this card and my corny GIFs? CLICK BUTTON BELOW
to sign up for blog updates:
HUGS AND KISSES CARD - Stenciling and Die-cutting
Card Base: 4 1/4" x 5 1/2"

COLOR PALETTE
Pawsitively Saturated Ink - Cheeky, Lilac, Surf, Limelicious

CARD WALKTHROUGH
STENCILING
Secure a 4" x 5 1/4" piece of white cardstock to your Stamp and Stencil Mat.
Align and adhere one of the layers Heart Banner Stencil over the cardstock.
Use a large blending brush and the Pawsitively Saturated Cheeky Ink pad to ink the cardstock through the openings in the stencil. Swap out that stencil for another layer and choose another ink color and continue stenciling. Repeat until you finish using all the stencil layers and colors.

DIE-CUTTING
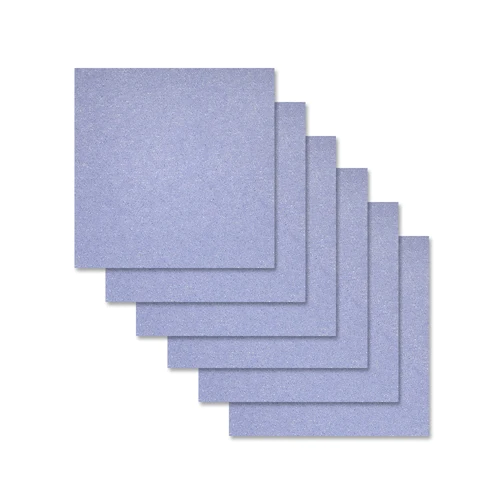
Die-cut the Hugs and Kisses sentiment layer out of the orchid glitter cardstock.
Die-cut the Hugs and Kisses outline layer out of Vellum.
Adhere the layers together with Craft Glue.
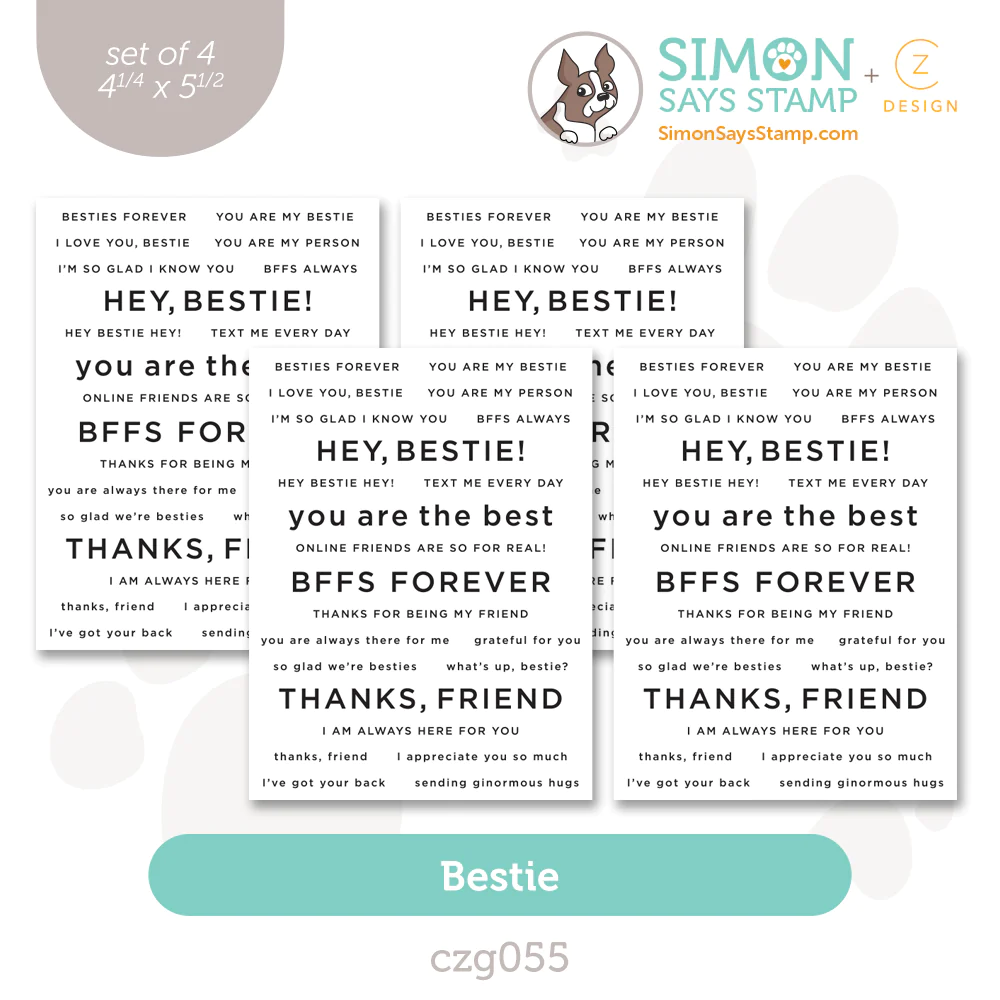
Trim the Sentiment Strip.

FINISHING
Adhere the stenciled layer to the card base with Foam Tape.
Adhere the Hugs and Kisses die-cut to the stenciled card front with a tape runner.
Adhere the sentiment strip with Craft Glue.
Embellish the card front with a clear droplet for the dot on the letter "I".
These colors are so happy!

This orchid glitter is so sweet and not overly shiny which makes me like it all the more!

Pretty simple and cute, I think!

Thank you for visiting me here for the walkthrough of this simple card!
Happy Crafting!
SUPPLIES:
I listed the products that I have used below. Please note that these are compensated affiliate links, used at no cost to you. I really appreciate your support. All stamps used today were part of my Smitten maker package from Simon Says Stamp. Click on the icons below each product picture to shop with SimonSaysStamp.com.


Kaiser OTC benefits provide members with discounts on over-the-counter medications, vitamins, and health essentials, promoting better health management and cost-effective wellness solutions.
Obituaries near me help you find recent death notices, providing information about funeral services, memorials, and tributes for loved ones in your area.
is traveluro legit? Many users have had mixed experiences with the platform, so it's important to read reviews and verify deals before booking.
I love the way you used the heart banner stencil, it makes such a sweet card 🩷🧡💛🩵💜💙