Simon Says Stamp - LATTICE TILE Thank You Card
- Keisha Diann

- Mar 30, 2024
- 2 min read

Hello Lovelies! You can never have too many Thank You cards, so I'm adding to the stash today with a sweetly stenciled shaker!
I kept it mostly Spring with a soft color palette for the ink-blending, layered on some Crackle Paste to give it a little twist and tried out using clay shaker bits for the first time, and had to ask myself "what took so long?" !

Time for Key Supplies!
THE SECRET SAUCE!

Get Your Supplies!
Click on the image below to SHOP THE ENTIRE release OR
SHOP THIS CARD using the links throughout the post OR
SHOP the Supplies section at the bottom of this post
Today's GIF!
Here's another way to say Thank You... :-)
Like this card and my corny GIFs? CLICK BUTTON BELOW
to sign up for blog updates:
APPRECIATE YOU CARD - Stenciled Ink-Blending, Crackle Paste, Creating a Shaker
Card Base: 4 1/4" x 5 1/2"

COLOR PALETTE
Pawsitively Saturated Ink Pads - Guava, Lilac, Royal, Surf, Raindrop, Celery

CARD WALKTHROUGH
STENCILED INK-BLENDING
Adhere a 4 1/4" x 5 1/2" piece of white cardstock or watercolor cardstock to a Stamp and Stencil Mat
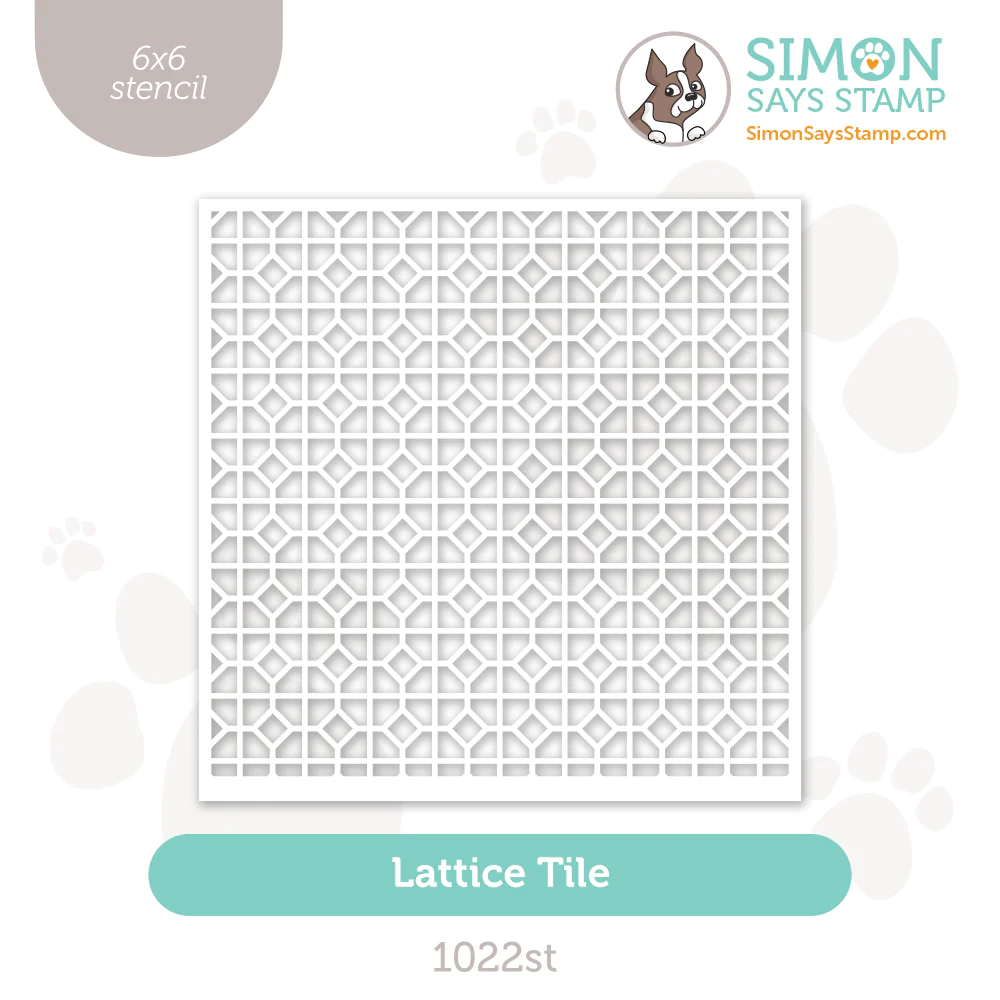
Secure the Lattice Tile Stencil over the cardstock
Use large blending brushes to ink-blend color onto the cardstock as shown in the following order: Guava, Lilac, Royal, Surf, Raindrop, Celery
APPLYING CRACKLE PASTE
Use a palette knife to apply Crackle Paste through the openings in the stencil.
Try to spread it quickly and evenly
Remove the stencil immediately and wash.
Set aside the stenciled panel to dry.

CREATING THE SHAKER
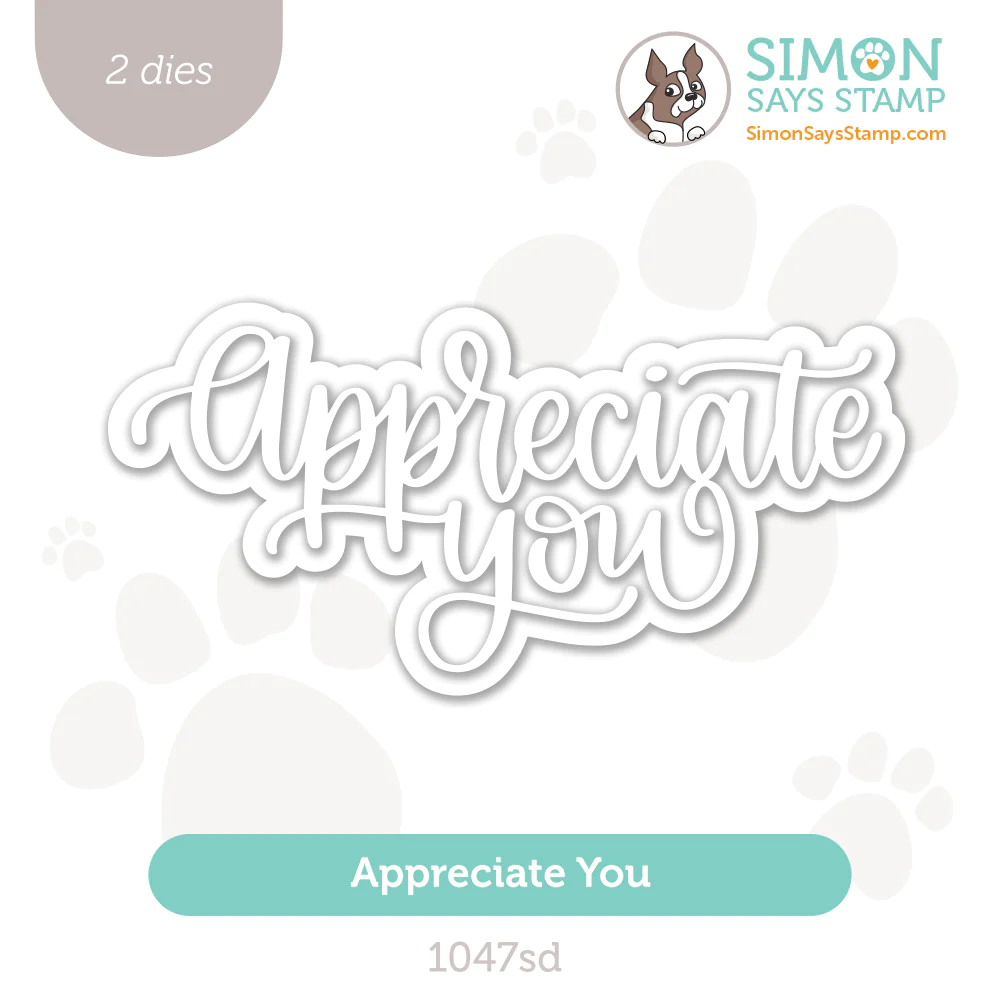
Once dry, use the Appreciate You Outline Die to create the shaker opening on the stenciled panel. Also die-cut the Whirl Blossom and Appreciate You words out of white cardstock.
Trim the stenciled panel and an acrylic sheet to 5 1/4"x 4". Apply double-sided tape to the acrylic sheet.
Adhere the acrylic sheet to the back of the stenciled panel
Apply foam tape around the opening in the stencil; focus on creating a "wall" to hold the shaker bits in place.
Place the Pastel Swirls shaker pieces into the center of the front of a card base. Adhere the stenciled panel with the newly created shaker window, over the shaker bits.
FINISHING
Embellish by adhering the sentiment and flower die-cuts
Adhere more shaker pieces to the card front to finish.
I can't believe that it was easy to get clean lines using such a delicate stencil with all that ink-blending and a layer of crackle paste. Love that aged effect it reminds me of that well-loved look you can get with some old dishes.

I'm glad that I'm no longer scared of making shaker cards!

The Whirl flower die-cut fits in so well here and these clay bits have NOT seen the last of me!

All done, and as I always say, "all pretty"!

Thank you SO much for stopping by! Drop me a comment and say hi!
SUPPLIES:
I listed the products that I have used below. Please note that these are compensated affiliate links, used at no cost to you. I really appreciate your support. All stamps used today were part of my Be Bold maker package from Simon Says Stamp. Click on the icons below each product picture to shop with SimonSaysStamp.com.


The English teacher in me would have to put l or we on the card with the appreciate you sentiment but overall, I love your card! I love how fun it is.
I absolutely love your card. The crackle paste really does add a unique twist.