Simon Says Stamp - GREENERY SWAG Christmas Card
- Keisha Diann

- Nov 5, 2023
- 3 min read

Hello Lovelies! Apparently I'm having a bit of a PINKmas today with my Greenery Swag card from Simon Says Stamp's All The Joy Release!
The first thing that I made on this card was the background, which I actually did in two color waves, if I had time, I would have done more... that's how much fun it was to play with the Peppermint Layering Stripes Stencil Set!

Time for Key Supplies!
Get Your Supplies!
Click on the image below to SHOP THE ENTIRE release OR
SHOP THIS CARD using the links throughout the post OR
SHOP the Supplies section at the bottom of this post
Today's GIF!
Me and the girls just getting ready for Christmas morning...LOL
Like this card and my corny GIFs? CLICK BUTTON BELOW
to sign up for blog updates:
MERRY CHRISTMAS CARD - Stenciling and Die-cutting Watercolored Cardstock
Card Base: 4 1/4" x 5 1/2"

COLOR PALETTE
Distress Ink Pads - Spun Sugar, Picked Raspberry, Candied Apple

Distress Ink Reinker - Spun Sugar, Picked Raspberry, Candied Apple, Spiced Marmalade, Twisted Citron, Mowed Lawn, Pine Needles, Brushed Corduroy
WATERCOLOR BACKGROUNDS
I keep a stash of backgrounds in all the Distress Ink colors to die-cut for projects as needed.

The best way to explain how to make the backgrounds is to show you. Take a peek at the video below for a full walkthrough and then make 4 distress Watercolored Backgrounds using the following colors: Festive Berries, Aged Mahogany, Crushed Olive, Peeled Paint
TIP: You can speed up the process a lot and shorten the drying time by dabbing up some of the water on the inked paper with a paper towel (after letting it sit for about 10 seconds) and then completing the drying process with a heat tool. Repeat the inking, dabbing and drying process to create more splotches/variations in the background.
CARD WALKTHROUGH
STENCILING
Secure a 6 " x 6" piece of 100lb Lipstick Cardstock to the Stamp and Stencil Mat.
Align one of the thicker stripes stencils from the Layering Peppermint Stripes Stencil Set over the cardstock and using a Large Blending Brush and the Spun Sugar Distress Ink Pad apply color gently through the openings in the stencil
Once complete, replace the stencil with the other thick stripes stencil layer to create more stripes running in the same diagonal direction, this time with the Picked Raspberry Distress Ink Pad.
Once complete, flip one of the thicker stripes stencils to create stripes running in the opposite diagonal direction, this time with the Candied Apple Distress Ink Pad. Trim the stenciled layer to 4 1/4" x 5 1/2".

DIE-CUTTING/CREATING THE TAG
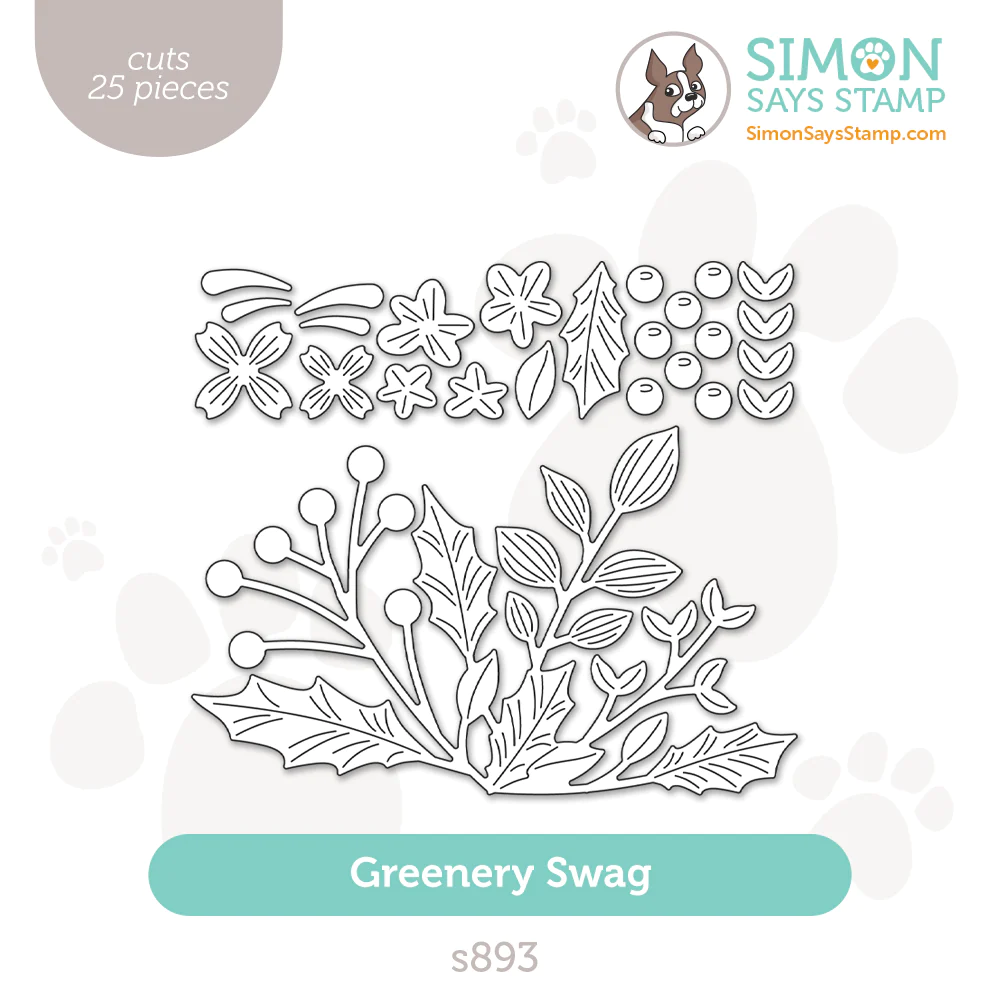
Die-cut the Greenery Swag base out of white cardstock.
Use snippets of the watercolor cardstock colors to die-cut the Greenery Swag layers in different sections.
Adhere these colored sections onto the base with Craft Glue.
Die-cut the Merry Christmas sentiment using Flamingo Glitter Cardstock for the words and use Vellum Cardstock for the outline. Adhere with Craft Glue.
Die-cut the Swatching Tag out of White Glitter Cardstock and loop a piece of White and Silver Baker's Twine through the hole in the top of tag and knot the ends together.
Arrange and adhere the the sentiment and the Greenery swag to the tag. Secure the twine in a loop with Glue Dots.
Pop-up the tag on top of the stenciled layer using Foam Squares
Adhere the stenciled layer to a card base.

These stripes are a scene-stealer!

I promise that you won't regret the time it makes to create the Distress Watercolored backgrounds.

I miss putting ribbon and twine on my cards, I love adding this type of soft texture!

Hope that you will decide to make this with me!

Thank you for stopping by and checking out my noisy card, hopefully this inspired some ideas or just gave you the recipe to a card you want to try!
Happy Crafting!
SUPPLIES:
I listed the products that I have used below. Please note that these are compensated affiliate links, used at no cost to you. I really appreciate your support. All stamps used today were part of my All The Joy maker package from Simon Says Stamp. Click on the icons below each product picture to shop with SimonSaysStamp.com.


Comments