

Simon Says Stamp - Elegant Rose Mother's Day Framed Decor
- Keisha Diann

- May 1, 2025
- 2 min read

Hello Lovelies! I've been making these framed decor pieces for some over a year now. I started out just wanting to seasonally decorate my craft room, but today's Elegant Rose florals are to brighten Mom's space and send lots of love her way for Mother's Day.
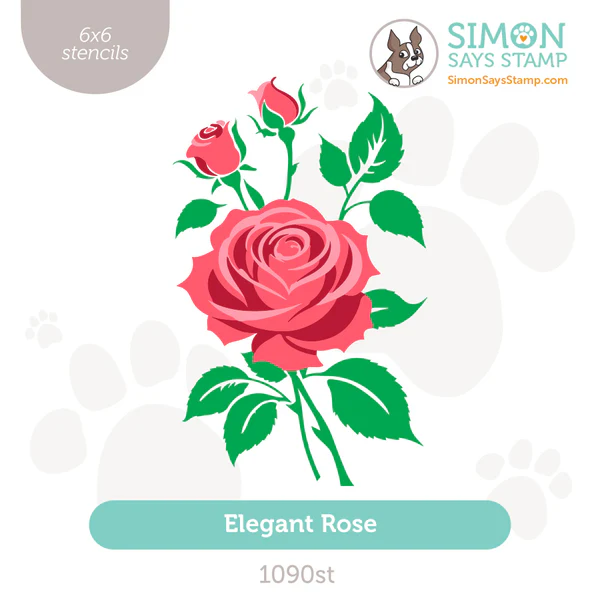
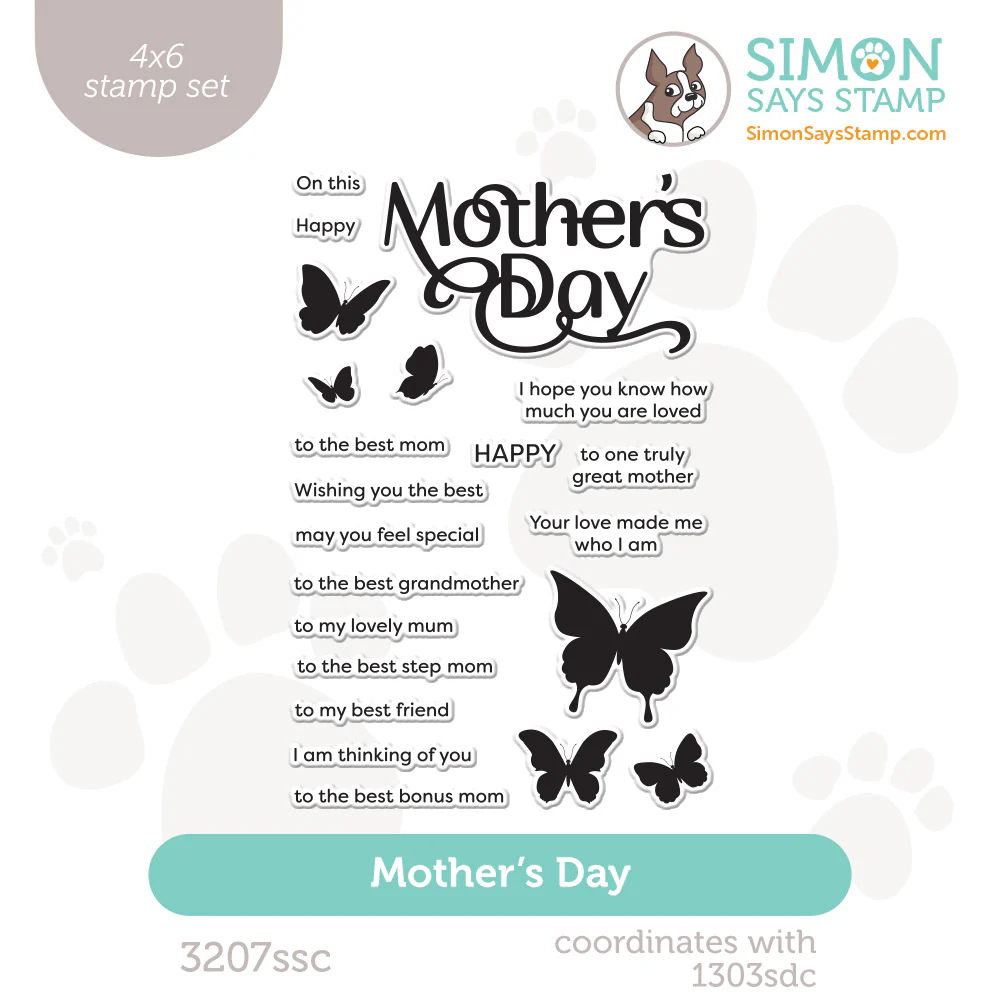
Today we will stencil and stamp our way through making this pretty piece using the Elegant Rose layered stencils, Delicate Lattice Stencils and the Mother's Day Stamp Set from Simon Says Stamp.

Key Supplies For Elegant Rose Framed Mother's Day Decor!


Get Your Supplies!
Click on the image below to SHOP THE ENTIRE release OR
SHOP the Supplies section at the bottom of this post

Today's GIF!
Mothering is a beautiful thing!
Like this card and my CORNY GIFs? CLICK BUTTON BELOW
to sign up for blog updates:
ELEGANT ROSE FRAMED MOTHER'S DAY DECOR - Stenciling with Ink and Texture, Collaging with Stamps
Card Size: 4 1/4" x 5 1/2"

COLOR PALETTE
Simon Says Stamp Pawsitively Saturated Ink Pad - Lemonade, Sunbeam, Peachy, Limelicious, Pearfection and Field

Tim Holtz Ranger Embossing Glaze and Distress Ink - Cracked Pistachio and Salvaged Patina

STENCILING
Stencil the Elegant Rose using Small Blending Brushes and the selected Simon Says Stamp Pawsitively Saturated Inks on a 5 1/2" square of white cardstock.
Stencil Translucent Crackle Paste unevenly through the Delicate Lattice Stencil around the rose and let dry.
Ink-blend Lost Gray lightly throughout the lattice pattern.


STAMPING
Stamp sections of the Handwritten Background stamp over the dried Crackle Paste using Black Soot Archival Ink.
Stamp butterflies from the Mother's Day Stamp set as shown. Use both cracked Pistachio and Salvaged Patina on the large butterfly on the right.
Ink-blend Peachy ink onto white cardstock and stamp with the selected sentiment from the Mother's Day Stamp set.
Trim a piece of Simon Says Stamp Fog Grey cardstock to 8" x 8" and stamp butterflies on the left and right sides in Lost Gray ink.


DISTRESS GLAZE
Without moving the butterfly stamps, ink them with Embossing Ink and repeat stamping over the color.
Cover the butterflies in the corresponding Distress Glaze, tap off excess and heat set.


FINISHING
Die-cut the sentiment layers from Sunshine and vellum cardstock; layer and adhere to the rose panel with the other stamped sentiment.
Adhere the rose panel to a matching Simon Says Stamp Cardboard layer.
Adhere the rose panel to the 8" square of stamped Fog Gray cardstock and place in Frame to finish.


Last Looks!

Thanks for stopping by today! Drop me a comment and say hi!
SUPPLIES:
I listed the products that I have used below. Please note that these are compensated affiliate links, used at no cost to you. I really appreciate your support. All stamps used today were part of my You Are My Favorite maker package from Simon Says Stamp. Click on the icons below each product picture to shop with SimonSaysStamp.com.


A lovely and creative post. The excitement around the release really comes through, and it is always https://citysecurityservices.com enjoyable seeing fresh inspiration shared with the crafting community. I recently came across a related discussion on a based review blog and it added another nice viewpoint.
Your presentation of this project is both elegant and easy to follow, making it approachable even for those who are new to crafting. The step-by-step explanation really helps in understanding the finer details behind the design. I also appreciate how you highlighted the emotional value behind handmade décor. While exploring similar creative discussions, I came across a mention of https://www.masterstorage365.com/ in a review context, which added an interesting perspective on organizing craft materials efficiently. Overall, this was a very inspiring and thoughtfully written post.
Exploring the bsc hons meaning allows students to see how honours degrees differ from ordinary undergraduate awards. The College of Contract Management provides clear guidance on degree pathways and outcomes. This understanding helps learners choose courses aligned with their long-term goals. Many have made informed decisions that led to better career opportunities.
Learning what does a marketing coordinator do allows students to recognise how essential coordinators are in maintaining workflow efficiency. The College of Contract Management ensures learners develop the core abilities required for the role. Courses include practical modules for industry relevance. Many have gained confidence and secured new opportunities through this training.
Understanding invitation to treat meaning is crucial for businesses engaging in contracts and negotiations. The College of Contract Management offers detailed courses on contract law. The course includes real-world case studies and practical exercises. Many have benefitted from the course and improved their contract management skills.