

Simon Says Stamp - Dream Big Release Blog Hop, Day 1
- Keisha Diann

- Jul 22, 2022
- 4 min read
Updated: Jul 25, 2022

Hi Lovelies!
Welcome in for Day 1 of Simon Says Stamp's Dream Big Release Blog Hop! Layered Stencils are like magic to me; as you add each layer of color, the design becomes more fantastic.
Every time I get in front of my inks, I am always inclined to make a rainbow and this time I could resist taking my primary Pawsitively Saturated Ink Trios to make an ombre rainbow through this Dimensional Cubes Stencil.

Let's review the key supplies for today's card and of course I've got the full supply list linked for your convenience here and in the Supply Gallery at the end of this post.


For the ink blending, we are going with 3 cool "primary" trios:


When you shop for the items you want, remember to use the BIGHUGS code when you check out to snag the Big Hugs Die FREE with ANY purchase! This promotion will expire on 7/24 at 11:59 pm EDT or while supplies last.
Rainbow Brite is my Spirit Animal...
YOU DO YOU CARD - Stenciling, Ink-blending and Die-cutting
A2 Card Base: 4 1/4" x 5 1/2"
Foiled/Inked Layer: 3 7/8" x 5 1/2"
Featuring:
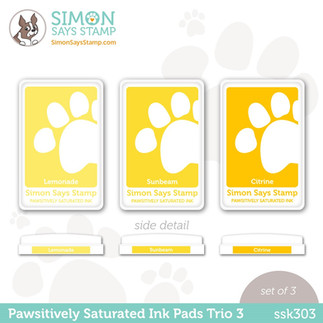
Simon Says Stamp Pawsitively Saturated Ink Trios - Trio 1, Trio 6 and Trio 3

Confession! When I was editing photos for this blog post, I noticed that I mis-aligned at least one of the 3 stencil layers, but somehow that couldn't stop the pretty on this card!
So let's press on and get to making, if you give this a whirl, no need to copy my error Lovelies. I took lots of photos so hopefully I don't have to drown you in descriptions....:-)
Stenciling
Setting Up the Card for Stenciling
Secure the 1st Layer of the Dimensional Cube Stencil trio to your chosen work surface*.
Tip: My first layer is the stencil with the widest open spaces that will allow the most ink to be applied to the paper. *I am using the Wendy Vecchi Make Art Staytion.


1st Layer of Color: Bubblegum, Seafoam and Lemonade
Use the coordinating Blending Brush to apply color to the cardstock through the stencil as shown, overlapping colors to create the rainbow.
Tip: Use the lightest colors of each trio on this layer, we will add progressively darker colors over this to create the rainbow ombre.


Completed 1st Layer:

2nd Layer of Color: Sweets, Surf and Sunbeam
Repeat the same ink-blending approach that was done using the Large Blending Brushes with the 1st layer but now using the mid-tone set of colors.
Tip: As this layer is a bit darker, use a dry rag or paper towel to clean off excess ink from the stencil before you move to the next color to limit color contamination on your brushes.


Completed 2nd Layer: Notice that I misaligned my stencil here!

3rd Layer of Color - Taffy, Ocean and Citrine
Repeat the same ink-blending approach that was done with the 1st and 2nd layers but using the darkest set of colors from the trio and the corresponding small blending brushes.


Completed 3rd Layer

Die-cutting and Layering

Die-cut the Alstromeria Stem Die out of white cardstock.

Tip: My dies often seem to slide around and I usually use a painters tape to keep them in place, but this can leave an adhesive residue on the paper and because I'm clumsy, occasionally tear it.
So I I tried out Simon Says Stamp's new Very Very Low Tack Tape and there was no wiggling, tearing or undesirable left-overs!

Of course I forgot to take a picture, of using it with the Alstroemeria Stem! But here is a shot of me using it on another project.

Adhere layer with a wet glue like Bearly Art Glue.

Die-cut the Emboss and Cut Folder PINPOINT STARLET out of white cardstock using this cutting sandwich if you are using a Sizzix Big Shot: two Clear Plates and the thick Cutting Platform

Trim the selected REVERSE BE YOU Sentiment Strips.
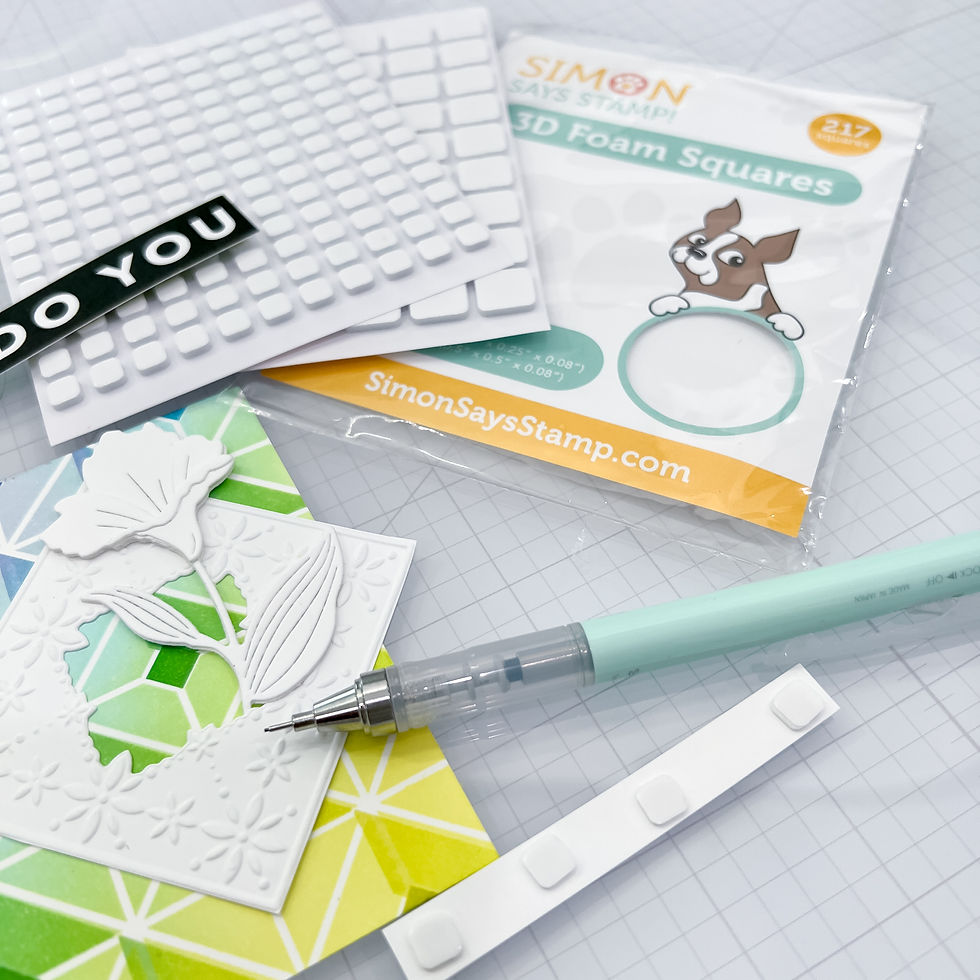
Apply 3D Foam Squares to the back of the Sentiment Strips to pop them up.

Layer the stencil background, die-cuts and sentiment strips to complete the card.
Tip: I mock-up my layers roughly to figure out placement before I adhere them.
Of course I love the pretty pinks and purples (my off-centered layer, a little less so!)

I am so happy that these die-cuts look so great just in white (especially the embossed die-cut).

Making a statement with these very bold Sentiment Strips.

I hope you can see why it is hard for me to resist a rainbow!

One last look!

I hope you enjoyed this (even my mistake!) and saw something you liked and may try. I want to make sure that you get the most of today's blog hop, so please take note Lovelies:
Be sure to explore the AMAZING Gallery that is packed with inspiration from this release!!!
Speaking of inspiration, since this is Day 1 of the Blog Hop stay tuned for all the awesomeness that will be shared on Day 2
Check out the full supply list below for your shopping convenience
When you shop for the items you want, remember to use the BIGHUGS code when you check out so that you can get the Big Hugs Die FREE with purchase! This promotion will expire on 7/24 at 11:59 pm EDT or while supplies last.
Comment to on this post to be eligible to win a $25 coupon from Simon Says Stamp. Winners will be chosen and posted on the Simon Says Stamp blog on Wednesday, the 27th of July. Winner should email Simon Says Stamp to claim his/her prize
I'd love to hear from you in the comments about your thoughts on stenciling!
Thanks again for stopping by and I hope to see you again soon Lovelies! Now, do go and check out what Heather Ruwe has in store for you!
HOP ORDER:
SUPPLIES:
I listed the products that I have used below. Please note that these are compensated affiliate links used at no cost to you. I really appreciate your support. Simon Says Stamps Let's Chill Release products were provided as part of my Design Team package. Click on the icons below each product picture to shop with SimonSaysStamp.com.


Awesome card Keisha, totally love stencils and these layering stencils are even more versatile than the single stencils. Love your rainbow background! Thank you so much for sharing, stay safe and have a wonderful day.
Gorgeous!! I just love the Dimensional cubes stencil as it has such a fun look that you can change up! Thanks for the great inspiration.
Love this stenciled card! Thank you for sharing.
Like you, I love laying stencils. They’re so easy and you always get a good result. It makes me feel like I know what I’m doing! LOL
That layered stencil looks like it takes time to figure out but what a beautiful result!