

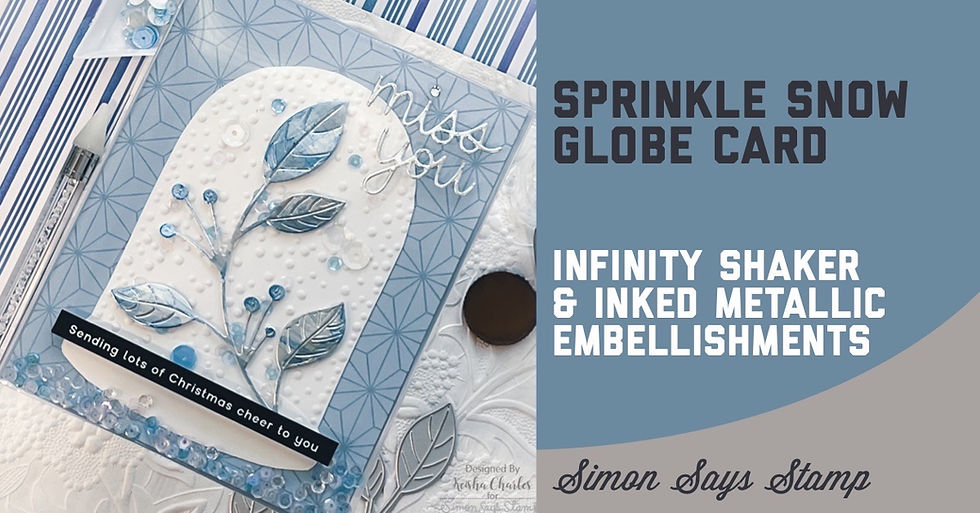
Simon Say Stamp - Sprinkle Snowglobe Card
- Keisha Diann

- Nov 30, 2021
- 3 min read
Updated: Dec 1, 2021
Hello Lovelies! The Handmade Holiday release is the gift that keeps on giving when it comes to Embossing Folders!
Today, we are going to 'color' on a metallic surface and make an infinity shaker card using the Sprinkle Snowglobe Embossing Folder.

Simon Say's Stamp's NEW Sprinkle Snowglobe Embossing Folder produces a beautiful dome-shape that is sprinkled with snow. I isolated the globe by cutting it out and reimagined it as a speckled Terranium for plants.
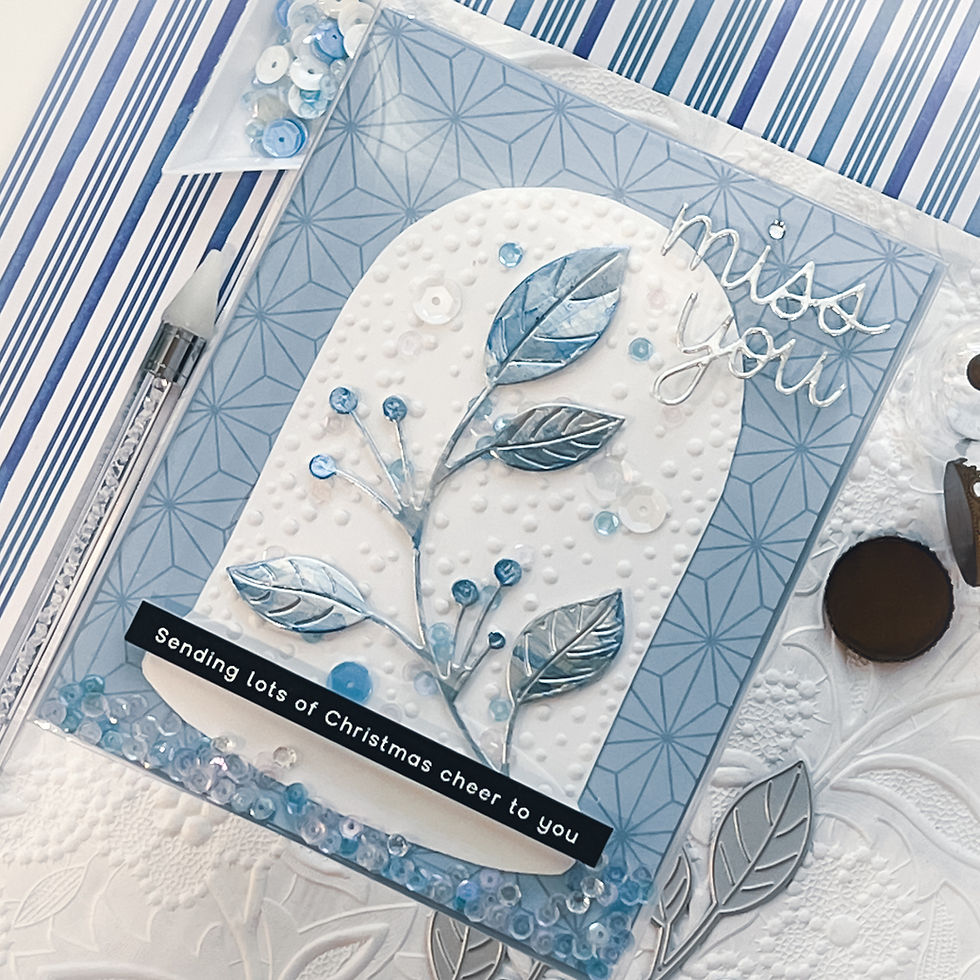
Before we get started, let's grab a quick visual of our key supplies.


Click here to view the full supply list or check out the one linked in the gallery at the bottom of this post when you have finished exploring this card.
It's time to shake!
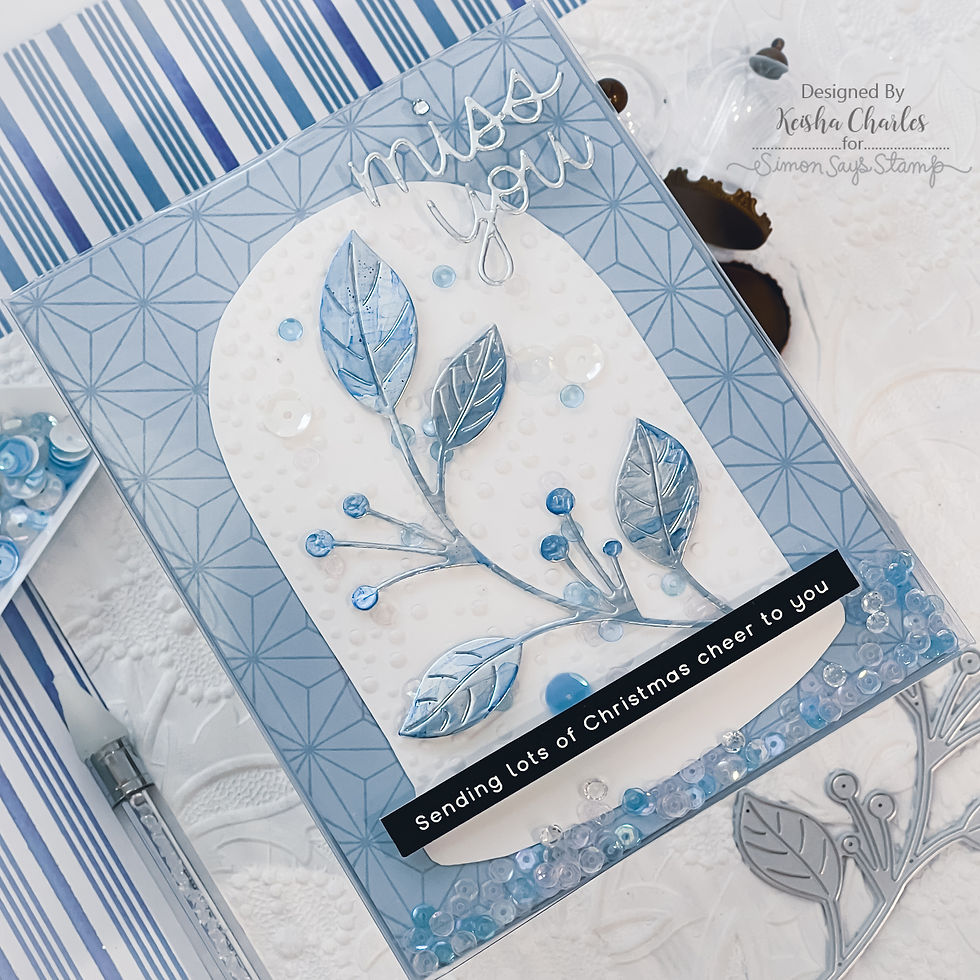
SPRINKLE SNOWGLOBE INFINITY SHAKER CARD - Embossed and Fussy-Cut Cardstock, Accented with Alcohol Ink Metallic Diecut and Enclosed in Acetate holding Sequins
Card Base: 4 1/4" x 5 1/2"
Acetate Layer: 5 1/4" x 6 1/2"
Featuring:

CARD-MAKING STEPS
Along with the written instructions below, I've got photos to guide you through many of these steps. Browse and enjoy. :-)
Make an A2-sized card-front with the Surf Blue Cardstock, stamp the front flap with the Geometric Snowflakes Stamp in clear (embossing ink)
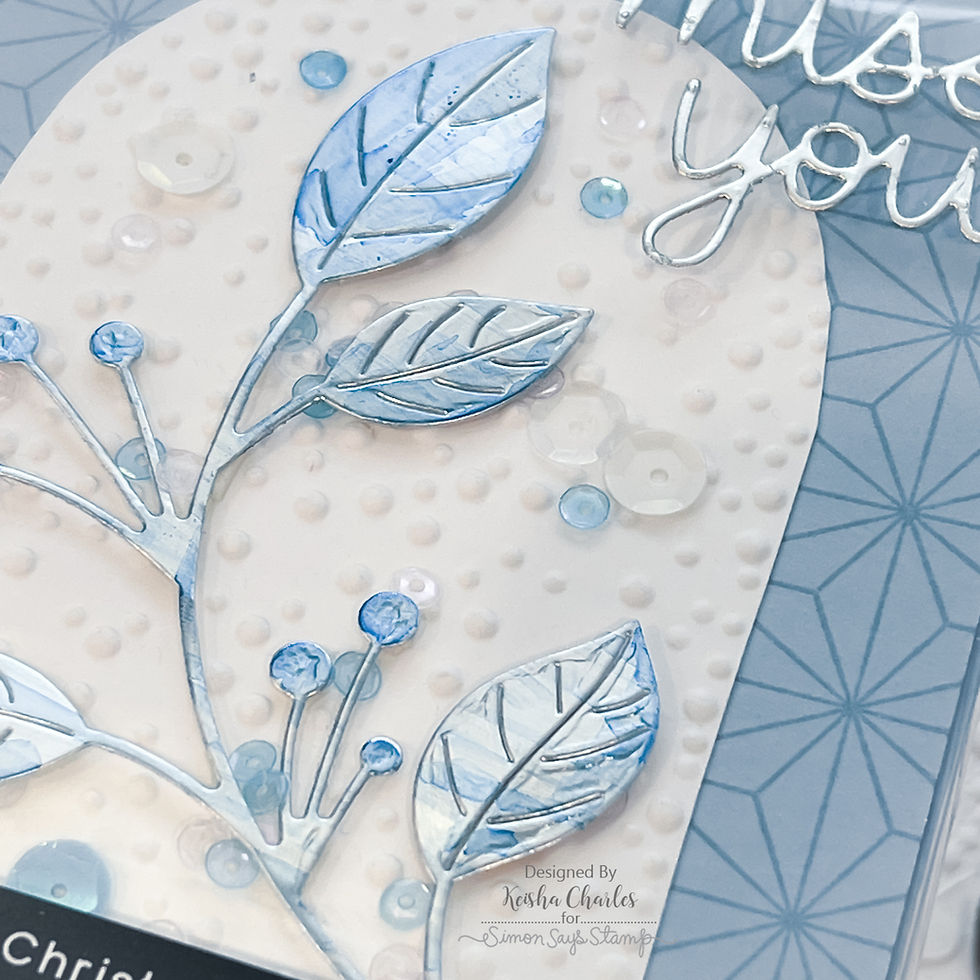
Scribble randomly on an approximately 3" x 4" piece of Matte Silver cardstock with a coordinating blue (with card base) alcohol ink maker (like COPIC). Diecut using the Etched Berry Branch Die
Pop-up the diecut with foam tape
After embossing the white cardstock using the Sprinkle Snowglobe Embossing Folder, fussy-cut around the globe to isolate our "Terrarium". :-) Adhere double-sided Red-Line Tape to to the globe
Sprinkle the sequins on your desktop so that you can see the different colors and sizes
Use Small or Tiny Dots Clear Adhesive Dots to adhere sequins as shown to the globe
Adhere the Etched Berry Branch to the embossed globe and adhere a few more sequins between the branches that will stay in place as the card is shaken
Add more loose sequins at the bottom of the globe and set aside as you make your acetate infinity frame
Score the 5 1/4" x 6 1/2" acetate layer at 1/2" on all 4 sides
Using scissors, trim a small triangle of acetate off of each corner to along the flaps to fold inwards more easily
Fold and crease each flap inwards to make the frame that will wrap around the card front
Adhere double-sided tape to the inside of each flap, leaving the other red protective layer attached to the tape until you are ready to stick everything down
Gently place the "acetate frame" over the card-front that you set aside with the sequins, flip over carefully so that you can see the back, and then remove the remaining red protective layer of the tape so that you can adhere each flap to the back too the card-front (pix 10-13)


Finishing
Diecut the Miss You sentiment out of Silver Matte Cardstock using the Small Script 2 Die
Trim your selected sentiment strip and adhere with the "Miss You" diecut on top of the acetate Infinity Shaker card-front
Adhere the entire Infinity Shaker card-front to the an A2-sized card base using more Red Line Tape
Shake vigorously and enjoy!
It takes a few steps but I really think that the result is worth it!
There is something soothing and with this monochromatic layout.

Lovelies, thanks for visiting me for a walkthrough of this Infinity Shaker Card. Let me know in the comments if you've tried an infinity shaker before and if you prefer it to traditional shakers.
See you soon!
SUPPLIES:
I listed the products that I have used below. Please note that these are compensated affiliate links used at no cost to you. I really appreciate your support. All stamps used today were part of my maker package from Simon Says Stamp. Click on the icons below each product picture to shop with SimonSaysStamp.com.


Fabulous card Keisha, I'm totally in love with it. What a great use of the Sprinkle Snowglobe Embossing Folder. Most of the time I forget to use a embossing folder although I love them and using them partial like you did they are even more versatile. Also love your colours. Thank you so much for sharing, stay safe and have a wonderful day.