

Simon Say Stamp - Lined Background Spray-Inked Cards
- Keisha Diann

- Apr 29, 2022
- 2 min read

Hello Lovelies! I have a fun AND easy technique for making colorful backgrounds with your favorite mini inks and a sprayer.
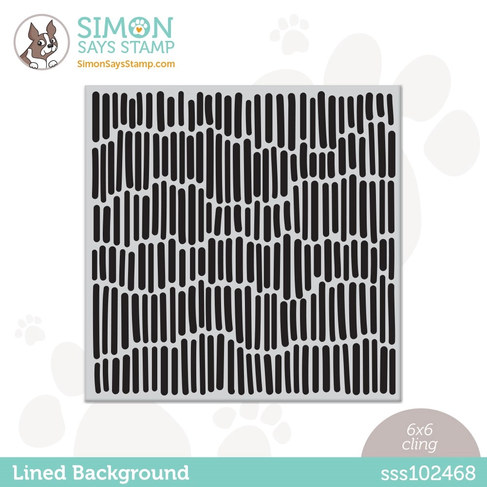
An unassuming pattern like the Lined Background Stamp blooms with possibilities when you add color bold sentiments.

There are so many ways to use mini inks and today we will use their small size to inks rows of color onto a background stamp and spritz it with water to blend the colors togethe, so here's a quick look the key supplies:
Essential Card Supplies:


Click here to view the full supply list or check out the one linked in the gallery at the bottom of this post when you have finished exploring these cards.
Today's GIF!
I'm totally ready to spray. :-)
YOU MADE ME CARD - Inking, Spraying and Stamping
Card Base: 4 1/4"" x 5 1/2"
Patterned Layer: 3 3/4" x 5"
Featuring:
Simon Says Stamp Pawsitively Saturated Ink Cubes from the Brushed Flowers Card Kit

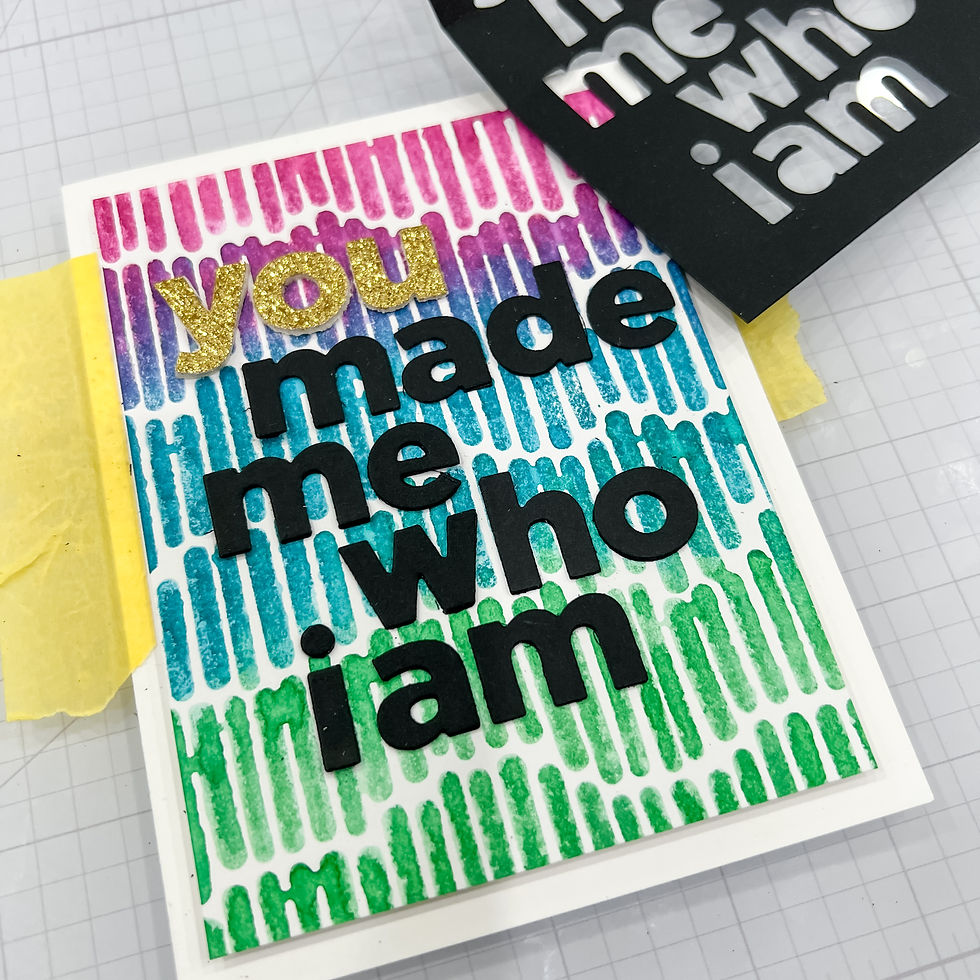
For this card, just apply the ink one color at a time to the stamp and then press onto the white cardstock to leave an impression of the color before applying the next color of the ink. It's ok to be messy and imprecise as you overlap the colors, it looks more organic and appealing!
CARD WALKTHROUGH

Use the ink cubes to add rows of color to the Lined Background stamp and mist with water using a Distress Sprayer

Press the inked and misted stamp onto the cardstock.

Speed up the drying process with a heat tool.

Die-cut the "YOU" part of the sentiment from the Glitter cardstock and cut the remaining part of the sentiment out of black cardstock 3 times to layer for dimension.
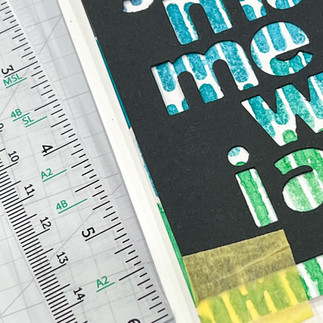
Use the T-square ruler to align the negative of the "You Made Me..." cardstock cut-out to the patterned card base. Secure the cut-out to the cardstock and craft mat with low-tack tape. The cutout will be used as a guide to space and align the free-standing sentiment letters.


Adhere the letters in the "template" and peel back the template to reveal the perfectly aligned sentiment!


Ready for embellishment!

Die-cut the gold glitter heart shape using the two smallest nested heart dies.
The double die-cut heart adds another touch of bling to finish the simple card.

Its amazing to me that the pattern of the stamp is retained in spite of the misting of the ink.

The layering the letters helps them pop off the page.


Lovelies, I made one other color combo with this technique which I'll use in another project, but I'd love to try this on other background stamps and just have fun. I hope this inspires you to experiment too!


Thank you for stopping by and see you soon!
SUPPLIES:
I listed the products that I have used below. Please note that these are compensated affiliate links used at no cost to you. I really appreciate your support. All stamps used today were part of my maker package from Simon Says Stamp. Click on the icons below each product picture to shop with SimonSaysStamp.com.


Kaiser OTC benefits provide members with discounts on over-the-counter medications, vitamins, and health essentials, promoting better health management and cost-effective wellness solutions.
Obituaries near me help you find recent death notices, providing information about funeral services, memorials, and tributes for loved ones in your area.
is traveluro legit? Many users have had mixed experiences with the platform, so it's important to read reviews and verify deals before booking.
Gorgeous card and background Keisha, love the colours. Thank you so much for sharing, stay safe and have a wonderful weekend.