

Paper-Piecing Made Easy: Step-by-Step Desert Horizon Encouragement Card


Hello Lovelies! If you’ve ever wanted to capture the quiet magic of a tranquil night sky stretching over peaceful terrain, this project is for you! Today, I’m sharing an encouragement card from Simon Says Stamp's Every Happiness Release, that pairs modern design with one of my absolute favorite techniques: inked paper-piecing!
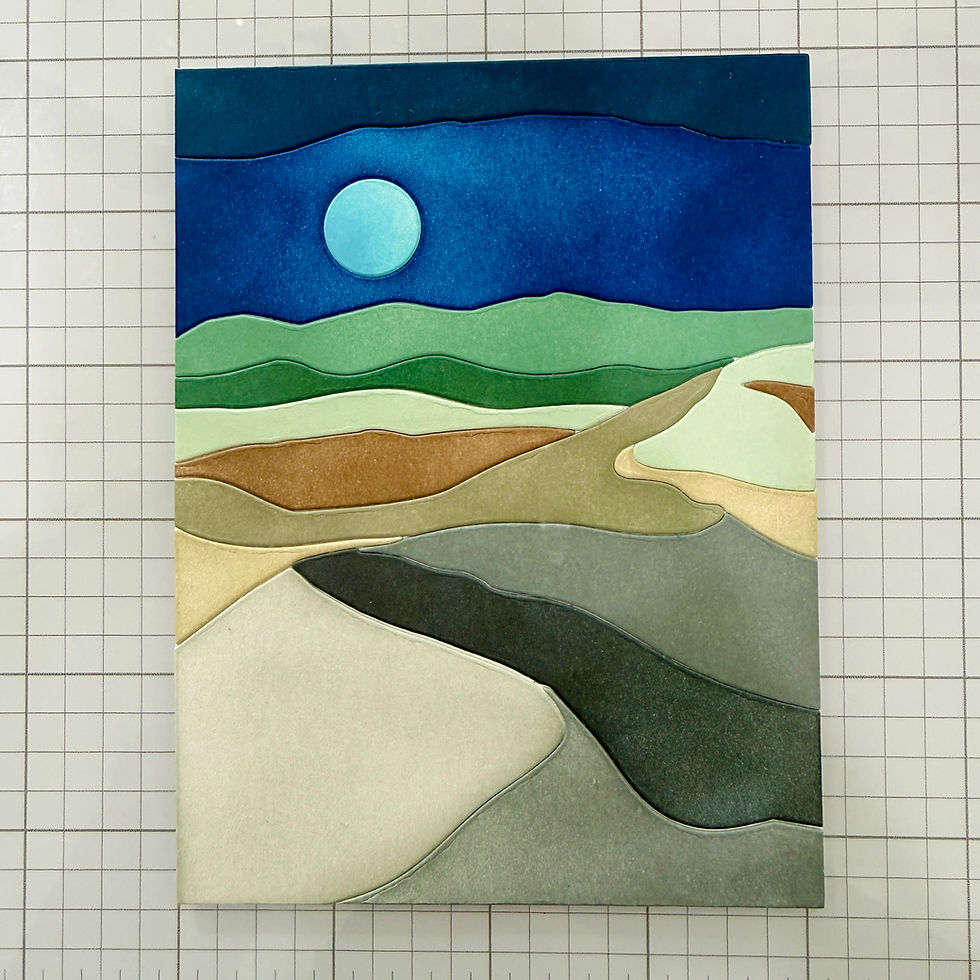
Using the Simon Says Stamp Desert Horizon die set along with their latest Pawsitively Saturated Ink Cubes, this Paper-Piecing Desert Horizon Encouragement Card comes together like a puzzle of gorgeous, blendable color.
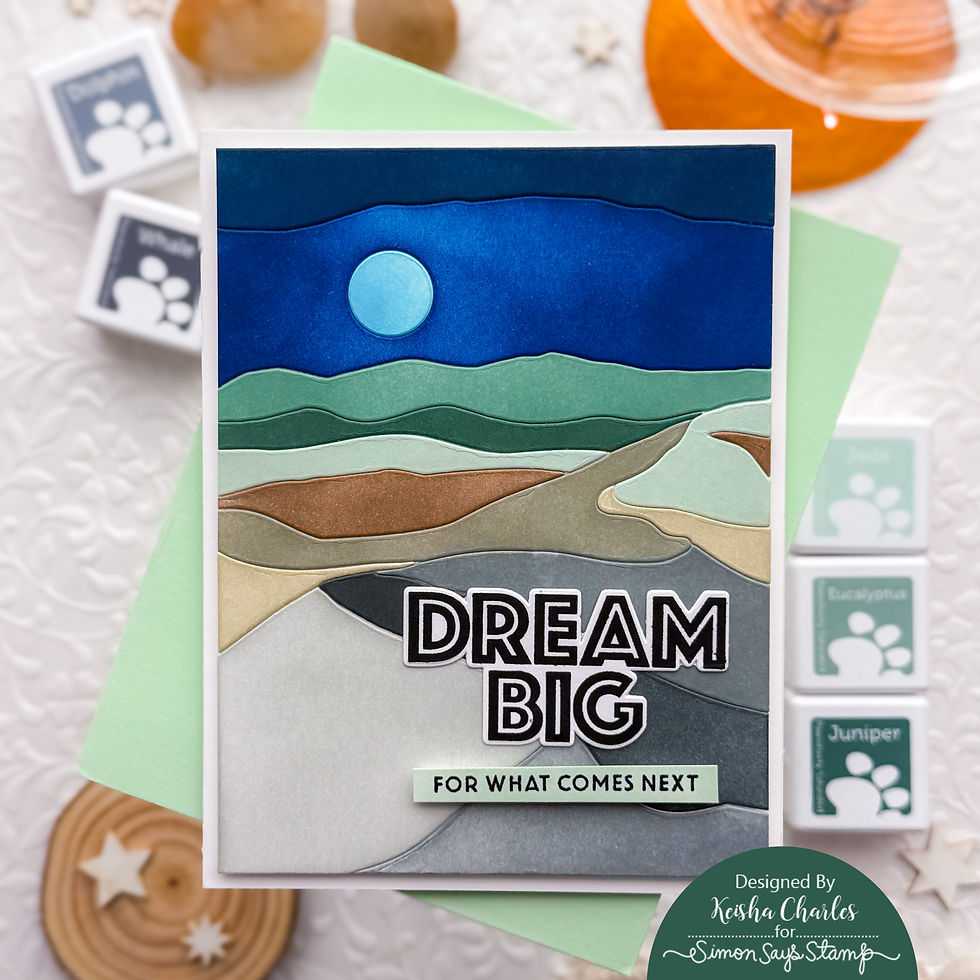
Key Supplies for the Paper-Piecing Desert Horizon Encouragement Card
Click HERE for the full list!
🎨 The Palette: Cool Grays & Soft Forest Greens
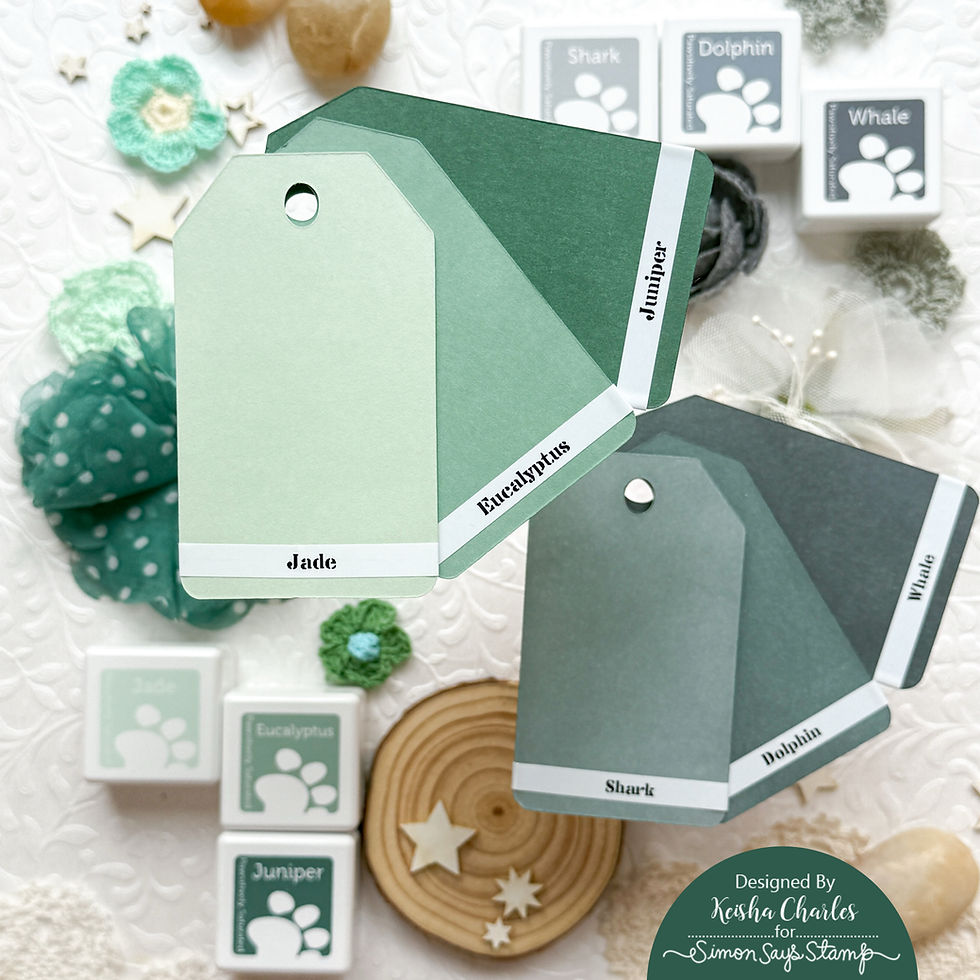
To set a serene, cool-toned mood, I pulled from two stunning Pawsitively Saturated ink families:
The Gray Suite: Dolphin & Whale for the deep midnight sky and shadowy foreground layers.
The Green Forest Suite: Jade, Eucalyptus, & Juniper for the rolling hills and gentle middle-ground transitions.
To bridge the gap between the greens and dark grays, I added warm earthy tones through the middle to give the landscape depth and a realistic touch of desert terrain. On a personal note, the hubby and I spent a day in the desert (Grand Canyon) on our honeymoon, unfortunately we did not get to see it at night, so I'm just imagining it here!
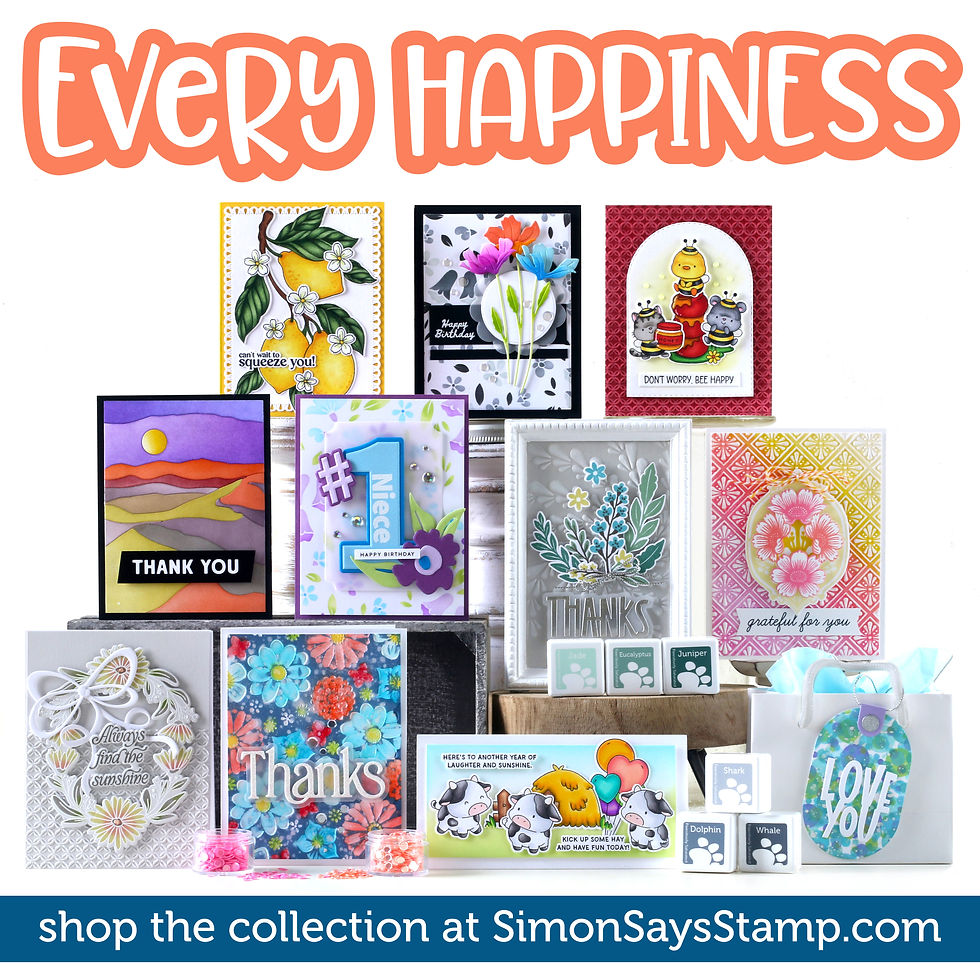
Click the photo below to see the entire EVERY HAPPINESS release!
Today's GIF!
Footage from my day in the desert...
d
Like this card and my CORNY GIFs? CLICK THE BUTTON BELOW
to sign up for blog updates:
DREAM BIG DESERTSCAPE CARD - Die-cutting and Inking
Card Size: ~4 1/4" x 5 1/2"
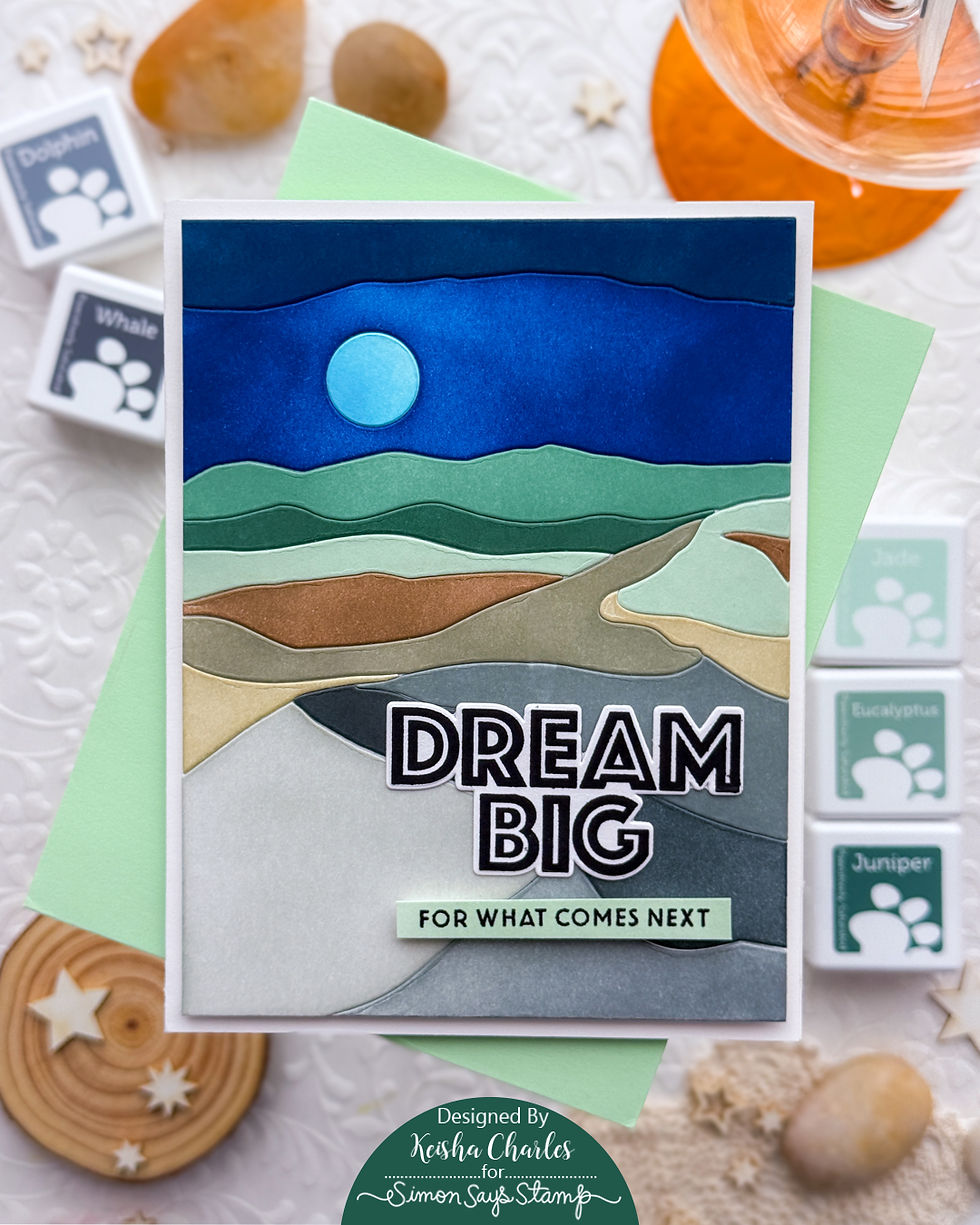
PROJECT PALETTE
Simon Says Stamps Pawsitively Saturated Inks: Jade, Eucalyptus, Juniper, Marine, Royal, Flannel, Earl, Dolphin, Whale, Night, Latte, Fawn and Cappuccino.

PROJECT HIGHLIGHTS
✂️ Bringing the Desert Horizon to Life
The Simon Says Stamp Desert Horizon die plate is a dream for paper-piecing enthusiasts. It cuts out layered desert terrain, distant mountain silhouettes, and a crisp sun (or moon!) all in one go.
Step-by-Step Technique:
Die-Cut the Scene: Cut your cardstock panel using the Desert Horizon die set to create all individual puzzle pieces.
Ink the Layers: Blend your Pawsitively Saturated inks onto each piece using blending brushes. The smooth, chalky-matte finish of these inks makes gradient shading effortless.
Assemble the Puzzle: Reconstruct the scene onto a top-folding white card base, adhering the pieces closely to build a completely flush, flat landscape.
Highlight the Focal Point: Invert the colors for the glowing moon—using a bright pop of turquoise to instantly catch the eye against the deep midnight blue-gray sky.
INKING & PAPER-PIECING
💬 The Final Touch: A Powerful Sentiment
For an encouragement card, bold typography works wonders against a layered background.
I popped up a crisp white-and-black "DREAM BIG" sentiment right in the center, finished off with a muted mint strip that reads "FOR WHAT COMES NEXT."
It’s the perfect reassuring message for grads, career-changers, or anyone taking a leap of faith into their next chapter!

UP CLOSE AND CRAFTY


LAST LOOK

Over to You!
Have you tried paper-piecing with landscape dies yet? What ink colors would you pick for your desert horizon—a warm sunset or a cool nighttime vibe? Let me know in the comments below!
Thanks for stopping by today!
SUPPLIES:
I listed the products that I have used below. Please note that these are compensated affiliate links, used at no cost to you. I really appreciate your support. All stamps used today were part of my Every Happiness maker package from Simon Says Stamp. Click on the icons below each product picture to shop with SimonSaysStamp.com.


Comments