

Easy-breezy Ink-blending for a Fabulous Thank You Card

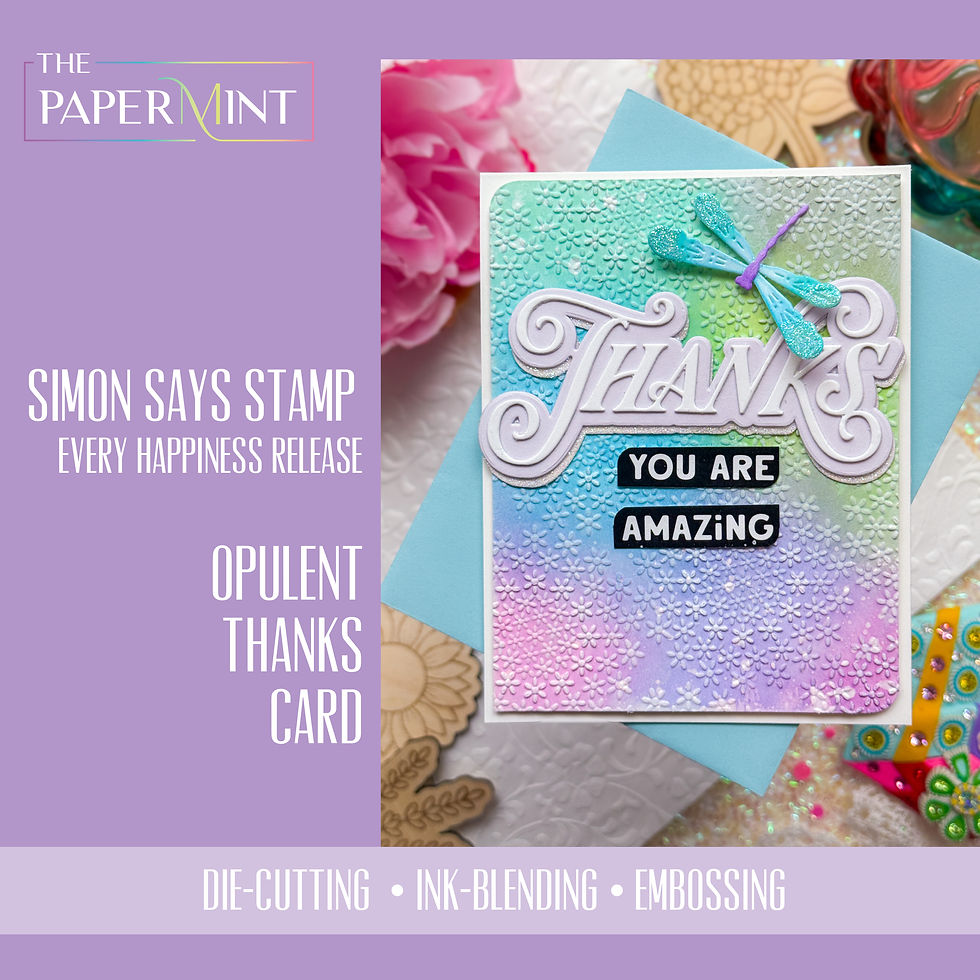
Hello Lovelies! Isn't this Easy-breezy Ink-blending Thank You Card sweet? Consider this your daily dose of glitter and appreciation! 🌸✨ from Simon Says Stamp's Every Happiness Release.
When a sentiment says “YOU ARE AMAZING,” it deserves a backdrop that shines just as bright. I used a glittered dragonfly, dreamy ink blending and paint splatters over the textured Flower Puff Embossing Folder, topped off with the statement sentiment, Opulent Thanks Die from Simon Says Stamp. The key to the soft look is actually using leftover ink from your blending brushes! More on that shortly.

Key Supplies for the Easy-breezy Ink-blending Thank You Card
The Recipe for Soft, Dreamy Layers 🎨
To create this ethereal pastel look, I gathered a few absolute favorites from Simon Says Stamp:
The Base Texture: The Flower Puffs Embossing Folder provides that incredible, delicate floral pattern across the entire background.
Focal Gratitude: The striking Opulent Thanks Die (layered over a sparkly glitter shadow!) paired with bold, crisp "YOU ARE AMAZING" sentiment strips.
The Whimsical Touch: A sweet, glitter-kissed dragonfly perch right above the sentiment for a pop of turquoise and purple dimension.
Click HERE for the full list!
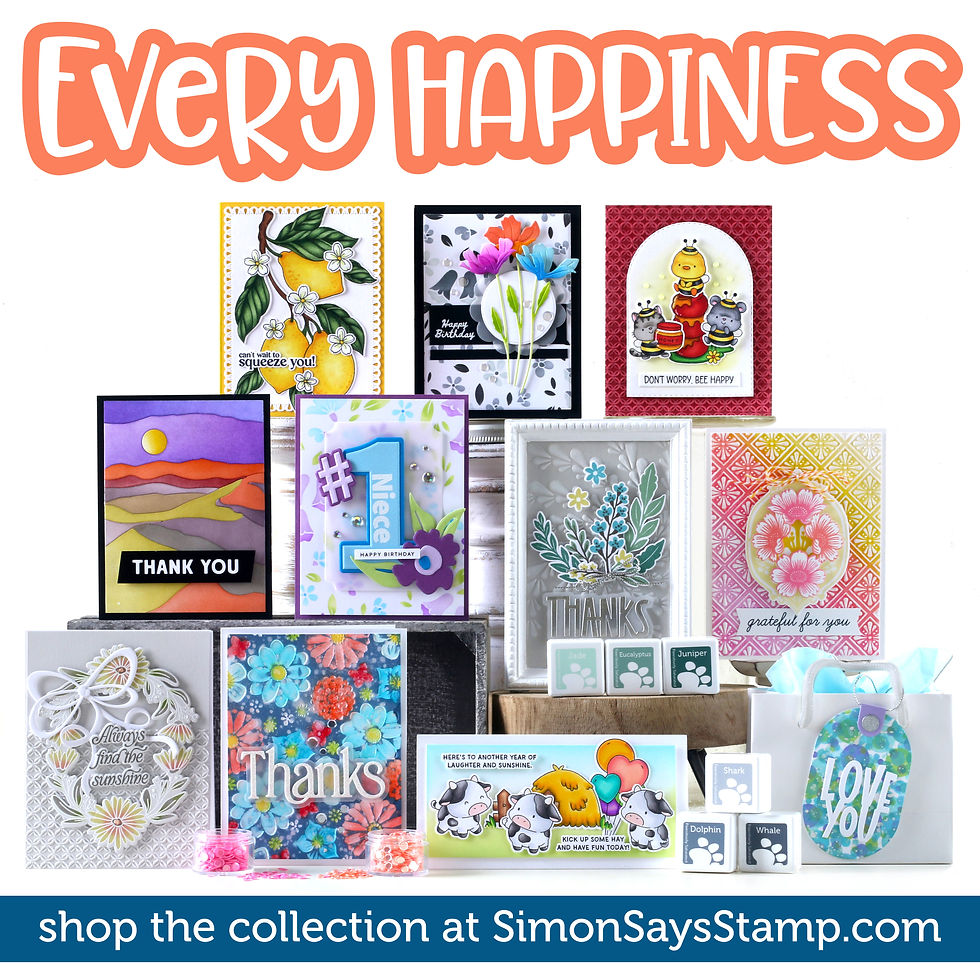
Click the photo below to see the entire EVERY HAPPINESS release!
Today's GIF!
Me, everytime I see a dragonfly!
d
Like this card and my CORNY GIFs? CLICK THE BUTTON BELOW
to sign up for blog updates:
YOU ARE AMAZING SUMMERY CARD - Die-cutting, Ink-blending and Embossing
Card Size: ~4 1/4" x 5 1/2"

PROJECT PALETTE
This card uses residual inks in some well-loved brushes to limit the intensity and develop the dreamy background color. Choose similar from your stash if available.
BRUSHES:

PROJECT HIGHLIGHTS
EMBOSSING & INK-BLENDING

💡 Pro-Tip: Make Your Embossing POP!
The Secret Step: After blending your soft rainbow pastel inks, swipe a white pigment ink pad directly over the raised embossing before adding your paint splatters!
This catches the high points of the floral pattern, softening the ink blending and making that 3D texture stand out with a dreamy, frosted finish.
LAYERED DIE-CUTS

INKED AND GLITTERED DRAGONFLY WINGS

3 Reasons to Try This Technique:
Effortless Softness: White pigment ink over blended dye ink instantly creates a dreamy, chalky glow without muddying your colors.
Instant Sparkle & Texture: Combining fine paint splatters with glitter die-cuts gives the card rich dimension that looks stunning in person.
Endless Color Combos: While this pastel rainbow blend feels like a fresh spring breeze, this exact layout and ink-swiping trick works with any color palette!
UP CLOSE AND CRAFTY


LAST LOOK

📌 Pin It for Later!
Don't forget to save this post to your cardmaking board so you have the pigment ink highlight trick ready to go for your next ink-blended session!
What’s your favorite way to make textured embossing folders pop? Leave a comment below and let’s share some crafty inspiration! 👇✨
Thanks for stopping by today!
SUPPLIES:
I listed the products that I have used below. Please note that these are compensated affiliate links, used at no cost to you. I really appreciate your support. All stamps used today were part of my Every Happiness maker package from Simon Says Stamp. Click on the icons below each product picture to shop with SimonSaysStamp.com.


Understanding the bull call spread strategy can help traders learn how options can be structured for a moderately bullish outlook. It's useful to consider strike prices, premium costs, maximum profit, and risk before applying the strategy in practice.