

Let's Explore NEW Pawsitively Saturated Inks, Make Perfect Swatches and a Groovy Galentine's Card
- Keisha Diann

- Jan 31
- 3 min read

Hello Lovelies! I'm always excited to try new inks and explore fun color combos! I've been hoping for more yellows for some time now from Simon Says Stamp and my wish was granted with the Heart to Heart Release and Pawsitively Saturated Trio 35.
Yellow is not the first color that I think of for Valentines, but I thought it would be fun to get to know these new colors while sharing tips for perfect swatches and taking some creative license for a Groovy Galentine's Card.

These are sure to make any gift extra special!
Key Supplies for Perfect Swatches and Groovy Galentine's Card


Click HERE for the full list!
Today's GIF!
Since I can't get this little guy can't bring my Galentine flowers,
we'll just have to make a card!
Like this card and my CORNY GIFs? CLICK BUTTON BELOW
to sign up for blog updates:
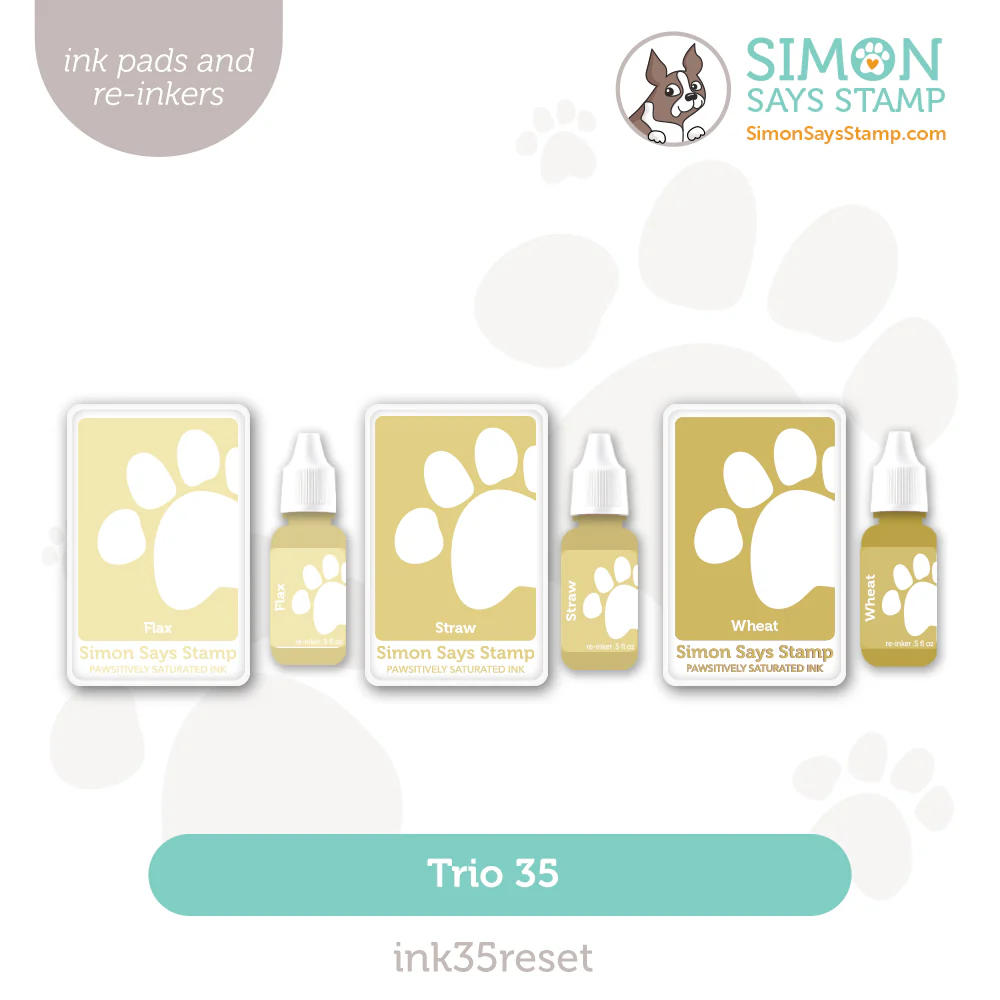
TRIO 35 PAWSITIVELY SATURATED INK PADS AND REINKERS - Organizing and Swatches
Before we organize, why do I even do this? I get to "know" new colors by swatching them.
It helps me understand how the colors actually look on the cardstock that I use the most.
I get an understanding of the color temperature - cool or warm. This helps me as I tend to create palettes with the same color temperature.
I see how the colors relate to colors I already own and make swatches by color matching from whatever I am using for inspo that day.


MAKING INK SWATCHES
Ink Swatch Tag Die Options:
I'm a creature of habit and started making ink swatches over 10 years ago. The die for the tag shown above is retired but I have several options for you to consider if you don't have one that you already like.
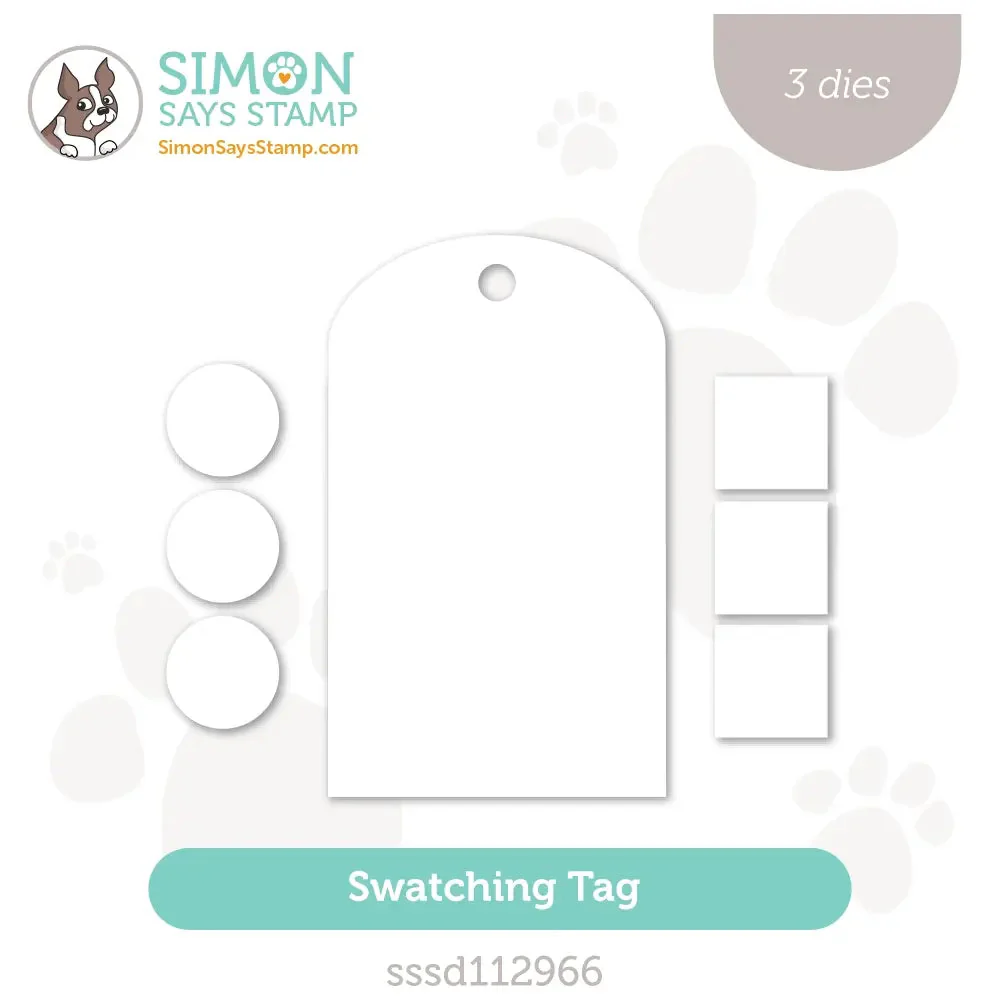

3 Steps for Perfect Swatches:
Die-cut the tag out of your preferred smooth white cardstock. I am using 110lb Neenah Solar White Cardstock.
Saturate a clean blending brush with ink from the ink pad. Apply the ink in quick, gentle, circular motions starting from the top or bottom of the tag and moving to the other end as the white cardstock changes color. Re-ink the brush mid-way if needed, then set aside to dry.
Use a label-maker to create labels for each swatch.


"LABELING" THE REINKERS
3 Steps for Reinker Labels:
Ink-blend a small circle of each color onto white cardstock.
Use a 1/4" hole punch to punch a small hole through each circle of color.
Use a dry glue like a tape runner or glue dots to adhere the 1/4" circle to the top of the Reinker bottle cap.


HEY GIRL GALENTINES CARD - Stenciling, Die-cutting, and Inking
Card Size: ~4 1/2" x 5 1/2"

COLOR PALETTE
Simon Says Stamp Pawsitively Saturated Inks - Flax, Wheat, Periwinkle and Orchid

CARD HIGHLIGHTS
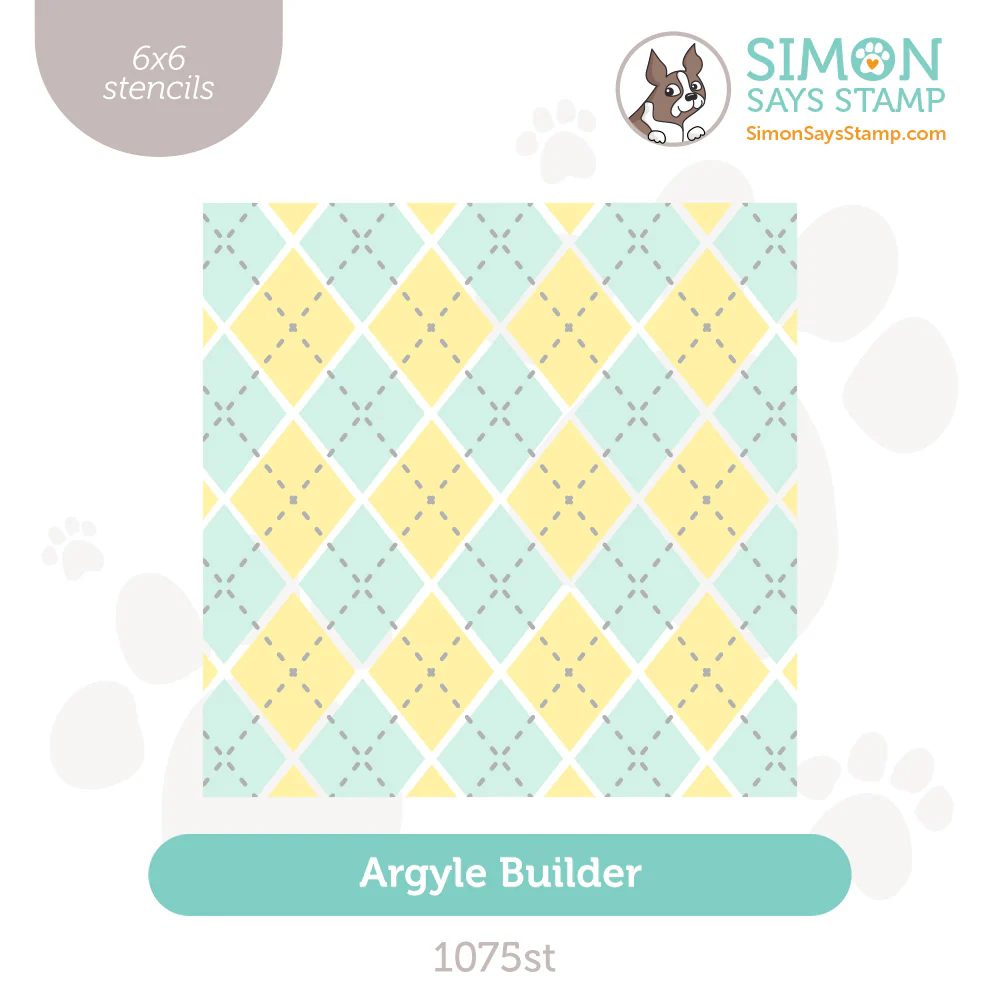
Stenciling - Use the 3 layers of the Argyle Builder Stencil and the Flax, Wheat and Periwinkle Pawsitively Saturated Inks to stencil the card background
Inking - Using blending brushes, ink pieces of white cardstock from the Wheat, Flax, Periwinkle and Orchid Ink Pads
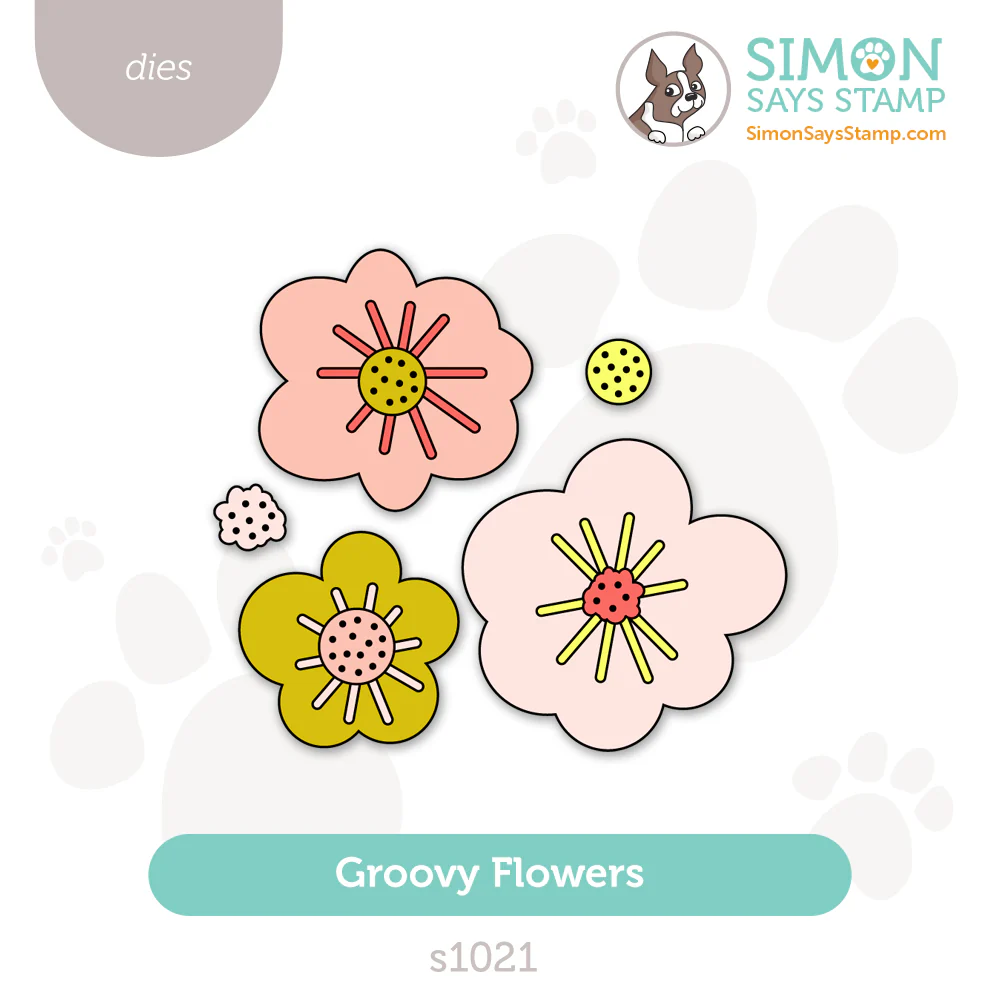
Die-cutting - Die-cut the Groovy Flowers and Hey Girl sentiment layers, adhere to assemble. Die-cut the selected Reverse Galentines Sentiment Strips using the EZ Rounded Rectangles Dies.
Collaging and Assembly - Arrange the completed Groovy Flowers around the the Hey Girl sentiment to complete the card.
UP CLOSE AND CRAFTY


LAST LOOK

Thanks for stopping by today! Drop me a comment and say hi!
SUPPLIES:
I listed the products that I have used below. Please note that these are compensated affiliate links, used at no cost to you. I really appreciate your support. All stamps used today were part of my Heart to Heart maker package from Simon Says Stamp. Click on the icons below each product picture to shop with SimonSaysStamp.com.


Comments