

Just 3 Inks To Color This DEWPIERCE BUTTERFLY Rainbow Card

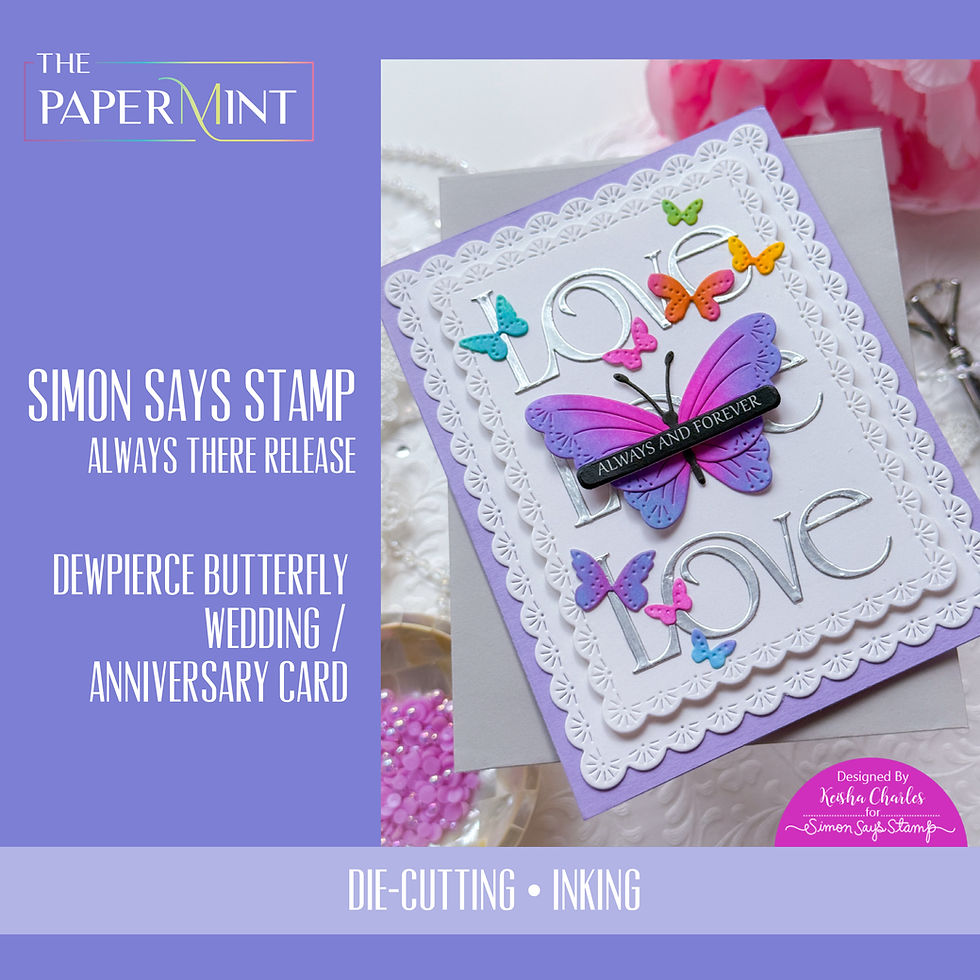
Hello Lovelies! I always have time for a rainbow card, and if I get to add butterflies, even better! We got two sizes of the Dewpierce Butterflies in the Always There release from Simon Says Stamp. I used both on this card and added the Sparkler Scallop Frames to echo and emphasize the piercing details on this all die-cutting card.
Before we get started I have 3 tips for you on using 3 inks to color any kind of rainbow:
Intensity: Choose 3 "primary" inks of the same intensity to create consistently toned colors. for example, blending 3 lighter colors together.
Light before Dark: When creating a new color from 2 primary colors, start with the lighter color like yellow and be very generous with the ink. Then add the darker color, like blue, over it in light layers so you can better control the result.
Traditional or CYM rainbow?: For traditional rainbows, choose a red, yellow and blue. Consider magenta/pink, yellow and cyan/turquoise as an alternative, like I did with today's card.

Guaranteed to make the recipient glow!
Key Supplies for Dewpierce Butterfly Rainbow Card
Click HERE for the full list!
Click the photo below to see the entire ALWAYS THERE release!

Today's GIF!
See, it's not just me, everyone loves butterflies!
Like this card and my CORNY GIFs? CLICK THE BUTTON BELOW
to sign up for blog updates:
DEWPIERCE BUTTERFLY WEDDING/ANNIVERSARY CARD - Inking and Die-cutting
Card Size: ~4 1/4" x 5 1/2"

COLOR PALETTE
SIMON PAWSITIVELY SATURATED INK PADS: Sweets, Surf and Sunbeam
DIE-CUTTING
Die-cut everything except the Love sentiment from white cardstock. Die-cut the Love sentiments from Matte Silver cardstock. I figured out my layout first before inking (shown below). Also die-cut the Always and Forever, Sentiment Strips with the EZ Strips Rounded Rectangles Die Set .

INKING
For the main butterfly, I wanted a specific shade of purple, so I swapped out the Surf for Marine.

ASSEMBLY
Align and space the Love sentiment evenly, cover with Glad Press N Seal to hold in place while you add Craft Glue to the back of the sentiment before adhereing to the Sparkler Scallop Frame. Add butterfiles and sentiment strip to finish.

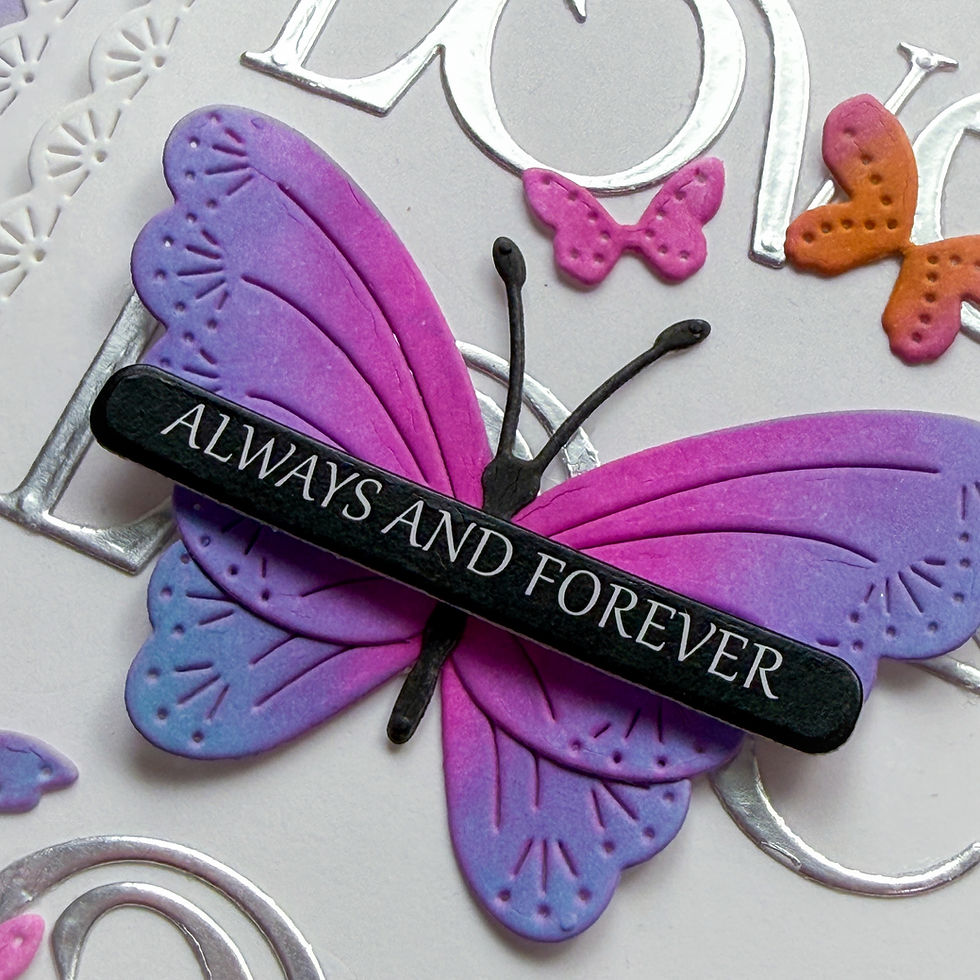
UP CLOSE AND CRAFTY


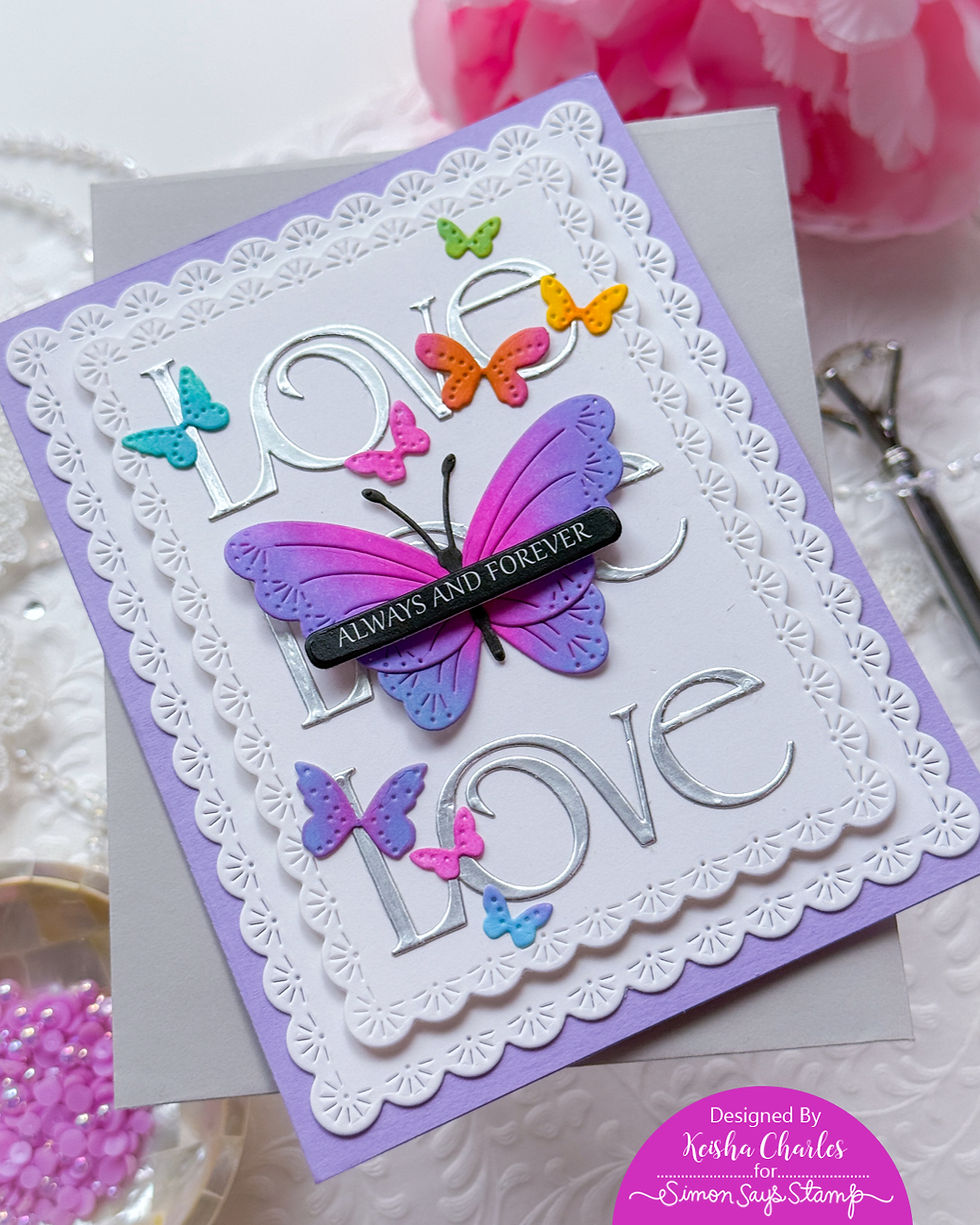
LAST LOOK
Thanks for stopping by today! Drop me a comment and say hi!
SUPPLIES:
I listed the products that I have used below. Please note that these are compensated affiliate links, used at no cost to you. I really appreciate your support. All stamps used today were part of my Always There maker package from Simon Says Stamp. Click on the icons below each product picture to shop with SimonSaysStamp.com.


Comments