

Coloring Made Easy With Layering Stencils On This Wild And Free Flowers Love Card


Hello Lovelies! If you have visited me here before, you may know a few things, I love flowers, don't always like coloring with markers and never pass up a chance to use stencils! The new Always There release from Simon Says Stamp lets me indulge me faves so I can color with the Layering Stencils on Wild and Free Love Card with minimum effort.
When I don't have to worry about coloring, I have even more fun and time to spend enhancing or embellishing my card. I chose 3 options:
Stenciling on a colored background instead of white cardstock
Repeating and rotating my florals to frame my sentiment
Emphasizing the sentiment with sequin embellishments and a dainty die-cut matching the background

Guaranteed to make the recipient glow!
Key Supplies for Layering Stencils on Wild and Free Flowers Love Card
Click HERE for the full list!
Today's GIF!
Me everytime there is a new release from Simon Says Stamp!
Like this card and my CORNY GIFs? CLICK THE BUTTON BELOW
to sign up for blog updates:
WILD & FREE FLOWERS LOVE CARD - Stamping, Stenciling and Die-cutting
Card Size: ~4 1/4" x 5 1/2"

COLOR PALETTE
SIMON PAWSITIVELY SATURATED INK PADS: Rhubarb, Punch, Apple, Limelicious, Pearfection, Field

STAMPING
Stamp the flowers from the Wild and Free Flowers Stamp Set on a Simon Seashell cardstock using Memento Tuxedo Black Ink. Die-cut the stamped cardstock using the 2nd largest die from the A2 Notched Rectangles Die Set.
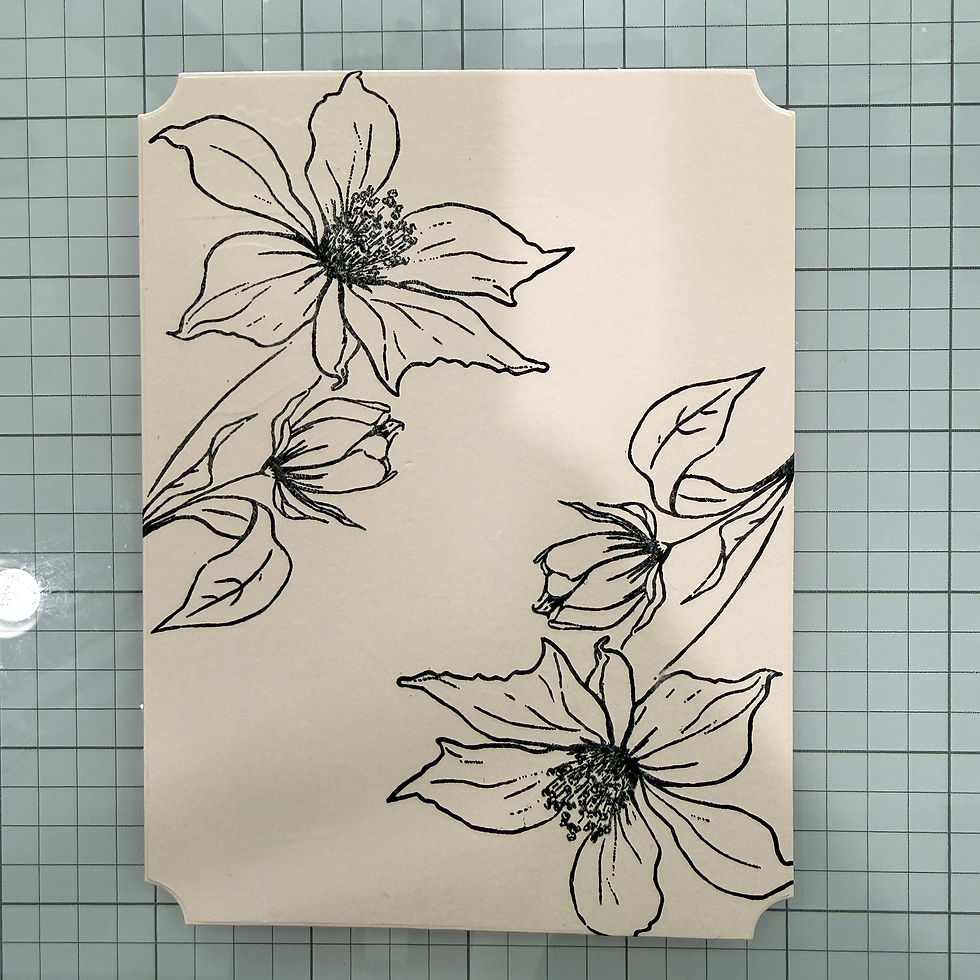
STENCILING
Secure the stamped panel on a Sticky Grid Mat, align your first Wild and Free Flowers Stencil and color the flowers by inking a Small Blending Brush on the selected pads and gently apply to the paper in a circular motion. Deepen the color in some areas to create shadows.

SENTIMENTS
Stamp the "Sending" sentiment from the Wild and Free Flowers Stamp Set in Simon Says Stamp VersaFine Claire Tsukineko Nocturne Ink. Die-cut Seashell Cardstock using the smallest die from the Sparkler Scallop Frames set.

ASSEMBLE CARD
Adhere the sentiment and Baby's Breath sequin embellishments to the card-base using Craft Glue. Layer the stenciled background on a white card base using Foam Tape to finish.
UP CLOSE AND CRAFTY


LAST LOOK

Thanks for stopping by today! Drop me a comment and say hi!
SUPPLIES:
I listed the products that I have used below. Please note that these are compensated affiliate links, used at no cost to you. I really appreciate your support. All stamps used today were part of my Always There maker package from Simon Says Stamp. Click on the icons below each product picture to shop with SimonSaysStamp.com.


Comments