

Honey Bee Stamps - WATER LILY Card
- Keisha Diann

- May 31, 2023
- 2 min read

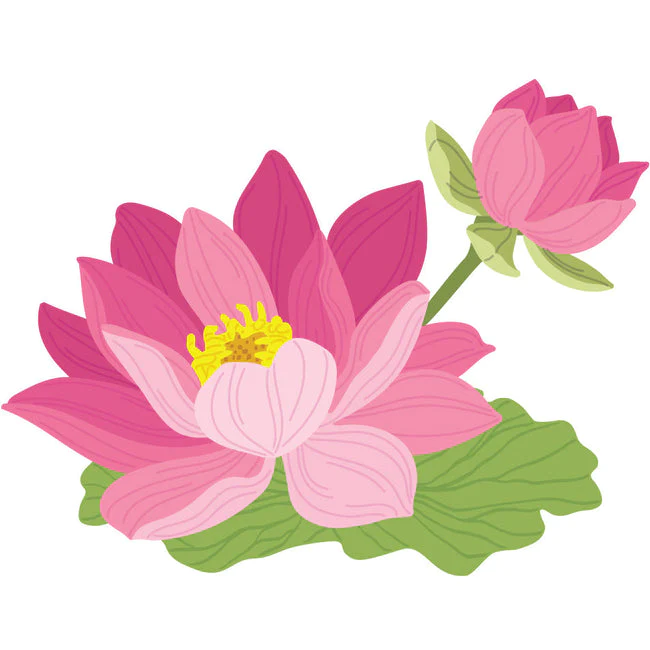
Hello Lovelies! I promise you that this Honey Bee Stamps Lovely Layers Water Lily was inspired by a REAL flower, one that I saw with my own two eyes! Okay...I'll admit that it was definitely a little less intense than my boldly colored creation, but it definitely existed.
The Honey Bee Stamps Lovely Layers sets always make me feel like a champ in the chartroom as they are sooo easy to assemble. Though I kept this one flat so I can easily fit it into a regular envelope, curling the edges of the petals can make it even more delightful!

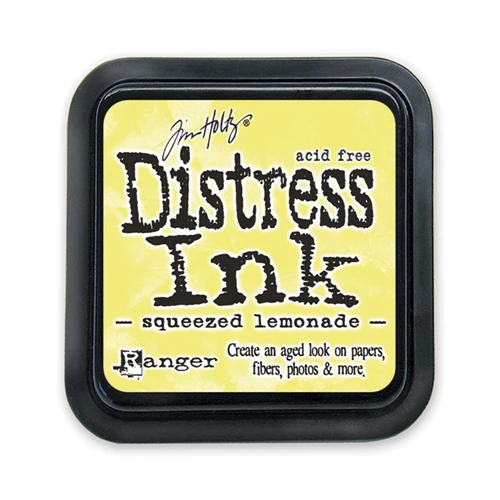
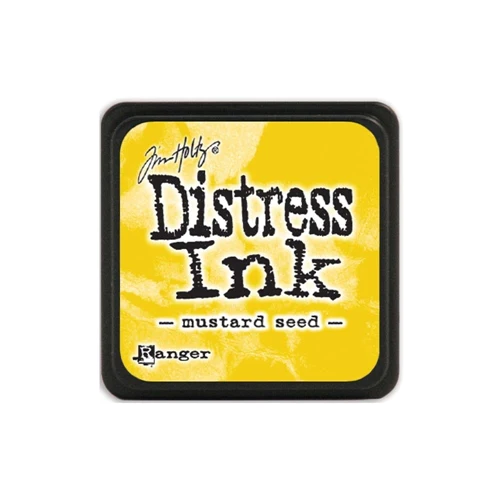
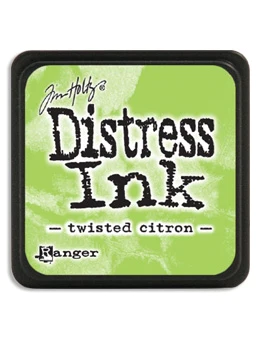
Here's a closer look at today's key supplies:
SHOP THIS CARD here or in the Supplies section at the bottom of this post:
Today's GIF!
Now, I wish I could make my Lily do this!
Like this card and my corny GIFs? CLICK BUTTON BELOW
to sign up for blog updates:
HELLO BEAUTIFUL WATER LILY CARD - Ink-blending and Die-cutting
Card Base: 4 1/4" x 5 1/2"

COLOR PALETTE
All the Distress PURPLES!

Plus a few others!
INKING DIE-CUTS
Ink-blend each petal with two purples with a brush, left to right as follows:
Shaded Lilac and Wilted Violet (for "shadows")
Wilted Violet and Dusty Concord (for "shadows")
Dusty Concord and Seedless Preserves (for "shadows")
Seedless Preserves and Villainous Potion (for "shadows")
Villainous Potion and Seedless Preserves (for "shadows")

Repeat the process for the petals of the bud. Ink blend the two yellow onto the flower center and finish inking by blending the two greens onto the flower stems, leaves and Lily Pad.
Spritz all the die-cut layers (except the flower centers) with water to create splotches, dab off excess water with a paper towel.


Layer the dry petals as shown below, adhering with 1/8" foam dots.


Stamp and diecut the sentiment out of cardstock inked with Mustard Seed ink
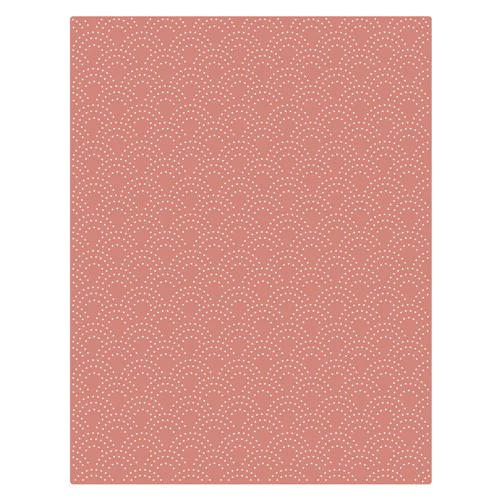
Die-cut the Lavender card background using the A2 Rainbow Piercing Plate
Layer on top of a white card-base
Adhere foam dots to the back of the layered diecut bud and flower. Apply Craft Tacky Glue to the Lily Pad


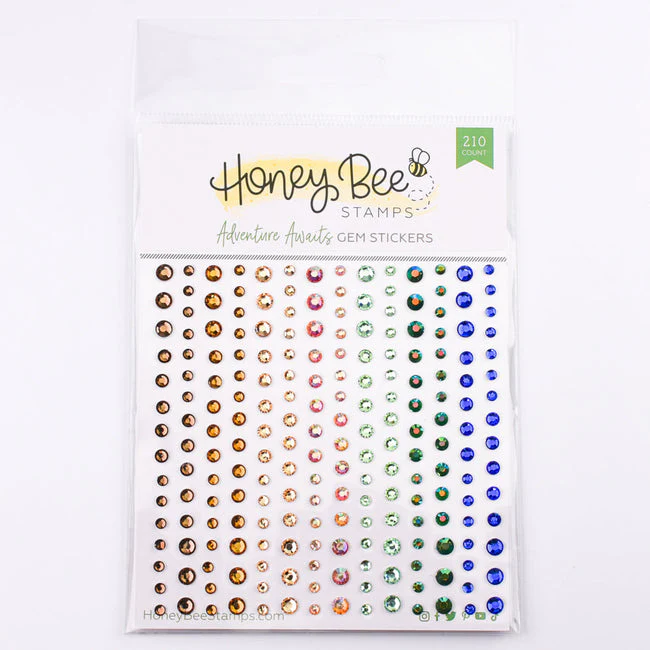
Adhere all elements to the card base and add selected gems to finish the card.
I love pierced Cover Plates from taking a background from blah to beautiful!

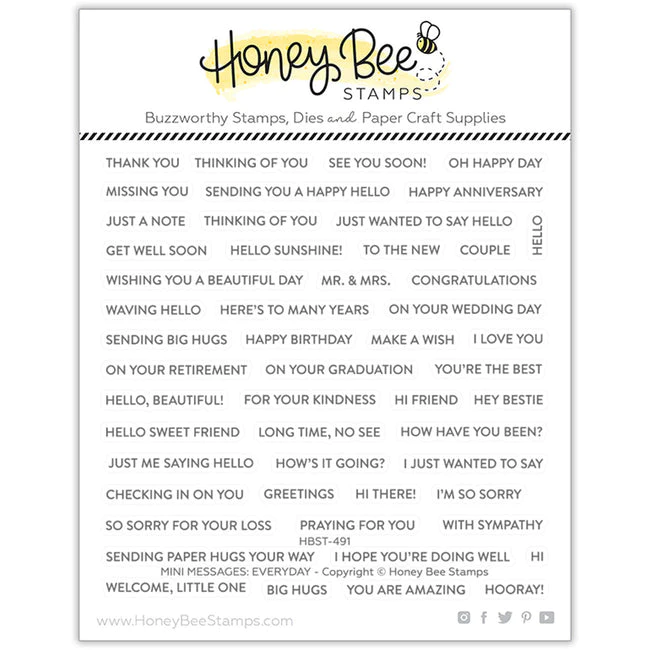
Mini message sentiments say so much in a small space!

Now that flower is truly special!

All ready for mailing to a loved one!
I wonder what colors your Water Lilies will be? :-)
Thank you for stopping by and see you soon!
SUPPLIES:
I listed the products that I have used below. Please note that these are compensated affiliate links used at no cost to you. I really appreciate your support. All stamps used today were part of my maker package from Honey Bee Stamps. Click on the icons below each product picture to shop with SimonSaysStamp.com.


This is gorgeous! Once again, your detailed instructions and photos of your creation process are appreciated.