

Crafting a Gina K Designs Beach Frame Photo Folio for Sunny Memories
- Keisha Diann

- 2 hours ago
- 2 min read

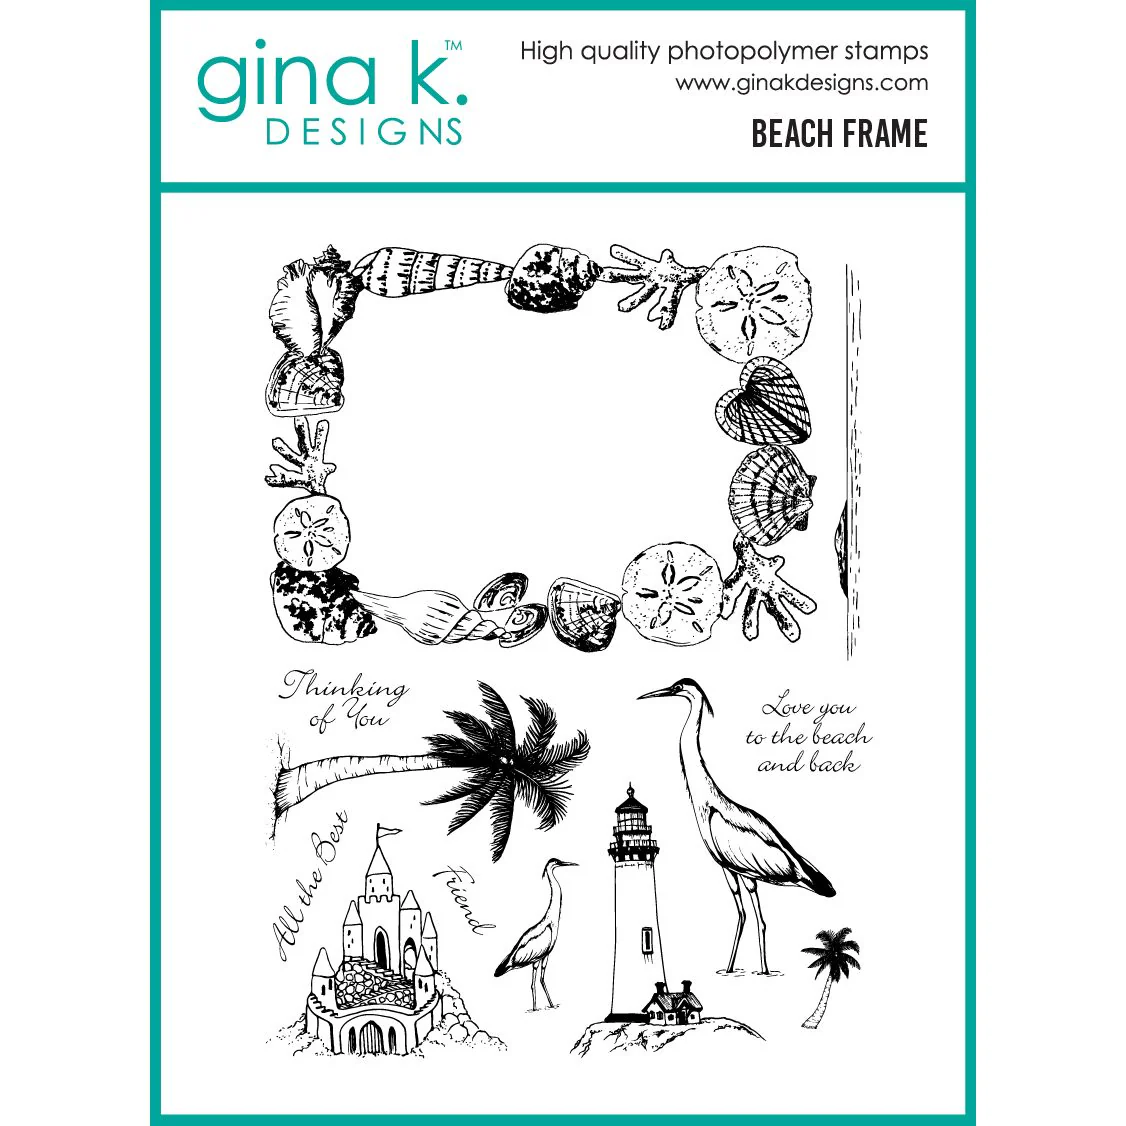
Hello Lovelies! It's been a while since I had a chance to create with Gina K's crafting goodies, but I was all smiles when I opened up the mail to see the Beach Frame stamps and Dies. I'm getting to know the Gina K inks so I couldn't resist a little multicolored stamping with them for this simple Beach Frame Photo Folio project! Let's get started with some tips for multicolored stamping.
Tips for Multicolored Stamping:
Ink Cubes Are Best - the compact size makes inking small areas easier but if you only have a full-size pad, just angle it towards the corners.
Stamp Colors In Overlapping Layers - work quickly to ink sections of the stamp with one color, stamp, then repeat with another color overlapping the previous color to create blends and gradients
Step It Up With Embossing - I missed an opportunity to add a glittery iridescent embossing powder that would have enhanced the frame even more.

I'm packing my beach bag now!
Key Supplies for the Beach Frame Photo Folio
Click HERE for the full list!
Today's GIF!
Beach please!!!
Like this card and my CORNY GIFs? CLICK THE BUTTON BELOW
to sign up for blog updates:
BEACH FRAME PHOTO FOLIO - Multicolored Stamping, Die-cutting and Copic Coloring
Size: ~5 1/2" x 8 1/2"
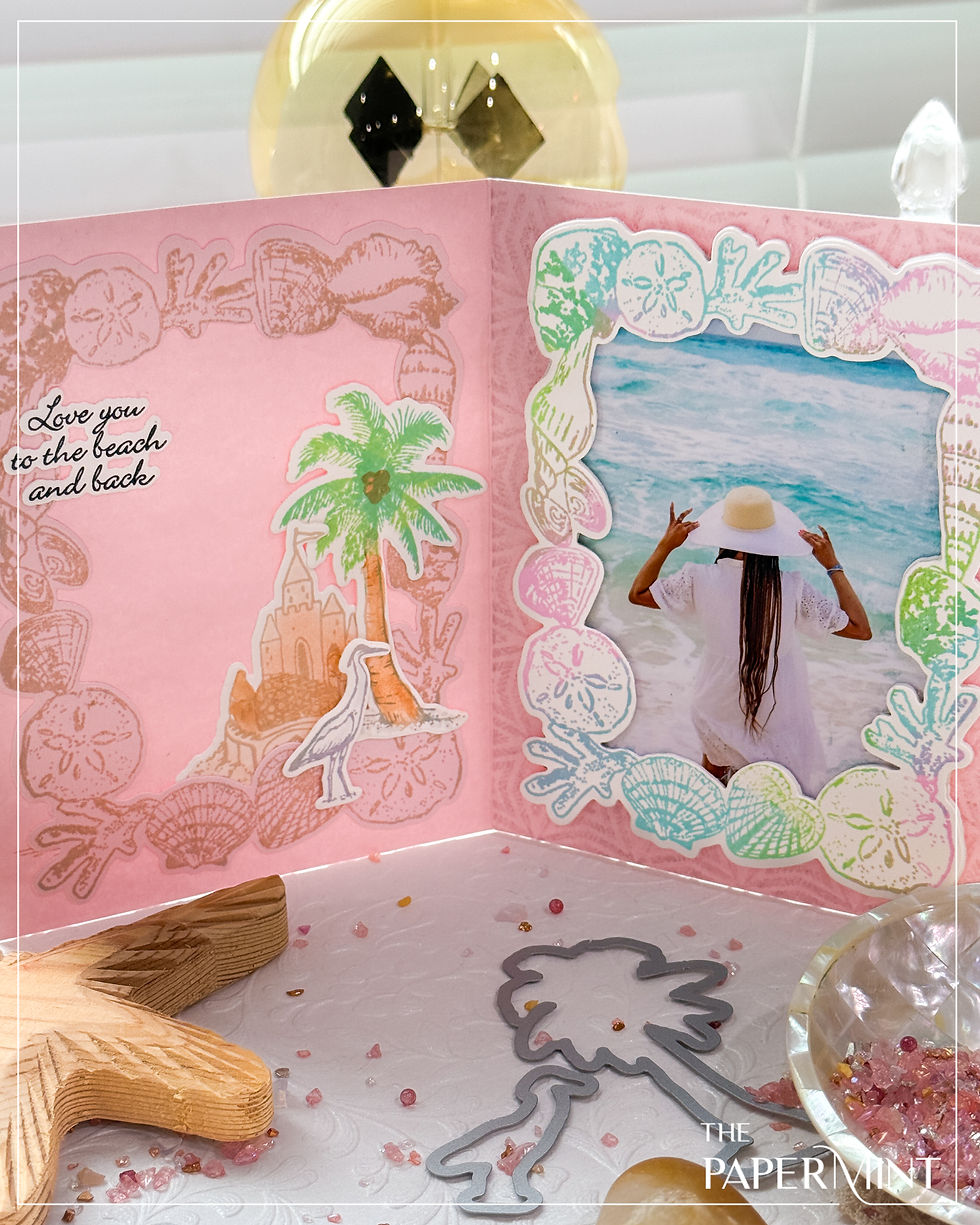
COLOR PALETTE
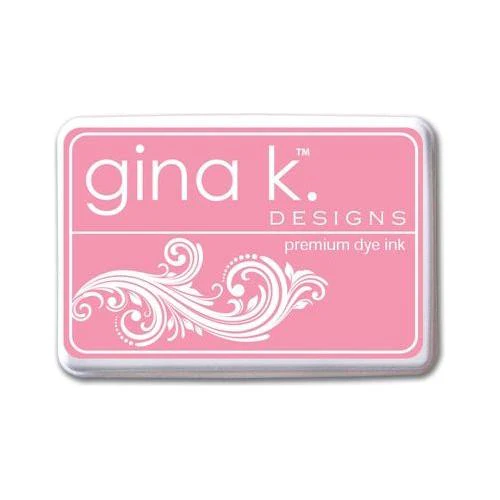
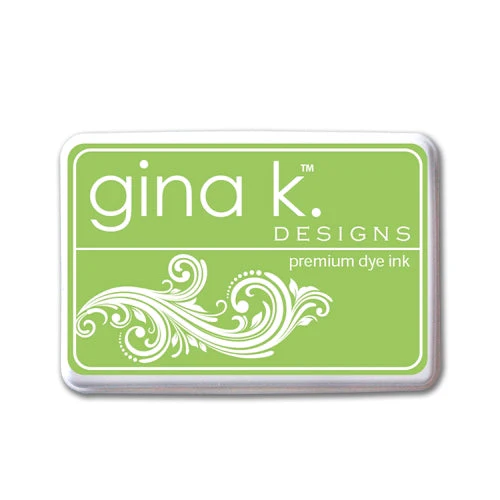
GINA K. DESIGNS PREMIUM DYE INK PADS: Bubblegum Pink, Sea Glass and Apple Mint

PROJECT HIGHLIGHTS
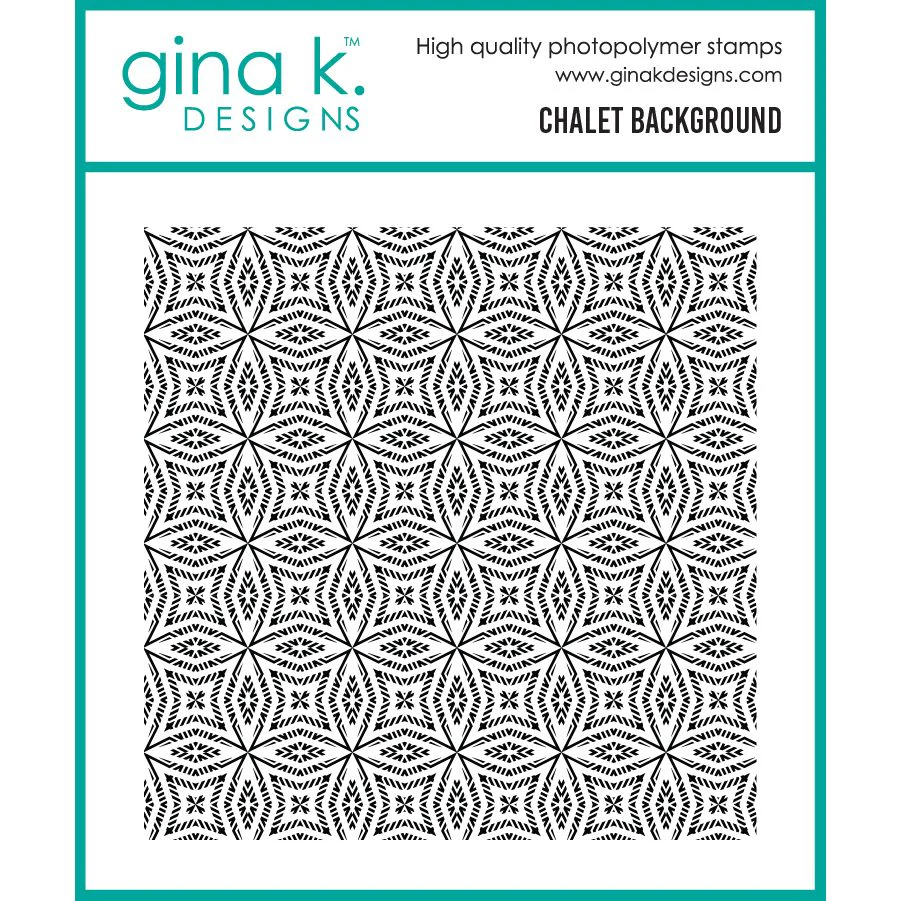
Trim pink cardstock to 5 1/2" x 8 1/2" and score at 4 1/4" like an A2 card base. Stamp the right side with in Soft Grey using the Chalet Background.
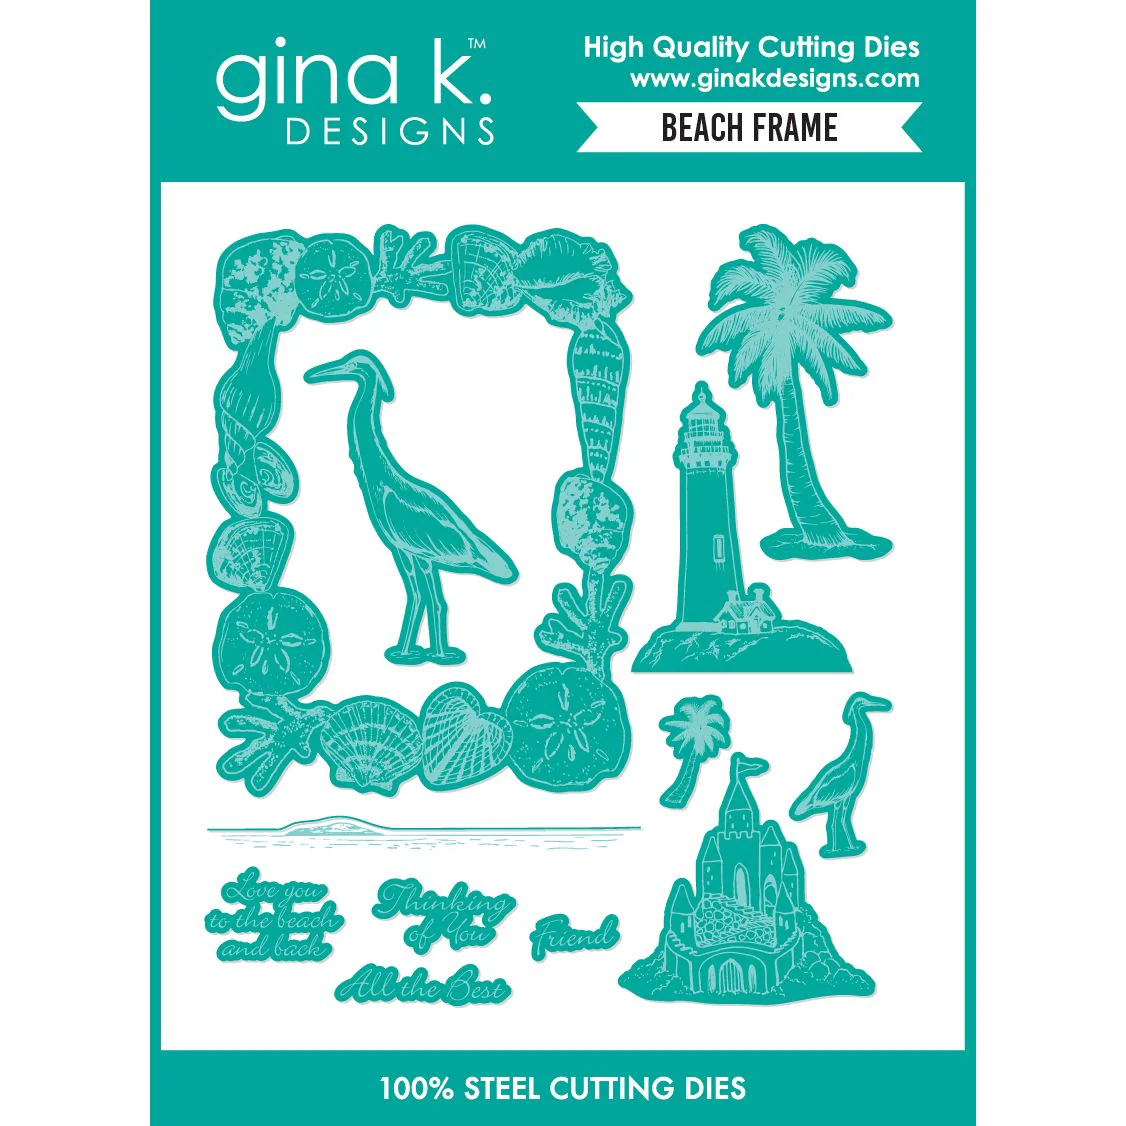
Follow the tips to stamp a multicolored seashell frame from the Beach Frame set onto white cardstock in the selected colors and die-cut with the matching die.
Use the frame die to cut the frame again from a piece of white foam. Adhere the foam to the multicolored die-cut for dimension with Gina K Designs Connect Glue.
Stamp the seashell frame onto a scrap piece of pink cardstock in Soft Stone ink and die-cut.
Stamp, color with Copics, and die-cut the sandcastle, bird and palm tree.
Layer and adhere as pictured.
UP CLOSE AND CRAFTY


LAST LOOK

Thanks for stopping by today! Drop me a comment and say hi!
SUPPLIES:
I listed the products that I have used below. Please note that these are compensated affiliate links, used at no cost to you. I really appreciate your support. All stamps used today were part of my maker package from Gina K. Designs. Click on the icons below each product picture to shop with SimonSaysStamp.com.


Comments