

Blend Your Heart Out...Mini Ink Blender Storage
- Keisha Diann

- Nov 12, 2017
- 3 min read
A few weeks ago, on a Sunday during which I was supposed to be making cards from the backgrounds I created the previous day... I was instead inspired to re-organize my "Stamping Tools" drawer. Here's the after:

I often clean or organize my way out of "crafting block". Something about having a fresh space gives me a clear head that occasionally allows the ideas to come back.
Below is my original stamping tool drawer, that I have liked immensely for at least two years. However, one of my favorite things is that my craft room allows me to make changes when I need to; to accommodate new things, to transition out things that I don't use as much and ultimately to be responsive to changes in my crafty habits.

Though I can be a hoarder at times, I also can also become ruthless about updating my crafting space to make readily available the tools and products that I currently use most often.
Lately, I have been using my mini ink pads instead of my full-size ones and I have become completely obsessed with blending. As a result, what I could really use close to hand is my mini ink blending tools instead of a selection of my full size ink pads. I will show you how I store my mini ink pads in a separate post.
When I first started I had 6 ink blending tools and as I got better at blending and used it more in my projects, I decided that it would be simpler for me to have a tool for each Distress Ink color. It took me a year and buying a few at a time when the coupons and sales aligned, until I had my "full set".
In solving my full set problem though, I created another. Where was I going to put it all, so that it could be within reach? First, I fell in love with this nail polish stadium display, until I remembered that I did not want to put any other permanent items on the craft room island.

Sorry for the terrible picture above, here is how it looks with nail polish and empty!

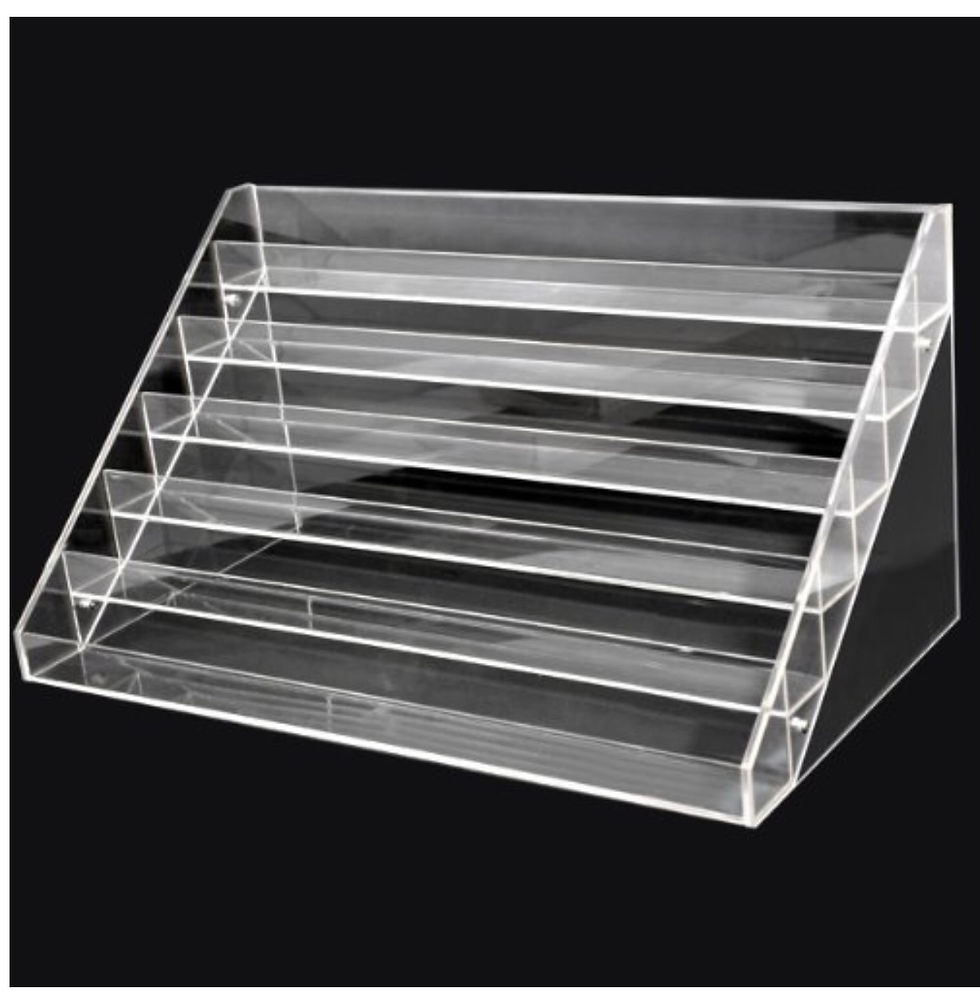
I will repurpose this stadium display for other storage somewhere else in the craft room; I'm thinking possibly my acrylic paints; Nuvo drops, sprays...
What ended up working for me was using a drawer in the island. I wanted it directly at hand, so I selected the "Stamping Tools" drawer that is the first to the right of me when seated at my workstation in the island. I removed the ink pad holder to make space for the blending tools.
Here are the steps I took to set up my Ink Blender organization:
1) Lined the bottom of the drawer with the large clear acrylic sheet to protect the drawer interior from ink residue on the blending foam.
2) Downloaded labels from the Ranger website and printed labels on a 8 1/2 x 11 sheet of adhesive label paper.
3) Punched out the color-coded labels with a favorite 1/2" punch. A 1/2" circle punch would work.
4) Adhered the labels to the top of the ink blending tool handle.
5) Placed the tools in the drawer grouped by color family.

In the back of the drawer, I have just enough room for my frequently used Stamping Tools:
a variety of ink blocks
A selection of black ink pads
embossing pads and tools
paper for card fronts
blending foam
reinkers
some Simon Says Stamp clear stamps for ink swatches
Hero Arts stamps that I use to test new inks and finally,
stamp cleaners

With these essentials at hand, I am pretty much ready to stamp...and blend my little heart out.
Shopping links below for your convenience.


Comments