Tim Holtz STAMPERS ANONYMOUS Christmas 2023 Release - FESTIVE PRINT Cards
- Keisha Diann

- Sep 23, 2023
- 4 min read

Hello Lovelies! The Festive Print Stamp Set from Tim Holtz's Stampers Anonymous 2023 Christmas Release was calling my name from the minute that I saw it. The bold lines make big impressions with minimal effort.
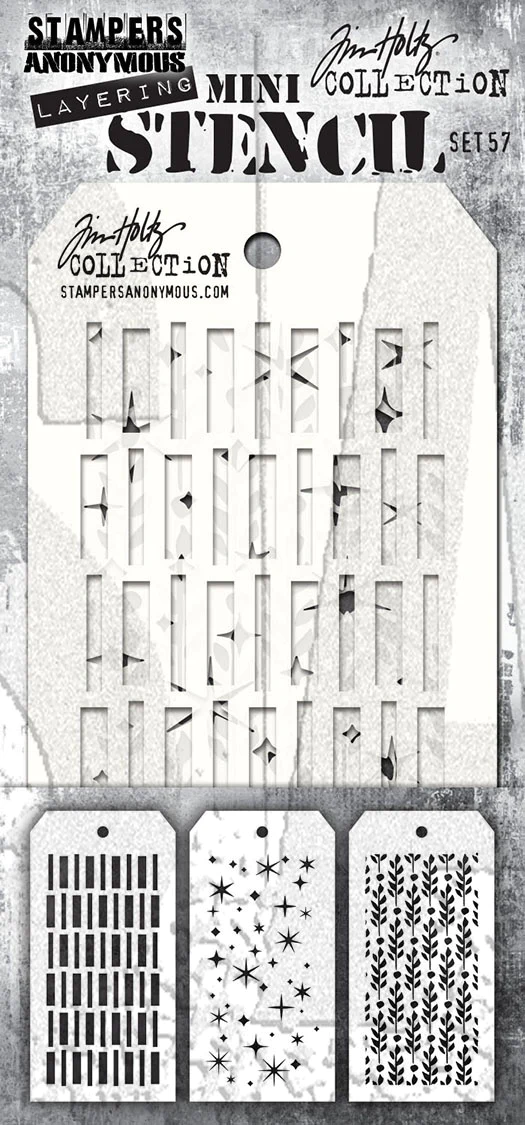
Join me as I paid them with two of the new Mini stencils to create a frosty duo of Christmas cards!

The full Tim Holtz Stampers Anonymous 2023 Halloween Release includes 5 stamp sets and 3 stenscils in two different sizes and an additional set of mini stenciles. You can get it as a bundle, but each stamp and stencil set is also available to purchase individually from Simon Says Stamp.
Let's take a closer look at the stamp set that we'll use for this make:

In addition, we'll use one of the mini stencil sets and some of the newest Distress mediums to add some more texture to the cards:
Click here to view the full supply list or check out the one linked in the gallery at the bottom of this post when you have finished exploring this project.
Today's GIF!
All my snow globes need is some live action snow!
Like this card and my corny GIFs? CLICK BUTTON BELOW
to sign up for blog updates:
WINTER WONDERLAND CARD - Stamping, Stenciling, Ink-Blending, using Texture Paste and Fussy Cutting
Card Size: 4 1/4" x 5 1/2"
Featuring:
Tim Holtz Ranger Distress Ink Pads - Wilted Violet, Seedless Preserves, Shaded Lilac, Fossilized Amber, Gathered Twigs

PROJECT PALETTE
Tim Holtz Ranger Distress Oxide Ink Pads - Twisted Citron, Mowed Lawn, Crushed Olive, Forest Moss, Black Soot

PROJECT WALKTHROUGH
STAMPING - Part 1
Stamp the Festive Print snow globes in Distress Oxide Ink onto a 4 1/4" x 5 1/2" piece of white 110lb Neenah Cardstock. Mowed Lawn for the snow globe with the pines and mountain and Prize Ribbon for the snow with the buildings.
FUSSY-CUTTING
Cut out the snow globes with a scissors.
STAMPING - Part 2
Trace the outline of the globe in pencil so that you know where to stamp the trees
follow the pictures below to stamp the trees in the selected Distress Oxide Inks
STENCILING WITH GRIT PASTE
Secure the card front to the your craft surface
Secure the "stars" stencil over the right side of the card
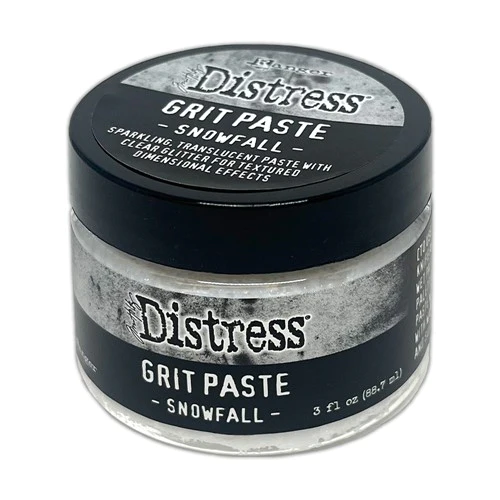
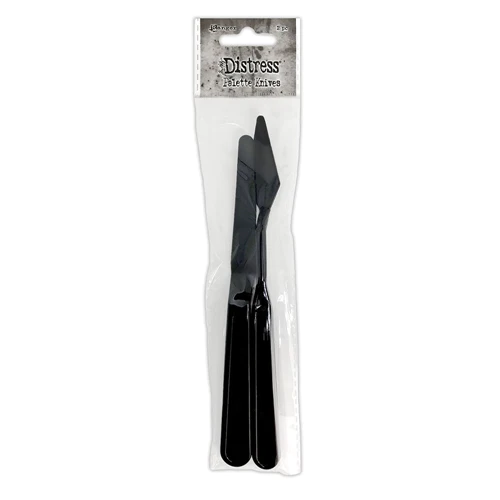
Use the Palette Knife to apply Snowfall Grit Paste over the stencil
Quickly but carefully lift up the stencil and move to the left side of the card and repeat the stenciling with the Grit Paste
CREATING THE SENTIMENT STRIP
Select the stick phrase from the Christmas Sticker Book
Ink a strip of white cardstock with Twisted Citron Distress Oxide
Trim the sticker as shown
Adhere the sticker to the Twisted Citron strip and trim
Adhere foam tape to the the sentiment strip and to the back of the fussy cut snow globe
INK-BLENDING
Ink the corners of the card front with Mowed Lawn and then Forest Moss Oxide Inks using the Mini Ink Blenders
Adhere foam tape to the back
SPLATTERING
Spritz a pea-sized amount of Picket Fence Distress Paint with water, mix with a Splatter Brush and then splatter the front of the card


Layers of yummy color and texture!

Something about that bold rustic lettering just makes me happy!

I am embracing the unpredictability of the splatter and the the inked edges!

This card would make me happy if it showed up in MY mailbox!

IN THE CITY CARD - Stamping, Stenciling, Ink-Blending, using Texture Paste and Fussy Cutting
Card Size: 4 1/4" x 5 1/2"
Featuring:
Tim Holtz Ranger Distress Ink Pads - Mustard Seed, Tumbled Glass, Salty Ocean, Prize Ribbon, Chipped Sapphire, Black Soot, Hickory Smoke

PROJECT PALETTE
Tim Holtz Ranger Distress Oxide Ink Pads - Mustard Seed, Tumbled Glass, Salty Ocean, Prize Ribbon, Chipped Sapphire, Black Soot (+Hickory Smoke for the stars)

PROJECT WALKTHROUGH
STAMPING
Layout the globe and stamps to get a sense of where you want to place them before you start stamping

follow the pictures below to stamp the trees in the selected Distress Oxide Inks
* - the stars are stamped in Hickory Smoke
STENCILING WITH GRIT PASTE
Secure the card front to the your craft surface
Secure the "rectangles pattern" stencil over the left side of the card
Use the Palette Knife to apply Snowfall Grit Paste over the stencil
Quickly but carefully lift up the stencil and move to the right side of the card and repeat the stenciling with the Grit Paste
CREATING THE SENTIMENT STRIP
Select the stick phrase from the Christmas Sticker Book
Ink a strip of white cardstock with Tumbled Glass Distress Oxide
Trim the sticker as shown
Adhere the sticker to the Tumbled Glass strip and trim
Adhere foam tape to the the sentiment strip and to the back of the fussy cut snow globe
INK-BLENDING
Ink the corners of the card front with Tumbled Glass and then Prize Ribbon Oxide Inks using the Mini Ink Blenders
Adhere foam tape to the back
SPLATTERING
Spritz a pea-sized amount of Picket Fence Distress Paint with water, mix with a Splatter Brush and then splatter the front of the card
I went in a bit of a distressed direction with these cards and it was scary that I would mess it up but I did a happy dance when it worked out!!!

Doesn't that ink look yummy over that Grit Paste???

Of course I could not resist adding a few baubles to this card too!

I now want to make these in ALL the colors!

Thank you for stopping by and sticking with me throughout this long post. Leave me a comment with your thoughts please. It really does make my day and I am always happy to take any questions.
See you soon!
SUPPLIES:
I listed the products that I have used below. Please note that these are compensated affiliate links used at no cost to you. I really appreciate your support. All stamps used today were part of my maker package from Tim Holtz and Stampers Anonymous. Click on the icons below each product picture to shop with Simon Says Stamp.


I love both of these cards. Thank you for the inspiration and the great tutorial. I am going to try it out.
I really appreciate the instructions and pic for the placement of the images. These cards are beautiful. Thank you for sharing them.😎