

Tim Holtz and Ranger Ink April 2026 Distress Paints Re-Introduction & Paint Techniques
- Keisha Diann

- Apr 29
- 3 min read

Hello Lovelies! It was a delightful surprise when I heard Tim Holtz and Ranger Ink decided to re-introduce some Distress Paint colors this Spring! I let my paints linger longer than they should and it was great to refresh a few favorite colors now available again.
I have a bad habit of staying in my Ink comfort zone, so I wanted to build some more confidence with basic painting techniques like Smooshing and Brayering. I made a quick video to show you how, but I'll also cover Distress Paint Techniques in the blog post to supplement it.
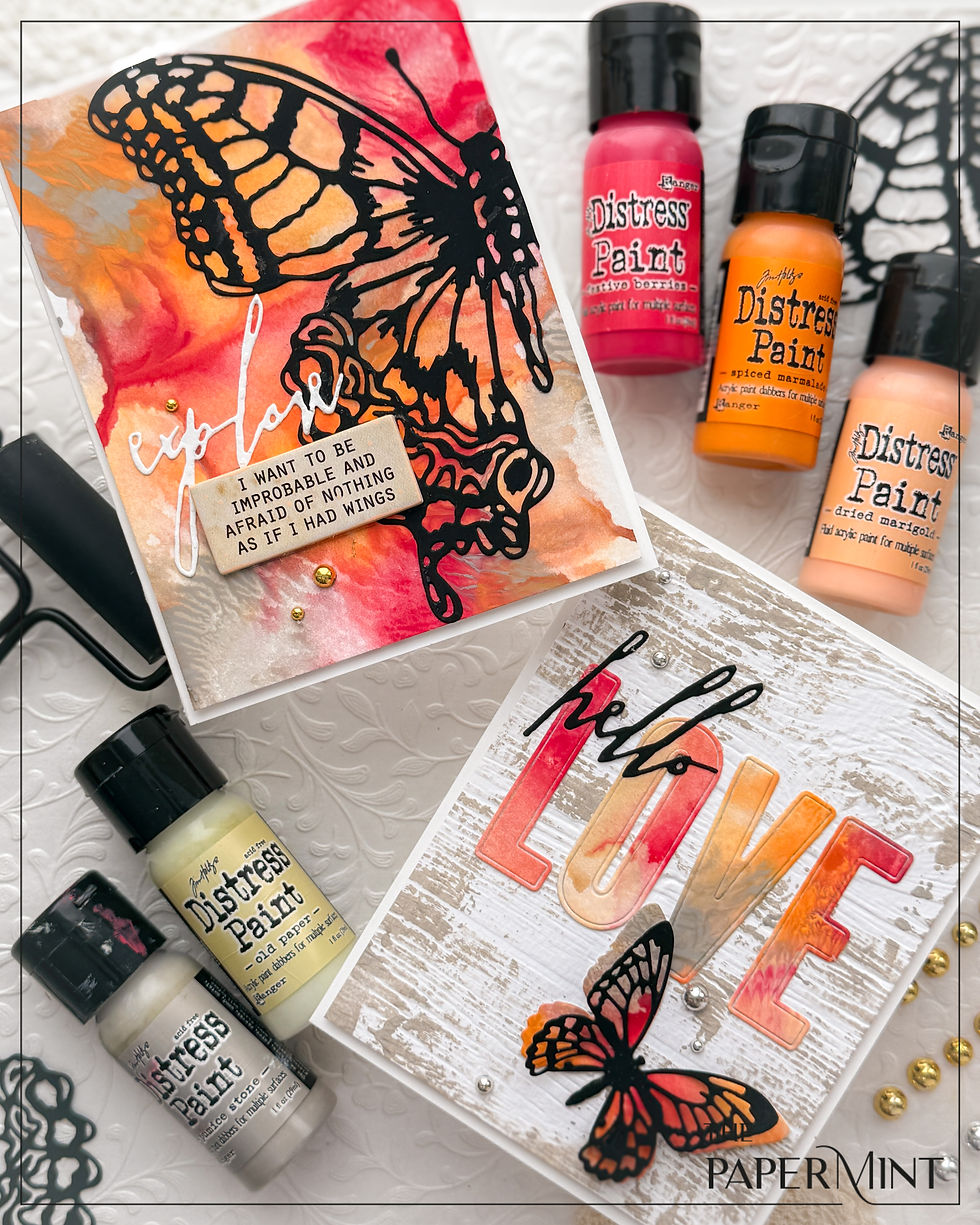
A couple of my very old Distress Paint bottles (4 years+) had become too thick, so I was thrilled to replace them with this reintroduction. I was also surprised that I was able to easily transfer and apply my new-ish Distress labels from the old bottles to the new ones. Depending on what you need, you can purchase the paint individually, or get the whole bundle from Simon Says Stamp.
Isn't that a pretty sight?

Key Supplies - Distress Paint Techniques


Click here to view the full supply list or check out the one linked in the gallery at the bottom of this post when you have finished exploring this project.
Today's GIF!
Now, now, there'll be none of this with our prescious Distress Paint!
Like this card and my corny GIFs? CLICK BUTTON BELOW
to sign up for blog updates:
PAINT SMOOSHING TIPS
A Little Goes A Long Way - Pea-sized drops of your selected colors will create several backgrounds.
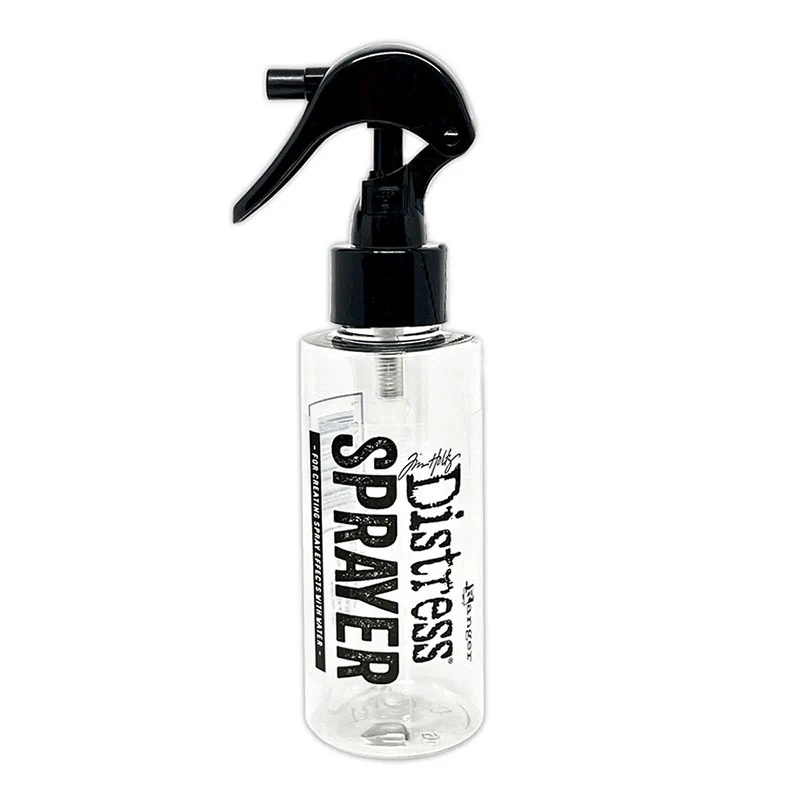
A Mister is A Must - To activate the smooshing effect you'll need to water in a Sprayer or Mister to wet and sometimes re-wet your paint.
Premix the Paint Dots - Once sprayed with water, use your finger or a plastic palette knife to quickly swirl the paint.
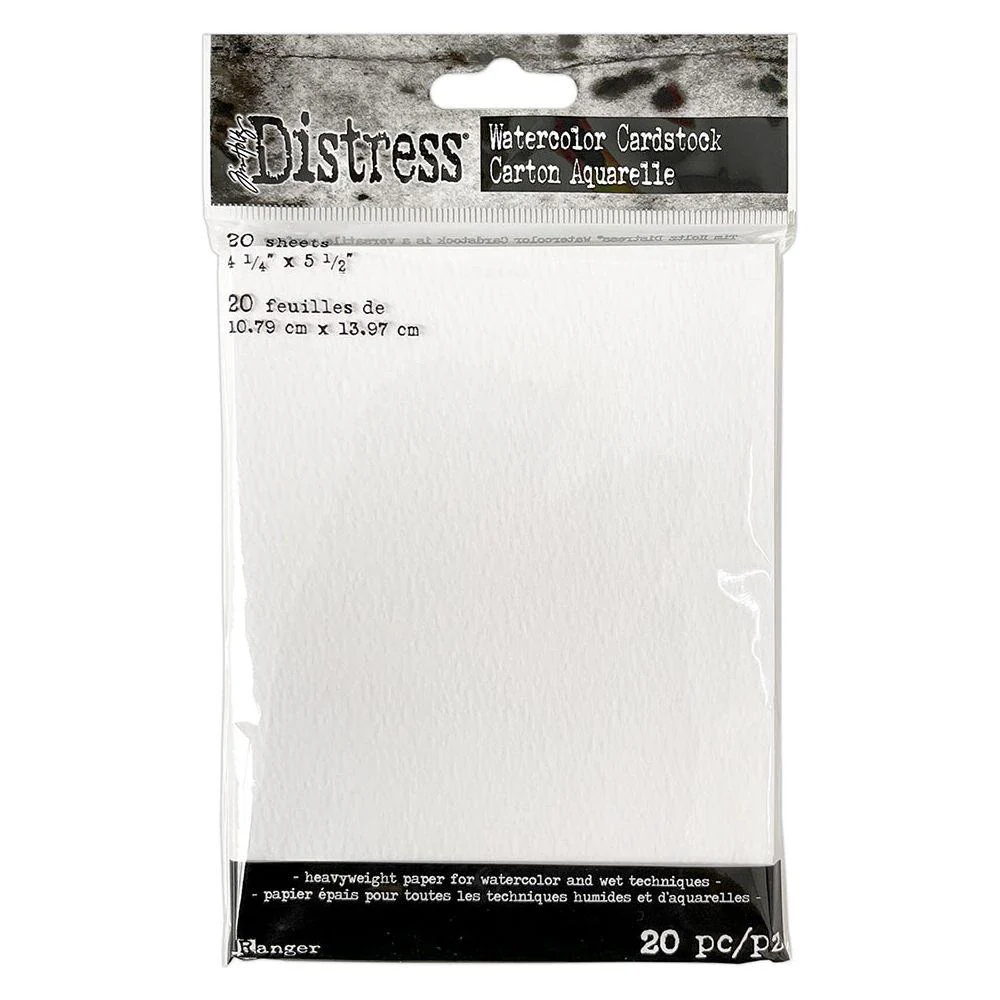
Dab, Twist, Look, Dab - Apply the watercolor cardstock into the paint mix, twist slightly, take a look to observe the effect and dab again in the color of your choice to complete your backgrounds.
Waste Not Want Not - Continue making backgrounds with the excess paint for different looks, rewetting with the Sprayer to keep the fun going!

PAINT BRAYERING TIPS
Paint The Mat First - Add a few Pea-sized drops of your selected color(s) to your craft mat and gently roll the brayer in it to apply the color to the roller.
Gently Does It - Lightly roll the brayer across your cardstock to apply the paint. Lift up often if you are going for a distressed look as shown in the LOVE card.
Clean Up and Rest Carefully - Wipe off excess paint from the brayer and be sure to set it down on its stand to ensure that you do not leave a dent in the roller surface.
DISTRESS PAINT TECHNIQUES
CLICK IMAGE BELOW FOR THE QUICK VIDEO SHOWING THE HIGHLIGHTED TECHNIQUES

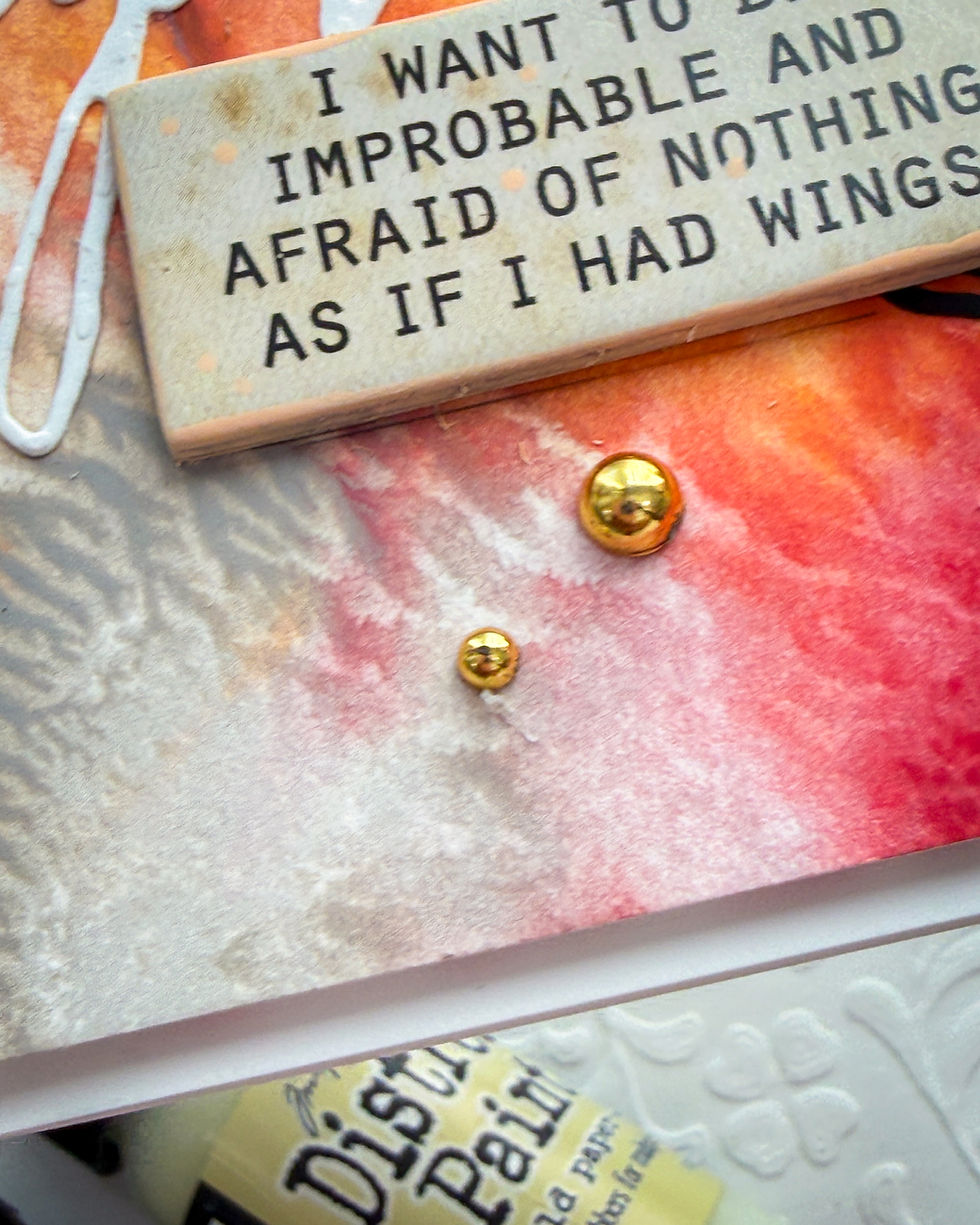
UP CLOSE & CRAFTY
EXPLORE CARD


HELLO LOVE CARD


LAST LOOK!
Thank you for stopping by! Leave me a comment with your thoughts please. It really does make my day and I am always happy to take any questions.
See you soon!
SUPPLIES:
I listed the products that I have used below. Please note that these are compensated affiliate links used at no cost to you. I really appreciate your support. Some reintroduced paints used today were part of my maker package from Ranger Ink.


Comments