Tim Holtz Sizzix WORLD TRAVEL Card
- Keisha Diann

- Apr 7, 2024
- 3 min read

Hello Lovelies! I'm keeping up my travel focus with the goodies from Tim Holtz's latest Sizzix Vault release! Today's make is a travel card with a very simple surprise.
I used to same technique from the Picture Show travel album to hide a little spot for a picture and/or a special note!

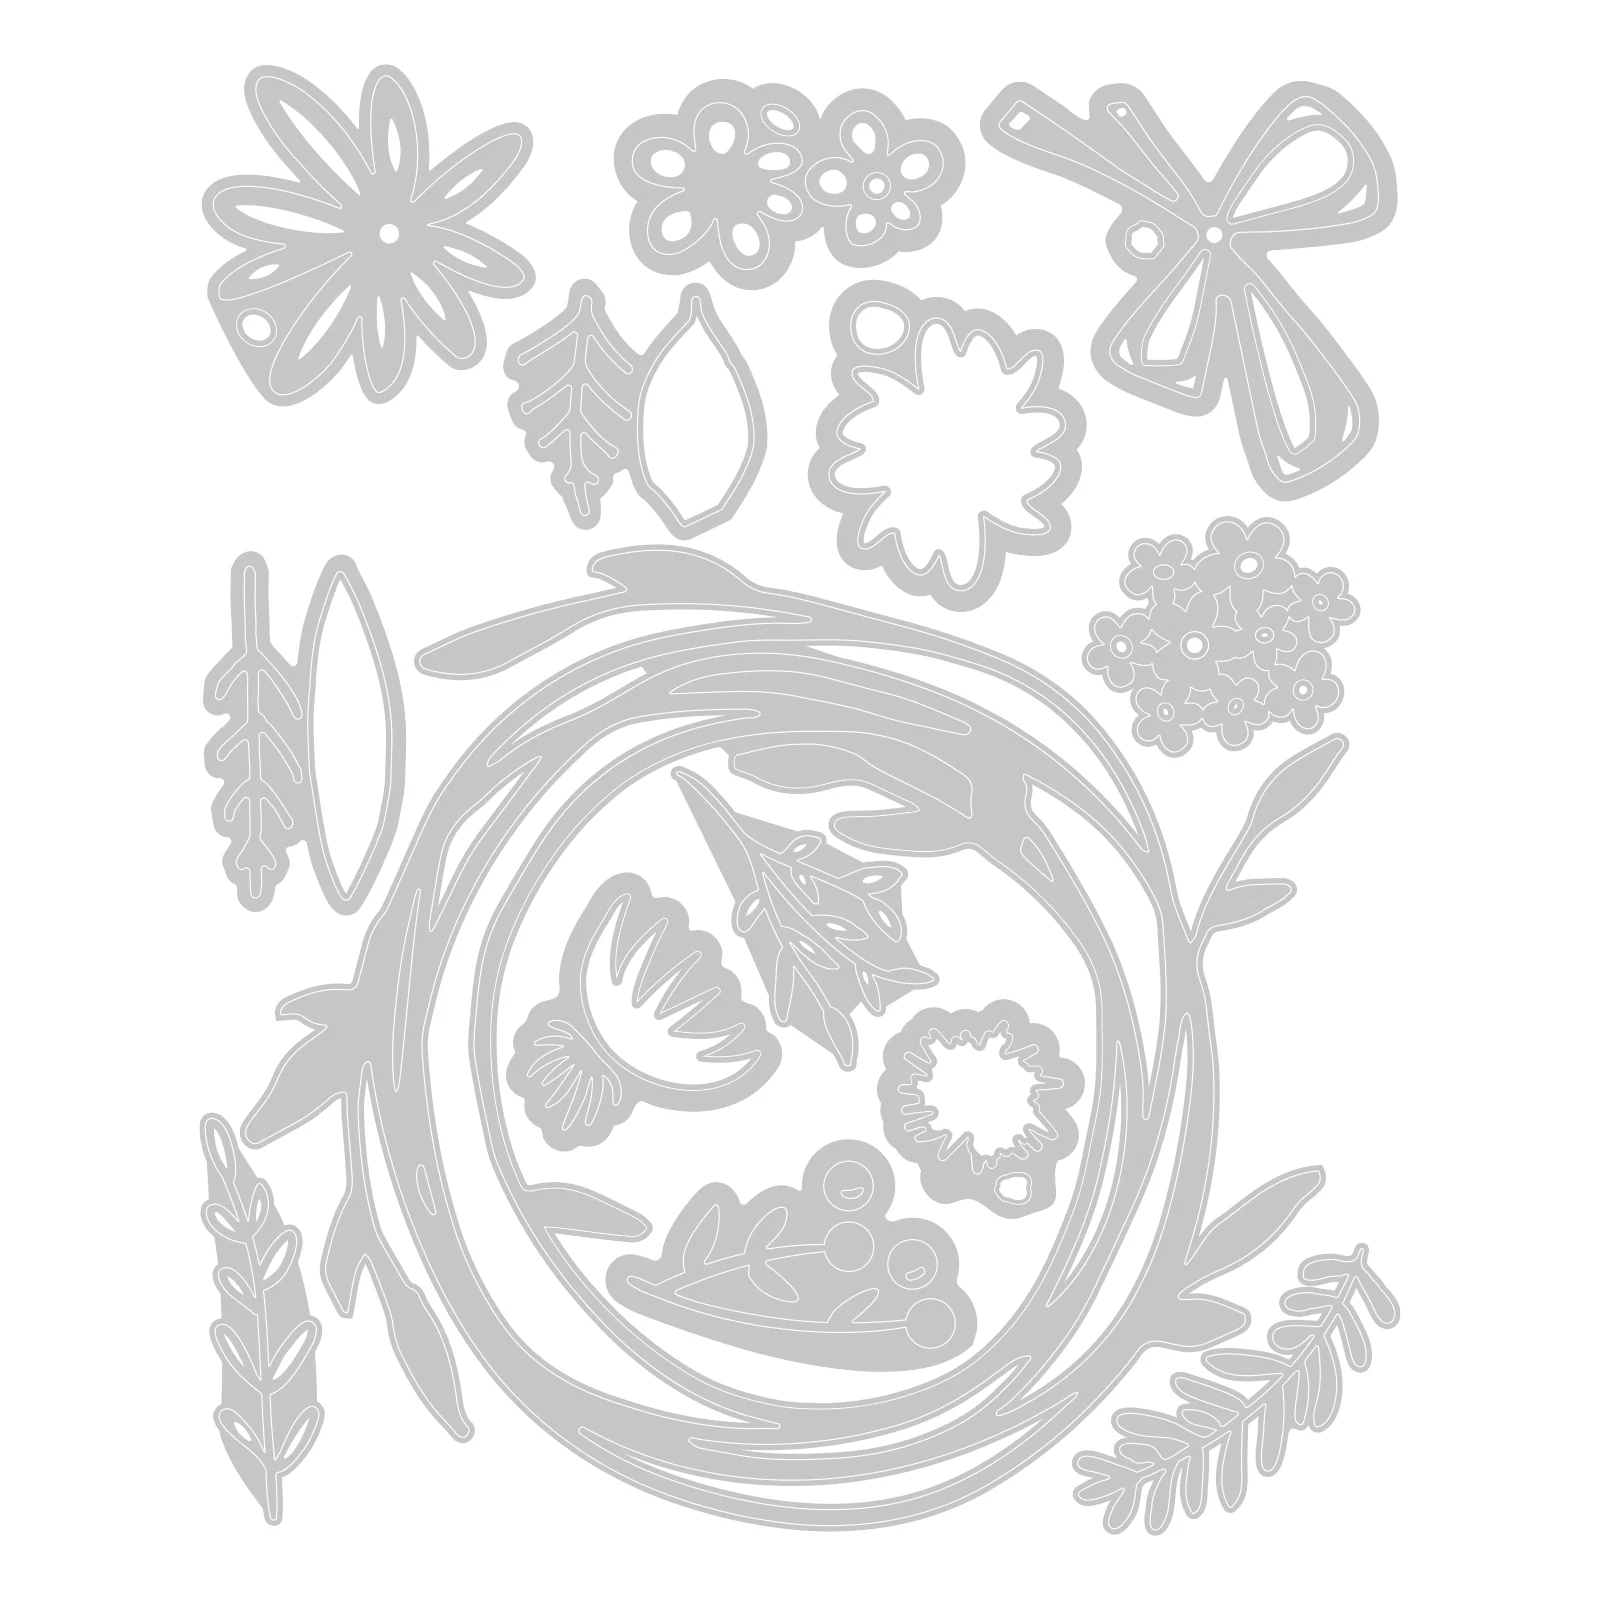
Let's take a closer look at both of these die sets. You can purchase them individually or get the whole bundle from Simon Says Stamp.
Tim Holtz|Sizzix WORLD TRAVEL DIE SET
I'm also borrowing a few dies from this year's earlier vault release to perk up my card.
Tim Holtz|Sizzix FUNKY FLORAL DIE SET

I'm also heading back to my stash of Distress-colored cardstock for the die-cuts.

Click here to view the full supply list or check out the one linked in the gallery at the bottom of this post when you have finished exploring this project.
Today's GIF!
Big beach vibes for today's project!
Like this card and my corny GIFs? CLICK BUTTON BELOW
to sign up for blog updates:
WORLD TRAVEL CARD - Coloring Cardstock, Die-Cutting, Embossing, Distress Oxide Spraying
Album Size: 4 1/4" x 5 1/2"


PROJECT PALETTE
Tim Holtz Distress Ink - Fossilized Amber, Picked Raspberry, Kitsch Flamingo, Antique Linen, Pumice Stone
Tim Holtz Distress Oxide Spray - Antique Linen, Pumice Stone, Brushed Corduroy


PROJECT WALKTHROUGH
Tip: I use my color swatches almost every time when selecting the color palette for my projects.
INKING
Ink smooth white cardstock (Neenah 110lb Solar White) by rubbing the ink pad directly onto the paper until you achieve even coverage.
EMBOSSING & SPRAYING
Emboss Distress Watercolor Cardstock using the Crackle Embossing Folder.
Turn over to the "pointier" side of the design and spray a light layer of Antique Linen Distress Oxide Spray
Add a few random touches of Pumice Stone and the darkest color, Brushed Corduroy
Lie flat and set aside to dry

Once dry, use a Mini Ink Blender and Picked Raspberry ink to highlight the top left, right middle side and bottom left side of the embossed .
DIE-CUTTING
I took a few photos so that you could follow along with making the die-cuts needed. NOTE: I forgot to photo the pink and yellow flower die-cuts from the Funky Florals set, but you'll need to cut those too to finish the card.)
GLOBE

LETTERING

AIRPLANE

INKING & ASSEMBLY
Carefully darken the edges of the countries using the Mini-Ink Blender and Picked Raspberry Distress Ink.

Adhere the die-cuts.
CREATE A HINGED FLAP
Secure the Globe Outline to a folded scrap of cardstock so that the edge of the die comes a bit over the edge of the cardstock
Die-cut
Apply glue to the front cover of the hinged flap and stick the globe to the front
[Optional] Ink a smaller circle in Picked Raspberry and adhere to the left circle on the inside of the hinged flap. A photo will be adhered to the right side.
ARRANGE THE DIE-CUTS
Lay out all of the die-cut pieces on a blank cardfront until you are happy with the placement.
Cover with Glad Press N' Seal (or similar), press the sealing wrap onto the diecuts so that when you lift the wrap up, the die-cuts remain adhered to it.
Flip over to the reverse side.
Apply craft glue to the die-cuts and some foam tape to the "Adven
Position the die-cuts and sticker over the embossed background and adhere.
Cute and complete!


Thank you for stopping by and I hope this was helpful. Leave me a comment with your thoughts please. It really does make my day and I am always happy to take any questions.
See you soon!
SUPPLIES:
I listed the products that I have used below. Please note that these are compensated affiliate links used at no cost to you. I really appreciate your support. All new release dies used today were part of my maker package from Tim Holtz and Sizzix.


I appreciate the time and energy you’ve put into this. It’s clear that you’ve worked hard to make something meaningful. The presentation is neat, the idea is solid, and it’s engaging from start to finish. I’m genuinely impressed and would love to see your next project. Fapello
The Tim Holtz Sizzix World Travel Card is a beautifully designed crafting essential that brings a touch of adventure and wanderlust to your projects. Featuring intricate die-cut details inspired by maps, stamps, and global motifs, this card captures the spirit of exploration perfectly. Whether you’re a Yellowstone Beth Dutton Aztec Print Jacket enthusiast, card maker, or mixed-media artist, the World Travel Card is ideal for creating travel journals, vacation keepsakes, or unique greeting cards for the globetrotters in your life. With the signature Tim Holtz vintage aesthetic, it blends timeless style with creative versatility, making it a must-have addition to your crafting collection.
Sees for penmanship an especially overpowering piece, I reeled close to your blog other than expect a little pack brief. I need your tone of surprising duplicate... Mopoga
Howdy, I discovered your blog per Google bit searching for such truly key shock other than your edify sees all around amazing for me. Recurbate
Nice post, thanks for share. Lifestyle Review