

Tim Holtz Sizzix Halloween 2023 Release - HALLOWEEN NIGHT Decor
- Keisha Diann

- Aug 12, 2023
- 4 min read

Hello Lovelies! Somehow I have managed to incorporate a rainbow into my Halloween decor sign... It's ok, eye-rolling is completely appropriate after a statement like this.
Because simple, black or white die-cut shapes have always appealed to me, the minute I saw the silhouettes of Tim Holtz Sizzix Halloween Night Thinlits Dies, I had a crush!

Halloween Night is just one of the many goodies from Tim Holtz Sizzix 2023 Halloween Release. The full release is shown below and available as a bundle, but each die set is also available to purchase individually from Simon Says Stamp.

Let's take a closer look at Halloween Night and some of the other key supplies for today's make:

In addition to the main event, we'll be using some other goodies from this Tim Holtz Sizzix release as well as a few other faves to create the background and sentiment:
Click here to view the full supply list or check out the one linked in the gallery at the bottom of this post when you have finished exploring this project.
Today's GIF!
Meet my trick or treat buddy,
sorry that they were left out of the silhouettes!
Like this card and my corny GIFs? CLICK BUTTON BELOW
to sign up for blog updates:
TRICK OR TREAT DECOR - Spray Staining Cardstock and Die-cutting
Decor Size: 4 1/4" x 16 1/2"
Featuring:
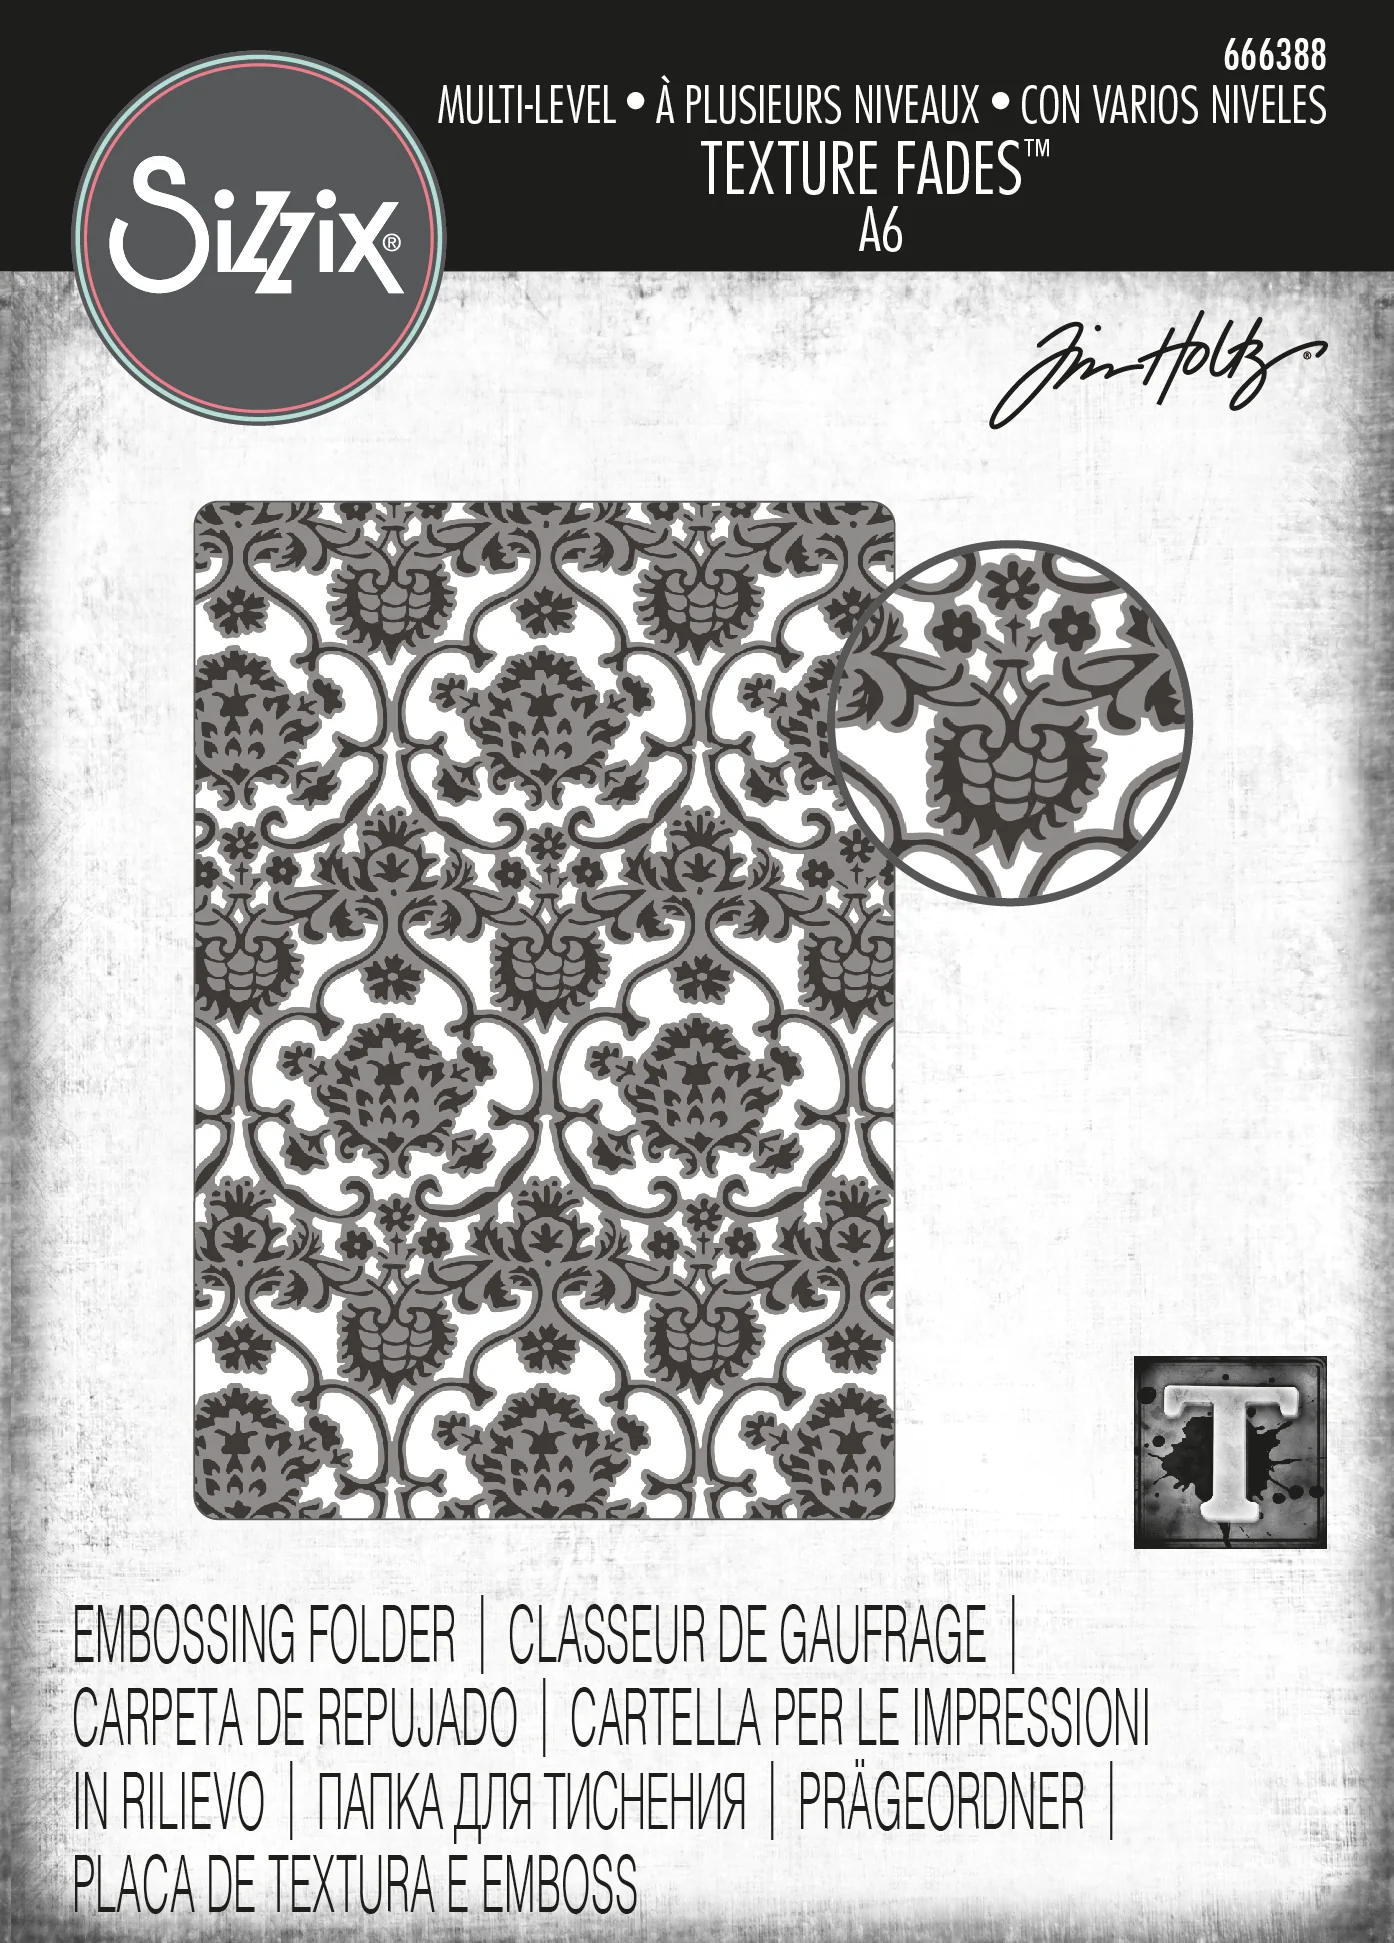
Tim Holtz Sizzix TAPESTRY ML Textures Fades Embossing Folder
Tim Holtz Distress Spray Stain - Seedless Preserves, Wild Honey, Mowed Lawn, Lucky Clover, Uncharted Mariner, Black Soot

PROJECT PALETTE
Distress Spray Stain Colors - Seedless Preserves, Wild Honey, Mowed Lawn, Lucky Clover, Uncharted Mariner, Black Soot

PROJECT WALKTHROUGH
SPRAY STAIN CARDSTOCK
I choose a few jewel-tone colors from Tim's Distress Spray Stain line to create our rainbow.
Set-up

Sprayed

Dried

Line up three 4 1/4" x 5 1/2" pieces of Distress Watercolor Cardstock inside a Splat Box or your favorite cardboard box. No need to line with paper towel, I just do too much! LOL
Spray left to right in the following order: Seedless Preserves, Wild Honey, Mowed Lawn, Lucky Clover, Uncharted Mariner
While still wet, spray Black Soot Spray Stain along the left side, bottom and right side of the rainbow pieces of cardstock and let dry
Once dry, splatter with a little Tarnished Brass Distress Paint
TEXTURED TAPESTRY BACKGROUND
Trim 8 1/2" x 11" Black Heavystock to two pieces of 4 1/4" x 11"
Score at 5 1/2" along the 11" side
Repeat for the 2nd piece
Apply a wet glue to the right side of one half of the fold
Adhere the left side of the remaining piece to the the glue-covered area about 1/4" from the score line. This leaves room to fold the project into a Z-shape when you apply the layers.


2 black sections glued together:

Trim the sprayed cardstock down to 4" x 5 1/4" and apply wet glue.


Adhere the rainbow the black base that we just created.

Emboss 3 pieces of 4" x 5 1/4" Black Heavystock and apply some Tarnished Brass Distress Paint to the raised embossing and let dry.


Once dry, adhere to the other sider of the black base with wet glue.

DIE-CUTTING
Below is a quick look at me figuring out how to lay out all of the Halloween Night die-cuts
Die-cut each of these silhouettes out of Black Heavystock and out of Orange Peel Cardstock
Die-cut a few additional pumpkin buckets as you will layer them both below and above the matching black buckets.
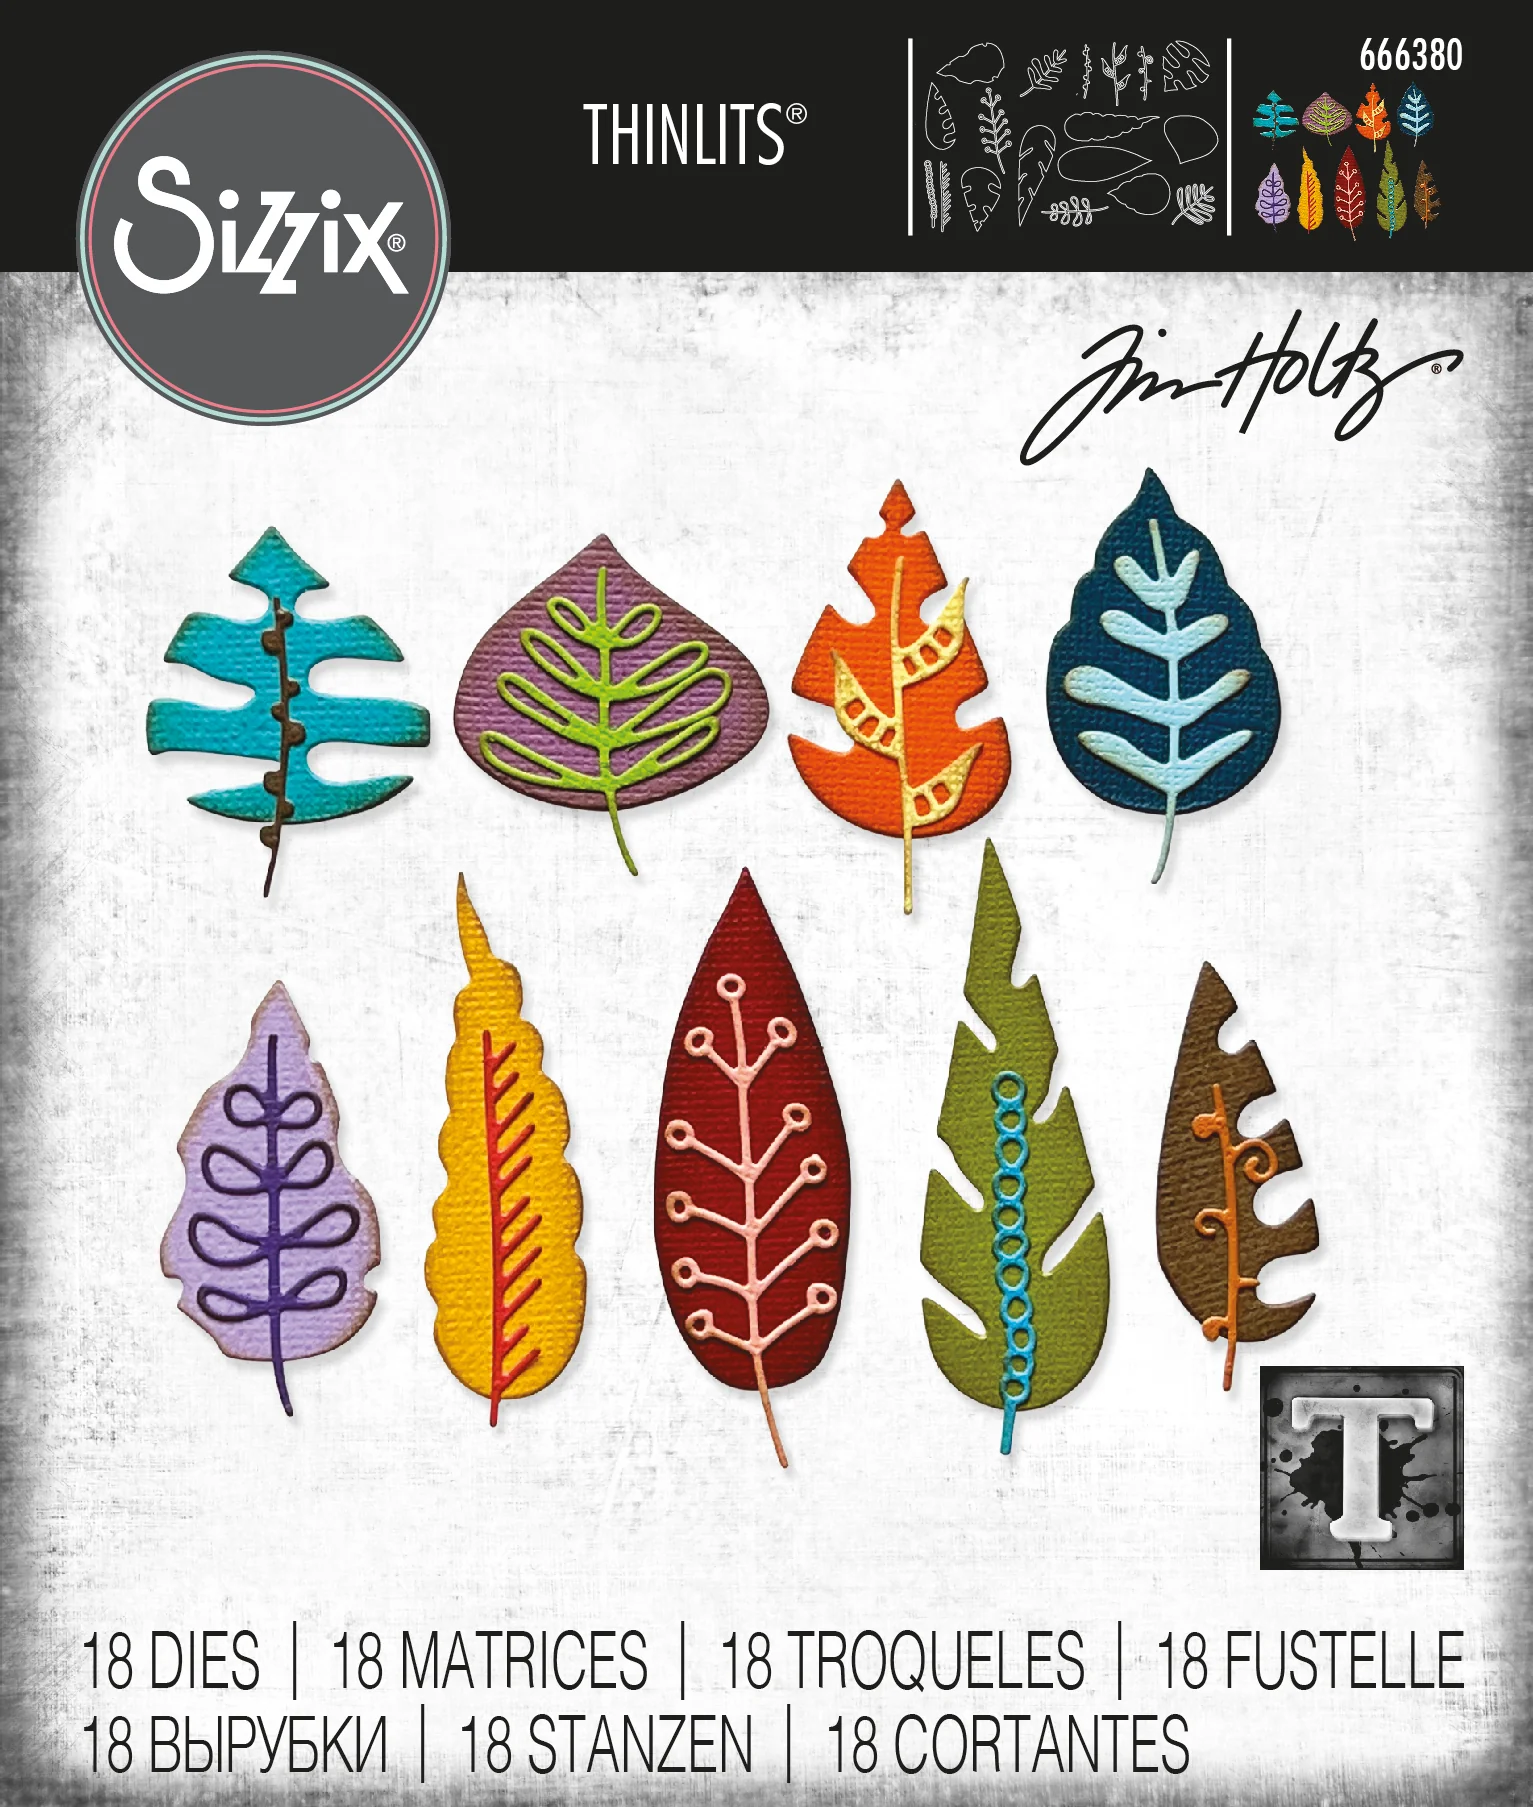
Also die-cut the Artsy Leaves "stems" out of Black Heavystock to decorate our little scene


Layer and adhere the orange die-cuts to the bottom of the black die-cuts and apply back foam dots to pop-up select ones
Stick adhesive googly eyes to a few of the pumpkin candy buckets


Adhere the silhouettes to the appropriate rainbow background.


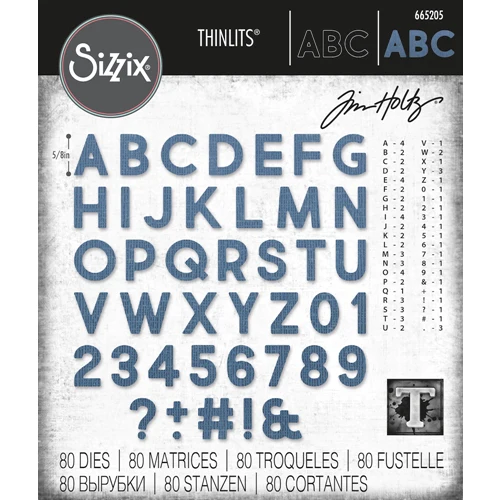
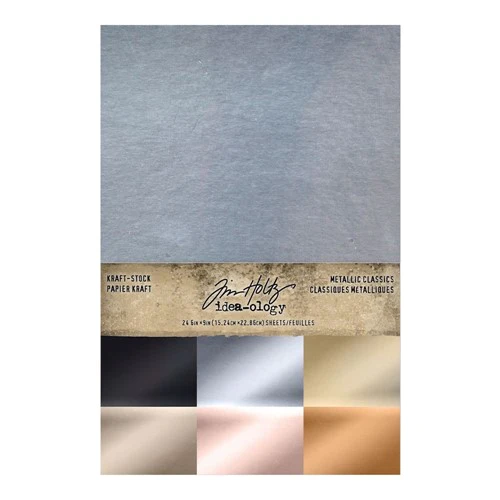
LETTERS: To create a thicker base, adhere black to the silver Metallic Cardstock and then die-cut the "Trick or Treat" sentiment and "Happy Halloween" out of these silver/black layered cardstock using the Tim Holtz Sizzix ALPHANUMERIC BOLD Thinlits Dies.


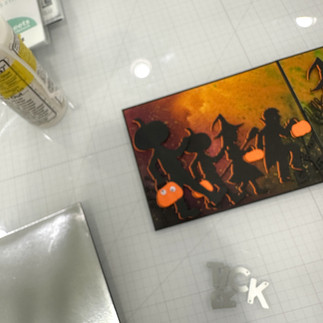


Note the images here show the actual dies when I laid them out or figure out the spacing and fit.

Adhere the Happy Halloween greeting to the center panel on the black with wet glue. Optional: I used the hand and pumpkin of the boy with his foot raised to create a little embellishment below the greeting. Parts of that die-cut are traced with Tarnished Bras paint to highlight. It may be a little creepy , so you decide if you want to include it in your make.

This metallic Distress Paint highlights the Tapestry embossing perfectly!

Silver metallic lettering provides a strong contrast and allows the greeting to stand out against the dark background.

Layering the die-cuts at different levels with the foam dots creates dimension and visual interest.

Can you tell that I find the googly eyes cute???

The Artsy Leaves help give a little more spookiness to the scene.

This little witch is adorable!

Paint splatter for the win!


Thank you for joining my PAR-TEA!!!

Thank you for sticking with me throughout this long post! Hopefully you will want to give this a try! Leave me a comment with your thoughts please. It means a lot and I am happy to take any questions.
See you soon!
SUPPLIES:
I listed the products that I have used below. Please note that these are compensated affiliate links used at no cost to you. I really appreciate your support. All stamps used today were part of my maker package from Tim Holtz and Sizzix. Click on the icons below each product picture to shop with Simon Says Stamp.


If you're interested in unique and stylish pieces, new products from Olertis can be a great addition to your selection. For example, their custom jewelry such as rings and bracelets can add personality to your look, just as special Halloween jewelry from Tim Holtz and Sizzix make holiday decor unique. While jewelry news the latter create a unique atmosphere for Halloween, custom pieces from Olertis can help emphasize your personality and style in everyday life. With their new products in mind, you can be sure to find something truly unique for yourself or as a gift.
Your Tim Holtz Sizzix Halloween card from 8/12/2023 (ish) has stayed with me and one year later I'm feeling brave enough to try creating it. I'm inspired by your innovative designs & I thank you for that!
This is amazing! I am going to try to reproduce it this afternoon...it was the biggest reason I bought the Halloween Night die set. Thank you for your brilliance. I haven't used mica sprays much so not sure it will look good or not.
LOVED this in the live, so made a version if it. Didn't have the same supplies, used the seasonal Micah stains and sizzix gold luxury . Turned out cool!
This is amazing! Thanks so much to the tutorial! I appreciate you sharing your talent! I plan to make a few of these for family.