

Tim Holtz and Sizzix March 2025 Vault Release - Airmail Travel Album
- Keisha Diann

- Jul 28, 2025
- 5 min read
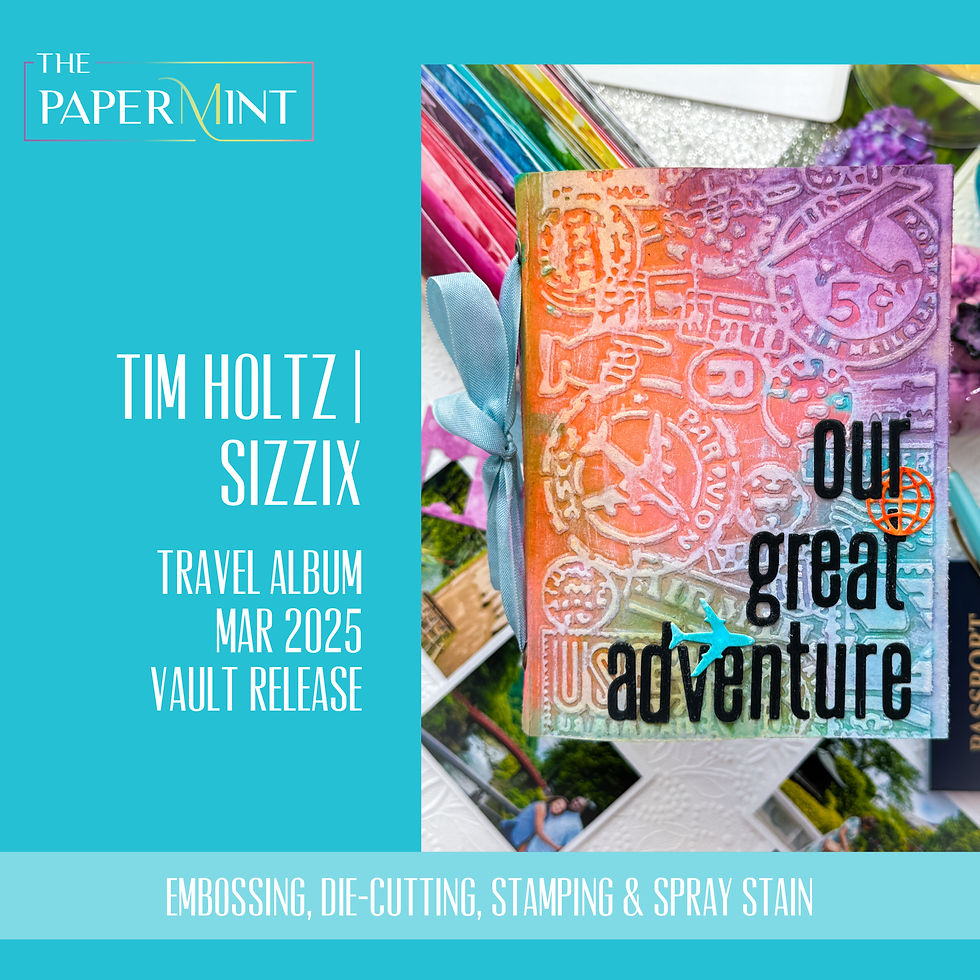
Hello Lovelies! This project takes a while and I love getting lost in making; taking my time to create my kind of beautiful. Months ago, I made this Airmail travel album over two afternoons in anticipation of a trip I took this summer. I adore traveling and planning and preparing for a trip is almost as fun as taking it!
I used several dies and embossing folders from Tim Holtz and Sizzix's March 2025 Vault Release to make this this somewhat unconvential album and went digging in my stash for stamps to complete it. Often, I can't resist filling my makes with flowers and other pretty natural things, but today's project is a bit more industrial in feel but I think you'll find it fun, so let's get to it!

Let's take a closer look at the die sets needed for today's project. You can purchase them individually or get the whole bundle from Simon Says Stamp.
Key Supplies - Airmail Travel Album
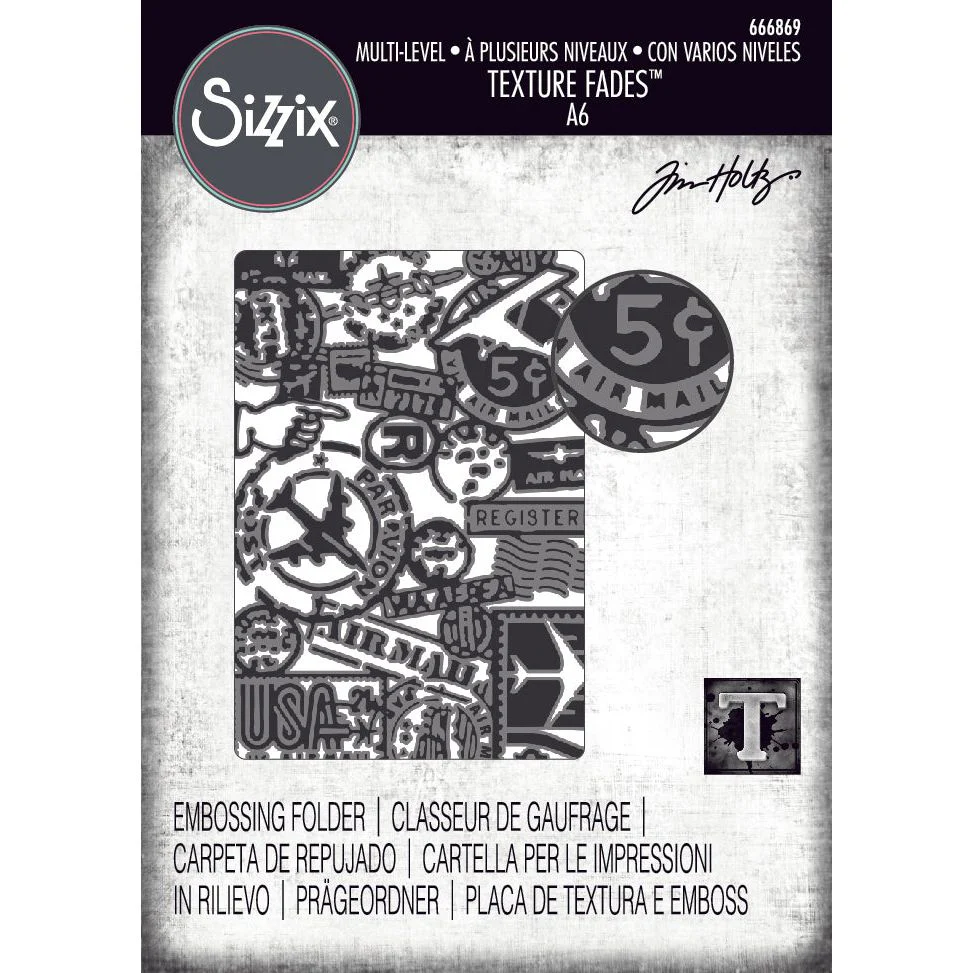
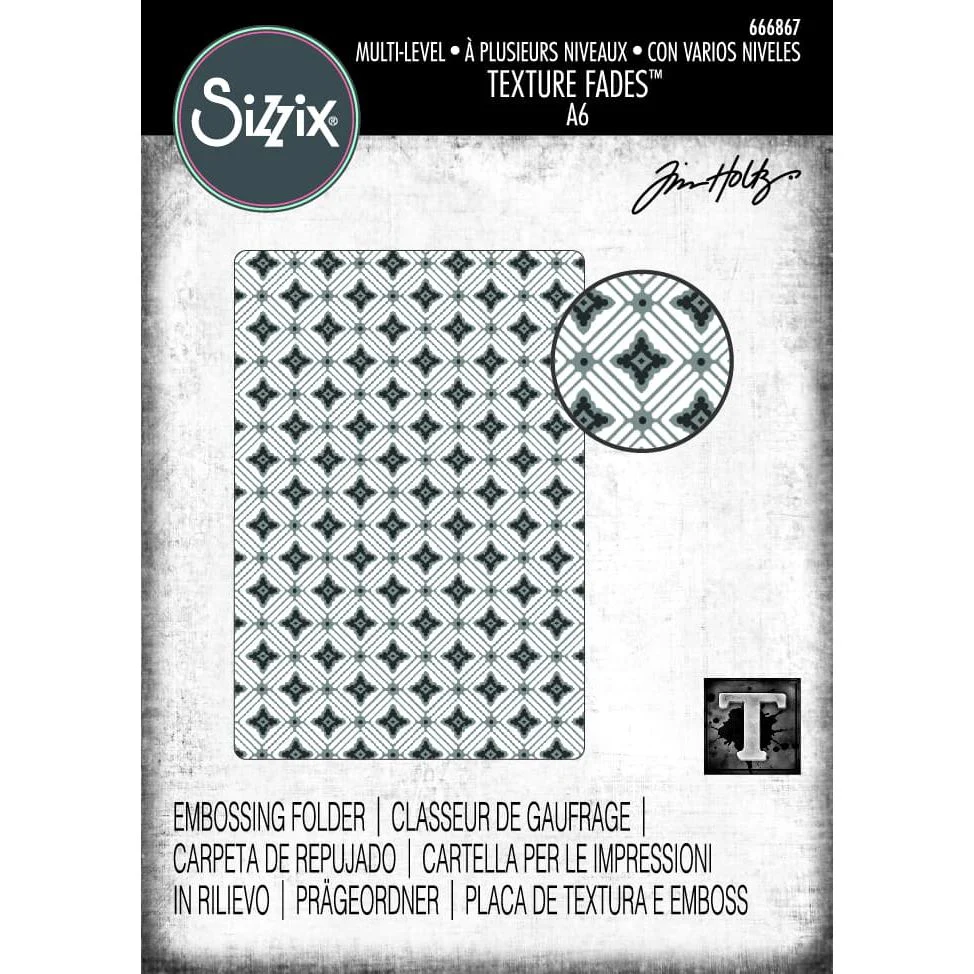
Tim Holtz|Sizzix Vault Texture Fade Embossing Folder AIRMAIL & DIAMONDS
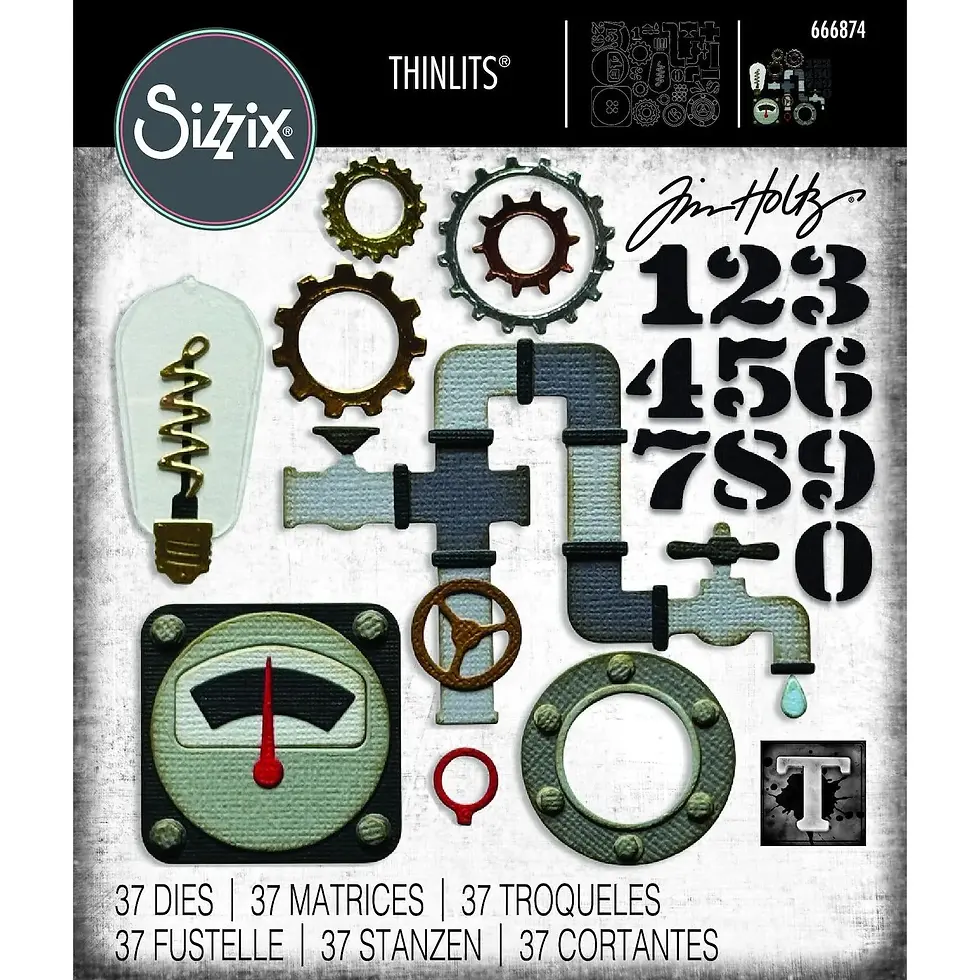
Tim Holtz|Sizzix Vault Side Order INDUSTRIAL Die Set
Tim Holtz|Sizzix Vault EDGES Die Set

Tim Holtz|Sizzix Vault NOTEWORTHY Die Set

Tim Holtz|Sizzix Vault March 2025 I Want It All Bundle

Click here to view the full supply list or check out the one linked in the gallery at the bottom of this post when you have finished exploring this project.
Today's GIF!
Okay, I've got all I need, I'm ready to go!
Like this card and my corny GIFs? CLICK BUTTON BELOW
to sign up for blog updates:
AIRMAIL TRAVEL JOURNAL - Custom Watercolor Cardstock, Die-Cutting, Stamping, Collaging and Spray-Staining
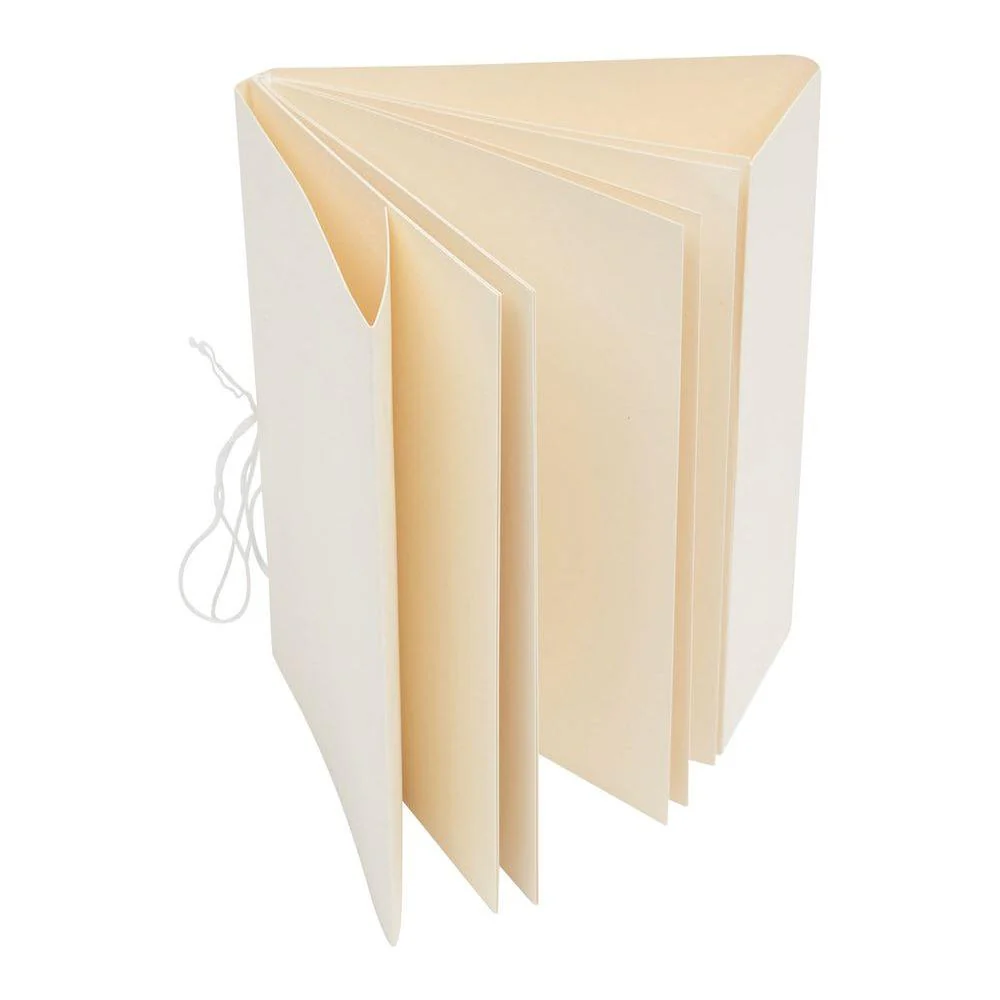
Size: 3.9" x 5.4"

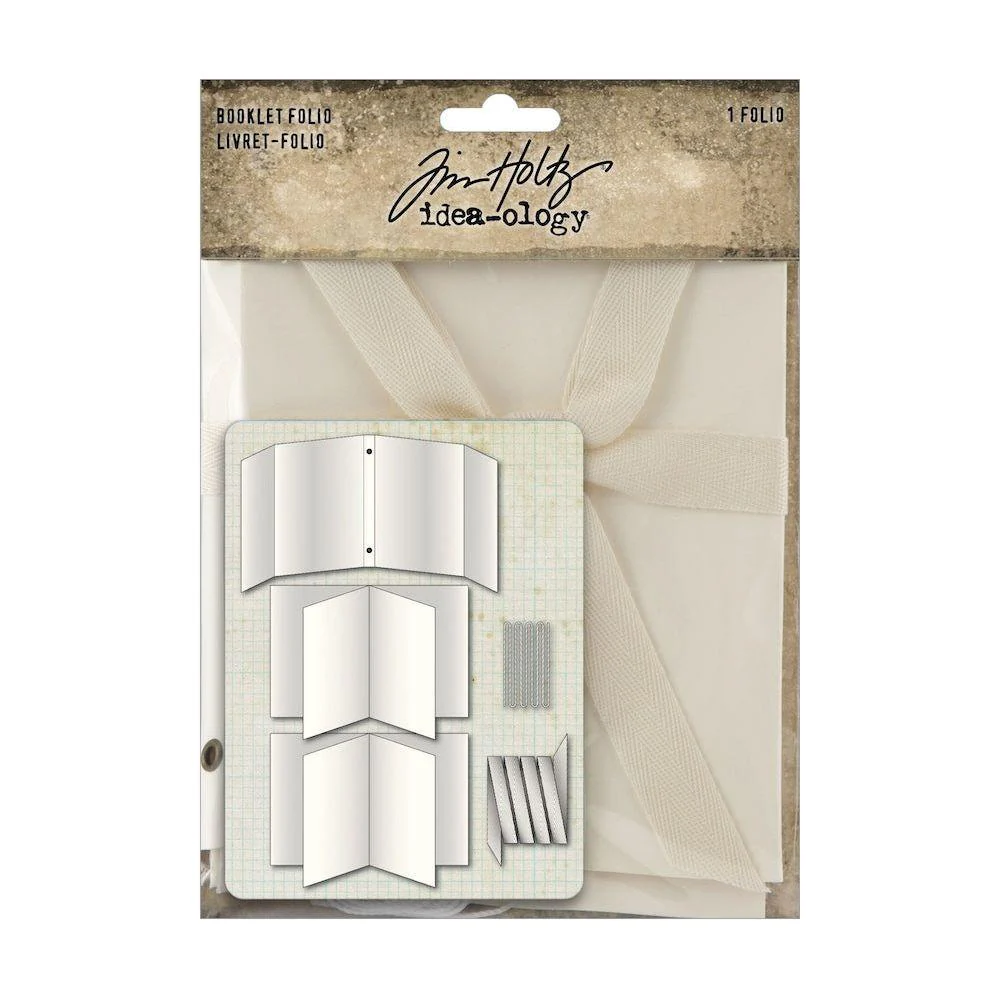
BOOKLET FOLIO LAYOUT
Includes 1 folio and 2 4-page inserts.
PROJECT PALETTE
Tim Holtz Ranger Distress Ink Watercolor Backgrounds - Spiced Marmalade, Kitsch Flamingo, Seedless Preserves, Salty Ocean, Salvaged Patina, Mowed Lawn

PROJECT WALKTHROUGH
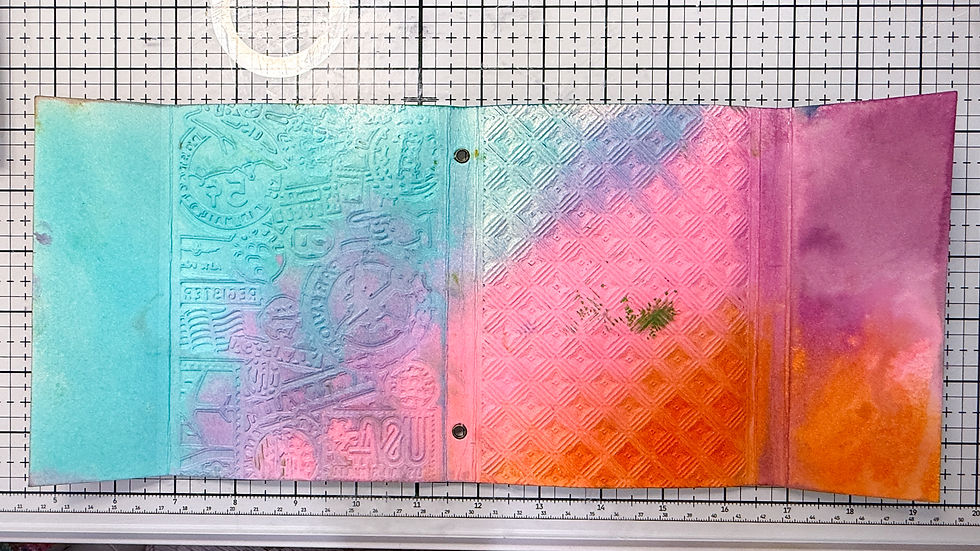
EMBOSSING
Sandwich the front flap of the Booklet Folio and emboss using the Airmail Texture Fade Embossing Folder.
Emboss the back flap using the Diamonds Texture Fade Embossing Folder.
Emboss a 4 1/4" x 5 1/2 piece of Tim Holtz Ranger Distress Mixed Media Heavystock with the Airmail folder.


COLORING THE COVER
Use Distress Spray Stain to color Booklet Cover and the separate piece of Mixed Media Cardstock. Spray Spiced Marmalade, Kitsch Flamingo, Salvaged Patina and Mowed Lawn as you prefer.
Once dry, rub a Picket Fence Distress Ink Pad over the front cover and the cardstock piece.
Heat set the ink and repeat until the white ink shows prominently.


DIE-CUTTING - Prepping the Inserts
Position the "notebook" Edges die at the edge of one of the inserts and die-cut.
the die is a little shorter that the insert, so trim off the excess.
Repeat with the other edge pattern dies until all four flaps of the two inserts have been die-cut.


DIE-CUTTING - Album Lettering and Embellishments
Using letters from the Edges Thinlits Set, die-cut the "our great adventure" cover title once and the word "day" seven timesnout of Tim Holtz Ranger Black Cardstock. TIP: tape the letters down to hold in place.
Repeat with numbers "1 - 7" from the Industrial Thinlits die set. Retain the negative outline of the numbers.
Use the largest circle from the Noteworthy Thinlits set to die-cut the watercolor backgrounds in the selected colors.


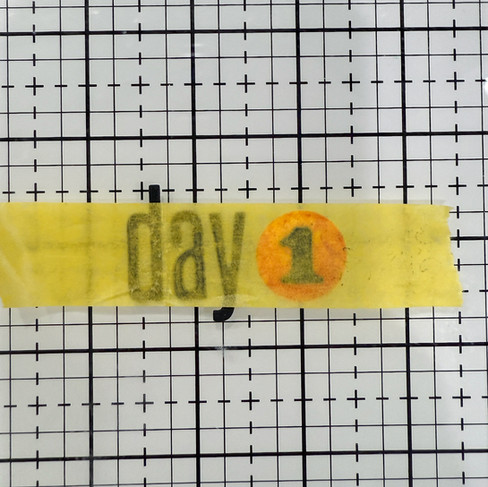
ASSEMBLING PAGE/DAY NUMBERS FOR THE TRAVEL JOURNAL
Adhere painters tape to your craft surface sticky side up and place one of the circles on it.
Use the negative of the numbers die-cut to help you align the various pieces of the die-cut number over each circle, adhering with craft glue.
Repeat until you have seven labels for the journal


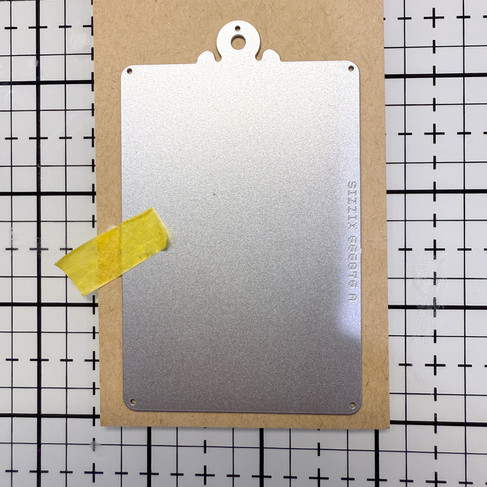
DIE-CUTTING FOLDERS & CLIPBOARDS
Die-cut two folders from the Noteworthy Set out of Tim Holtz Ranger Distress Mixed Media Heavystock.
Diecut the clipboard base twice (also from Noteworthy) out of Tim Holtz Ranger Distress Kraft Heavystock, the clip on the board can be die-cut out of Tim Holtz Metallic Cardstock in silver.
I used a scrap of Distress Watercolor Cardstock sprayed with Distress Spritz to die-cut the top layer of the kraft clipboard.


MAKING THE CLIPBOARD for INTERIOR FLAP
OPTIONAL
If your travel destination fits you can die-cut the letters from the Edges set. Die-cut the top layer of the clipboard from a Spiced Marmalade watercolor background and adhere the letters.
Die-cut the numbers for the year from the Industrial set out of the Spiced die-cut as shown.
Adhere the letters to the Spiced die-cut before adhering to the clipboard base.


MISCELLANEOUS EMBELLISHMENTS: PREPARE THE FOLLOWING DIE-CUTS
Highlights
Die-cut 11 globe outlines from the Noteworthy set and ink 5 with Kitsch Flamingo, 5 with Seedless Preserves, and one with Spiced Marmalade Distress Ink
The photo mats/journaling inserts in the last photo measure approximately 2.5" x 4.5" and will be tucked into the luggage pocket at the back of the album.


PREPPING THE INSERT PAGES
Highlights
Stamp the Shattered background onto the open inserts as shown in Lost Shadow or Hickory Smoke ink.
Stamp two more open spreads of the second insert with the Ledger Script background.
Ink the insert edges with coordinating inks as shown
Stamp the pages with the sentiments from the Noteworthy Stamp Set and decorate them with the various embellishments as shown.


DETAILED VIEW OF ASSEMBLING DAY 1 PAGE
Take a similar approach to subsequent pages. You will need to refer to the close-up pictures in the DETAIL section.


OVERVIEW OF OTHER PAGES (Please also refer to Detail section for additional directions on each page)


CREATING THE BACK FLAP POCKET
Suitcase image from the time travelers set.
Tuck the photo mats/journaling inserts into the pocket once complete


DECORATING THE COVER
Layout and use Glad Press N Seal to secure the aligned letters before adding glue to back and adhering to the front cover.
Tie a ribbon bow through the booklet spine


DETAILED ASSEMBLY SECTION
*Asterisks in the captions below denote an additional step to finish your album


Thanks for taking this journey with me. It was a long one, but I hope it was worth it for you! Happy travels, whereever this year takes you.
Thank you for stopping by and I hope this was helpful. Leave me a comment with your thoughts please. It really does make my day and I am always happy to take any questions.
See you soon!
SUPPLIES:
I listed the products that I have used below. Please note that these are compensated affiliate links used at no cost to you. I really appreciate your support. All new release dies used today were part of my maker package from Sizzix.


Excellent post! Travel app development solutions plays a crucial role in reshaping how users explore the world. From itinerary planning to real-time bookings and GPS navigation, a reliable development company can bring these features together seamlessly. It's impressive to see how innovation is enhancing the traveler’s experience. Thanks for highlighting the importance of expert app development in travel tech!