Simon Says Stamp - Sparkling Snowflake Card and Tag
- Keisha Diann

- Nov 18, 2022
- 2 min read

Hello Lovelies! First let me say that I have no clue who this man and adorable child are in my photo-card and I have no idea how they got in there! LOL
Okay, silliness aside, I've got a sparkly rainbow card and tag for you today where I will show you how to custom color glitter cardstock.

I've seen makers use the Sparkling Snowflake frame in so many ways and I just love it when paired with the new Acetate Cards. Here's a closer look it and other key supplies for today's projects:
Click here to view the full supply list or check it out at the bottom of this post when you have finished exploring this card.
Today's GIF!
Say hello to my snowflake friends!!!
Like this card and my corny GIFs? CLICK BUTTON BELOW
to sign up for blog updates:
SPARKLING SNOWFLAKE CARD & TAG - Die-cutting, Embossing, Copic Coloring
Card Base: 4 1/4" x 5 1/2"
Die-cut Layer: 3 1/4" x 4 1/2"

CARD PALETTE
These are the Copic colors that we will use for our rainbow:

CARD & TAG WALKTHROUGH
DIE-CUTTING
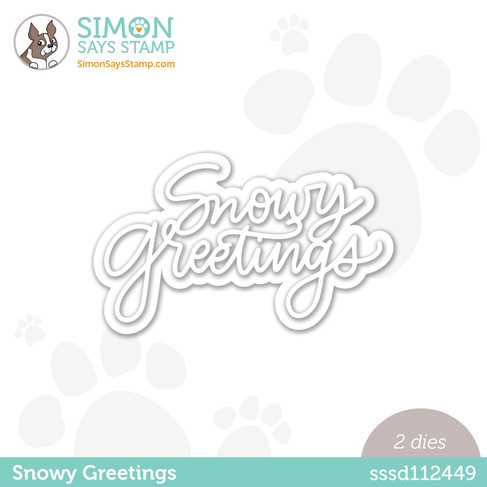
Die-cut the frame, snowflakes and Snowy Greetings sentiment out of White Glitter cardstock.
Die-cut the tag out of Luxe Glitter Cardstock and also out of White Cardstock
Die-cut the Hugs sentiment out of White Cardstock or White Glitter Cardstock
Die-cut the Snowy Greetings outline out of vellum
Also don't forget to cut the Happy Birthday out of white cardstock. (sorry that I did not include a pic!)
EMBOSSING
COPIC COLORING WHITE GLITTER CARDSTOCK
Tag Assembly
Adhere back side of the white tag with the rainbow snowflakes to the back side of the glittery tag. Then adhere the sentiment die-cut to the glittery tag with Craft Tacky Glue and tie the ribbon to secure. Adhere rhinestone jewel to Happy Birthday sentiment.

Completed - Tag Front

Completed - Tag Back

Card Assembly
Adhere a photo to the embossed layer (of people you actually know and want to share with your loved ones) LOL

Use double sided-tape to adhere the embossed layer with photo to the acetate inside flap of the card.

Also use that double-sided tape to adhere the Sparkling Snowflake Rainbow Frame to the front of the Acetate card.

I used glue dots to adhere the sentiment to the front of the card and then add some rhinestones to the snowflakes.


Holiday Sparkle Hugs Lovelies!
Thank you for stopping by and see you soon!
SUPPLIES:
I listed the products that I have used below. Please note that these are compensated affiliate links used at no cost to you. I really appreciate your support. All stamps used today were part of my maker package from Simon Says Stamp. Click on the icons below each product picture to shop with SimonSaysStamp.com.


Kaiser OTC benefits provide members with discounts on over-the-counter medications, vitamins, and health essentials, promoting better health management and cost-effective wellness solutions.
Obituaries near me help you find recent death notices, providing information about funeral services, memorials, and tributes for loved ones in your area.
is traveluro legit? Many users have had mixed experiences with the platform, so it's important to read reviews and verify deals before booking.