

Simon Says Stamp - Season of Wonder Release Blog Hop, Day 2
- Keisha Diann

- Oct 7, 2023
- 4 min read
Updated: Oct 8, 2023

Hi Lovelies!
HAPPY WORLD CARD-MAKING DAY and Welcome to Day 2 of Simon Says Stamp's Season of Wonder Release Blog Hop! I've got a pair of ideas for your Christmas card-making with an added touch of some shimmery texture!
We are using layers of stencils on both cards to go from basic to fancy with just a little more effort. If you make a stack of these, you'll do all your ink-blending first and then add your texture and let it dry before you embellish.

Some of my happiest moments in the craft-room happen when I am stenciling, I just love the reveal of when you pull the stencil away and some magic happens!
Now let's review the key supplies for today's project:


Supplies are linked throughout the post and then again in the Supplies Section at the end of this post. Check out the entire Season of Wonder release by clicking the image below:

Today's GIF!
Where can I get one of these?
Can't have a season of wonder without some fancy headgear!
Like this card and my corny GIFs? CLICK BUTTON BELOW
to sign up for blog updates:
MERRY CHRISTMAS AND SEASON'S GREETINGS CARDS
Card Base: 4 1/4" x 5 1/2"
Featuring:

COLOR PALETTE
Cardstock and ink are giving us all the color today!
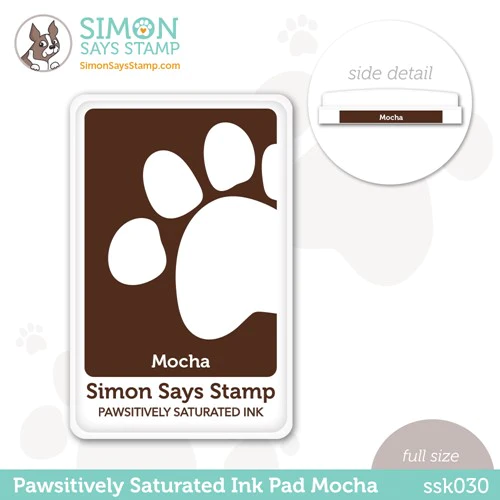
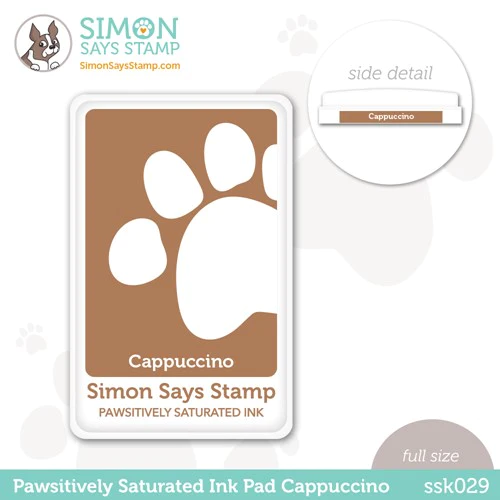
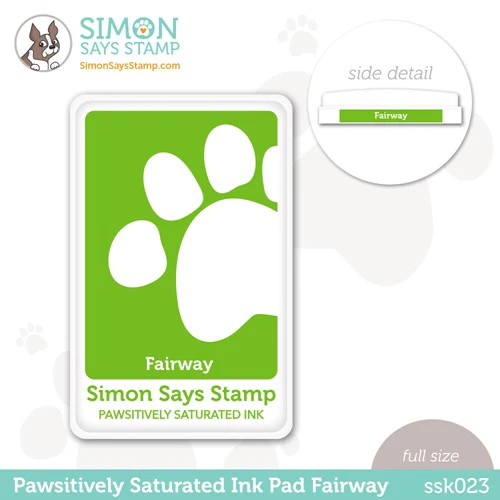
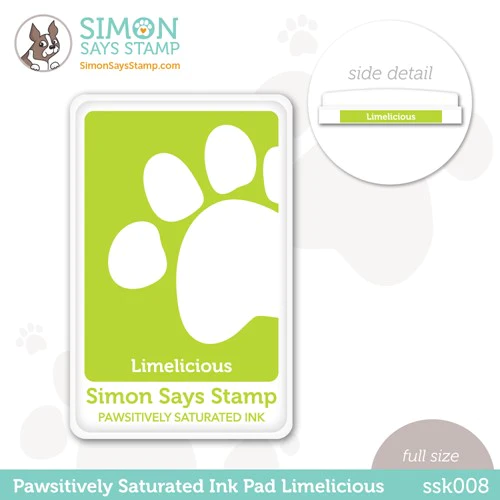
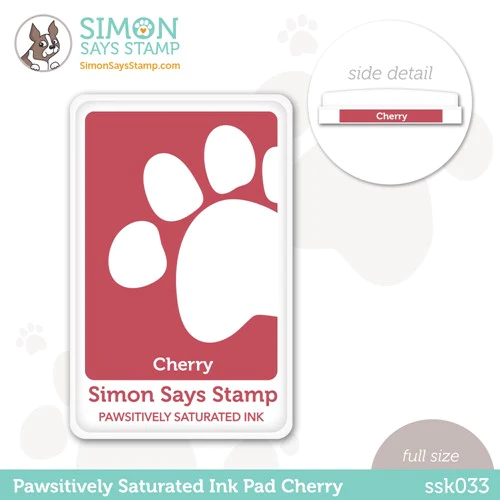
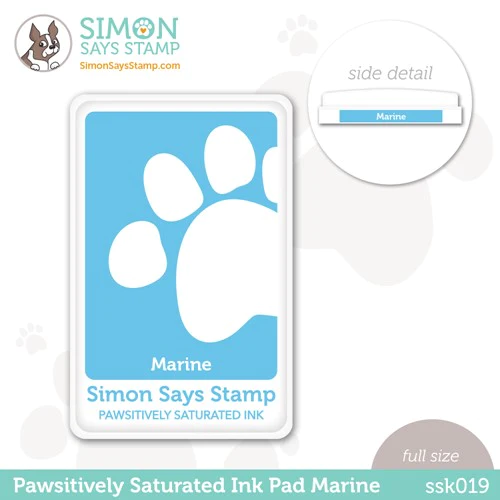
PAWSITIVELY SATURATED INKS:
CARDSTOCK


PROJECT WALKTHROUGH
STENCILING - INKS

Adhere a 4 1/4" x 5 1/2" piece of white 110lb cardstock to a Stencil Mat and position Just My Type stencil layer with the top part of the "Season's Greetings" sentiment over the cardstock
Ink a blending brush with the Royal ink and ink-blend the top part of "Season's" onto the cardstock
Swap out the stencil to complete the bottom part of the "Season's" using Marine ink.
Swap out the Stencil again to ink the top part of "Greetings" in Marine and one last time to ink the bottom in Marine
Set aside the completed Seasons Greetings panel and replace with another 4 1/4" x 5 1/2" piece of white 110lb cardstock
Ink blend "Merry" in Mocha and Cappucino and "Christmas" in Cherry, Limelicious and Fairway
STENCILING - TEXTURE AND SHIMMER
Adhere the Seasons Greetings card front onto the Stencil Mat
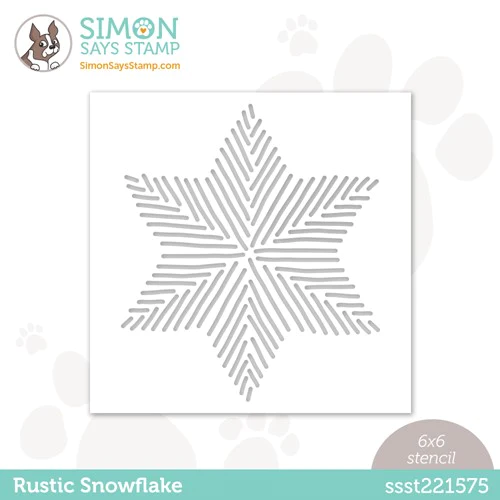
Position the Rustic Snowflake Stencil over it
Use a palette knife to apply Stickles Glitter Glue through the star shape of the stencil
Remove the stencil quickly and clean with mild soap and warm water
Set aside the card front to dry
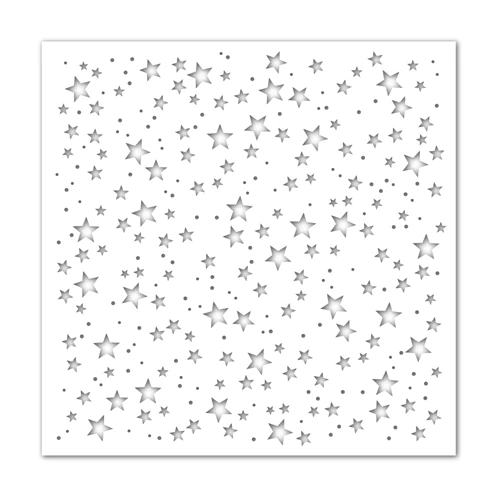
Adhere the Merry Christmas card front onto the Stencil Mat
Position the Scattered Stars Stencil over it
Mix one teaspoon of Distress Sparkle Texture Paste with about 3/4 of a teaspoon of Distress Tinsel Glitter or Distress Vintage Platinum Glitter
Generously apply the mixture into the star openings of the stencil with a palette knife
Remove the stencil quickly and clean with mild soap and warm water
Set aside this card front also to dry
FINISHING
Die-cut Schoolhouse Red cardstock using the 5 Stars dies. Attach foam dots to the medium-sized star and the large outline star
Make card bases using the Lime and Blue Violet cardstock
Once dry, trim the stenciled card fronts to 3 3/4" x 5" and adhere foam tape to the back
Adhere the card fronts to the corresponding card bases
Embellish the Merry Christmas card with the die-cut stars
Embellish the Season's Greetings card with a single clear droplet
I has a little ink-bleeding on this card with using the Stickles Glitter Glue but I like the misty effect it gives.

Can you tell that I love sparkle on a holiday card?

The clear droplet is the perfect little touch to finish this frosty card!

It's simple, but it still wow's in my book!

Our glittery past adds the right touch of vintage sparkle to this Merry card!

The two and three toned stenciling are giving major Christmas vibes.

I love how a little die-cut can add such charm to a card!

Very, very MERRY I think!

I want to make sure that you get the most of today's blog hop, so please take note Lovelies:
Be sure to explore the Season of Wonder Gallery that is packed with inspiration from this release!!!
Don't forget to snag your Graceful Holly 3D Embossing Folder by following the steps below:
Comment to on this post to be eligible to win a $25 coupon from Simon Says Stamp. Winners will be chosen and posted on the Simon Says Stamp blog on Wednesday, the 11th of October. Winner should email Simon Says Stamp to claim their prize
Check out the full supply list below for your shopping convenience
Thanks again for stopping by and I hope to see you again soon Lovelies! Now, do go and check out what the talented Mindy Eggen has in store for you!
HOP ORDER:
SUPPLIES:
I listed the products that I have used below. Please note that these are compensated affiliate links used at no cost to you. I really appreciate your support. Simon Says Stamps Season of Wonder Release products were provided as part of my Design Team package. Click on the icons below each product picture to shop with SimonSaysStamp.com.


So pretty and festive!
Fantastic, festive cards! I love the glittery snowflak!
I 😍 that big snowflake stencil and how the card turned out (actually, how both cards turned out)!
These stencils are awesome! I like what you made with them.
Fabulous cards! Love the glittery texture.