Simon Says Stamp - HOUSE BORDER FRAME Gift Card Holder
- Keisha Diann

- Dec 16, 2023
- 3 min read

Hello Lovelies! This has to be the simplest Interactive Card that you can make and perfect for the Holidays. I am using the House Border Frame from Simon Says Stamp's Smitten Release for this project but you can really choose any design you like for the front, the magic is on the inside!
These cards have a bit of a neighbor theme for the next door friends you are fond of, as well as those friends that you wished were a lot closer.

Time for Key Supplies!
Get Your Supplies!
Click on the image below to SHOP THE ENTIRE release OR
SHOP THIS CARD using the links throughout the post OR
SHOP the Supplies section at the bottom of this post
Today's GIF!
My Neigbor's view of me each morning! :-)
Like this card and my corny GIFs? CLICK BUTTON BELOW
to sign up for blog updates:
LOVE MY NEIGHBOR GIFT CARD HOLDERS - Die-cutting, Dry-embossing and Creating a Pocket
Card Base: 4 1/4" x 5 1/2"

COLOR PALETTE
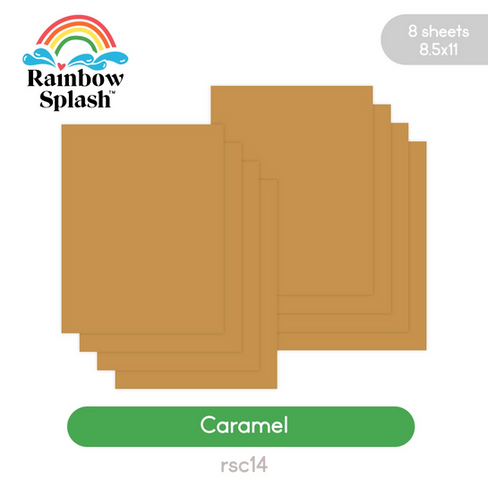
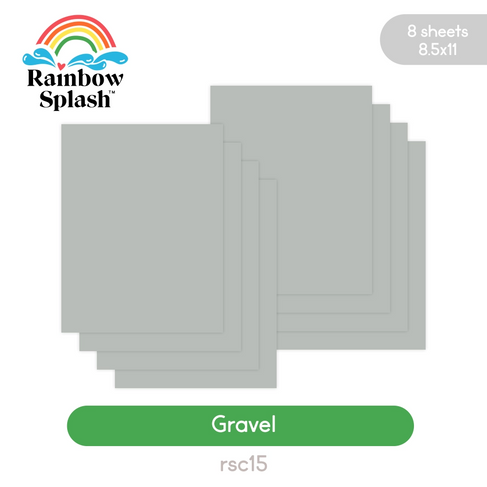
Rainbow Splash Cardstock - Rainbow Pack, Caramel, Gravel, Black and White

CARD WALKTHROUGH
CREATING THE GIFT CARD HOLDER
Dry-Embossing
Trim Black Rainbow Splash Cardstock and White Rainbow Splash Cardstock to 4 1/4" x 5 1/2".
Place cardstock inside the Cheery Snowflakes Embossing Folder and run through a die-cutting machine to emboss it.

Scoring
Trim Black Rainbow Splash Cardstock and White Rainbow Splash Cardstock to 4 1/4" x 11".
Score at 1 1/2" on the long side (11"), fold and burnish to create a flap.
With flap folded over, score at 5 1/2" on the long side.
Making The Holder Base
Place craft glue along the short sides of the flap
Fold over and hold in place for ~15 seconds to create the pocket
Place craft glue on the outside cover of the larger flap
Align and adhere the embossed cardstock to create the front of the gift card holder base
Making Card Front
Die-cut the House Border Frame out of both white and black cardstock. Save the "negative space" from the inside of each frame.
Die-cut the "Trio of Houses" die (also from the House Border Frame set) using each of the remaining cardstock colors.
Adhere the houses to the back of each frame in rainbow order.
Use some clear tape to adhere the white negative space area to the inside of the black frame. Repeat with the black negative space area and the white frame.
Adhere foam tape to the back of the frame.
Making the Embellishments and Sentiments
Sentiments
Stamp the sentiments from the European Street Buildings set on to the Dandelion and Lime Cardstock and trim to create sentiment strips.
Adhere the sentiment strips to the front of the negative space inside the frame.
Adhere the House Border Frame diecut to the center of the front flap of the Gift Card Holder Base
Embellishments
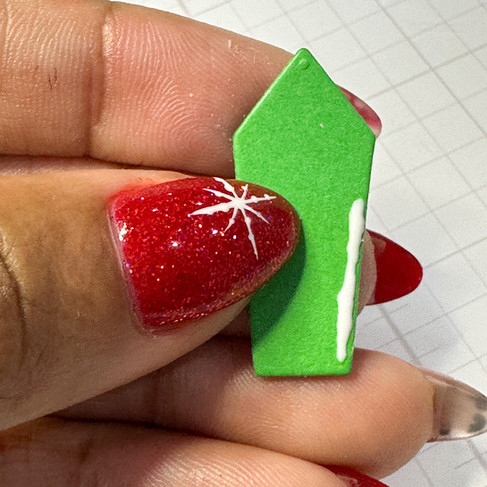
Use the house scraps to create a decoration for the Gift Card Holder Pocket on the inside of the card. Emboss some of the houses to create a fun look.
Adhere the row of houses to the bottom right of each pocket.
The rainbow houses are so cute!


The embossed snowflakes show gorgeous texture!


The bright cheery sentiment to shows your love and warmth for the recipient!


The cute pocket inside keeps your gift card safe and there's lots of room above for your message.


It's so cute, but you are going to have to actually send these to someone once you are done making them!


Thank you for stopping by and sticking with me for all the gift card holder fun! Drop me a comment and let me know what you think!
Happy Crafting!
SUPPLIES:
I listed the products that I have used below. Please note that these are compensated affiliate links, used at no cost to you. I really appreciate your support. All stamps used today were part of my Smitten maker package from Simon Says Stamp. Click on the icons below each product picture to shop with SimonSaysStamp.com.












A house border frame enhances curb appeal and defines outdoor spaces with fences, hedges, or stone walls. In New England, where weather conditions demand durability, quality materials like pressure-treated wood or masonry are ideal. For foundation concerns, visit Boston Waterproofing and Foundation to ensure structural integrity and longevity.