

Simon Says Stamp - Happy and Joyful Release Blog Hop, Day 1
- Keisha Diann

- Apr 21, 2022
- 4 min read
Updated: Apr 22, 2022

Hi Lovelies!
Thank you for joining us for Day 1 of Simon Says Stamp's Happy and Joyful Release Blog Hop! Again I am featuring the first cards that I made for this release. I adore stenciling and at times where we may feel like we are pressed for time or need to get our creative spark going, Layering Stencils are my BFF!
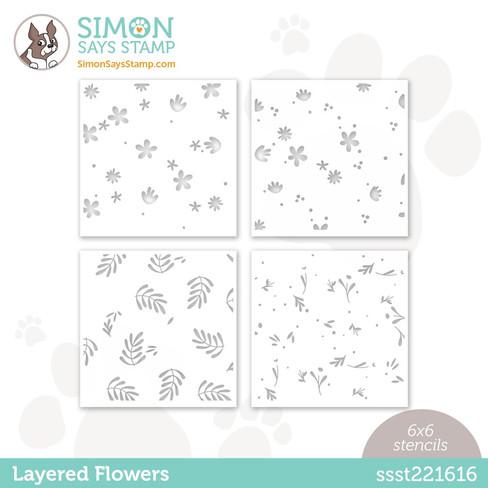
There are a trio of Layering Stencils in this release and I am going to walk you through a pair of cards that use two of them:
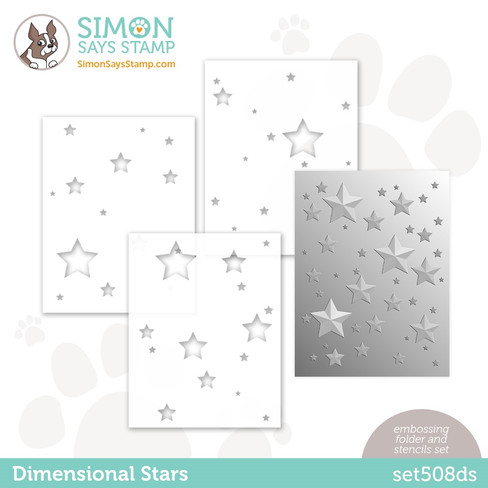
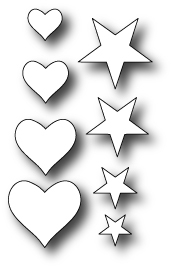
Dimensional Stars Layering Stencils

Flower Layering Stencils

The key to a Layering Stencil is lining up the layers as precisely as possible to create a cohesive multicolored print
Let's review the key supplies for today's card and as usual, the full supply list is linked for your convenience here and in the Supply Gallery at the end of this post.


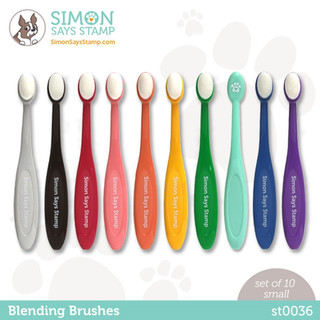
I chose to use inks to blend color though my stencil layers and after a little searching Pinterest decided on these colors with the coordinating Small Blending Brushes:


When you shop for the items you want, remember to use the GRDPTY code when you check out to snag the Garden Party Sticker Sheet FREE with ANY purchase! This promotion will expire on 4/24 at 11:59 pm EDT or while supplies last.
I took pictures to walk you through this pair, but these clean and simple cards have no mystery, so you may not even need this blog post... :-) SAY WHAT???
WELCOME DARLING BABY CARD - Layered Stenciling, Dry-Embossing, Die-cutting, Die-cutting
A2 Card Base: 4 1/4" x 5 1/2"
Stenciled Layer: 4" x 5 1/4"
Featuring:
Simon Says Stamp Embossing Folder & Stencils Dimensional Stars Set
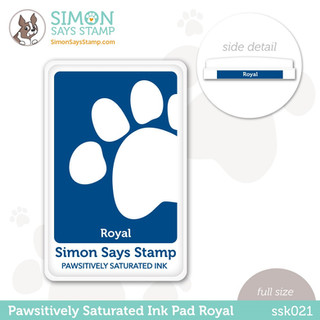
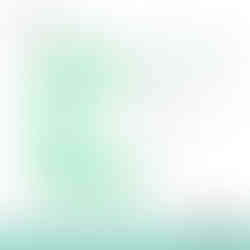
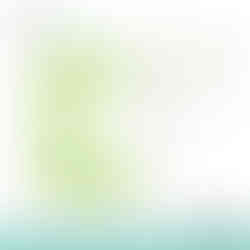
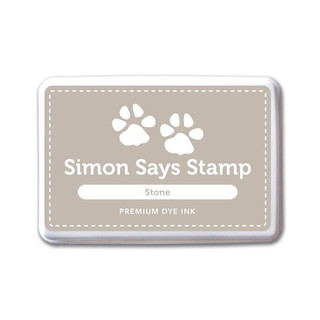
Simon Says Stamp Pawsitively Saturated Ink - Spring, Sprout, Lemonade

Just a quick moment to admire this inky goodness!

Stencil the Stars pattern using the blending brushes and Pawsitively Saturated inks


Emboss the stenciled layer and trim to 4" x 5 1/4".


Ink some white cardstock with Spring ink and diecut.


Cut and layer a large and a small star out of black cardstock.


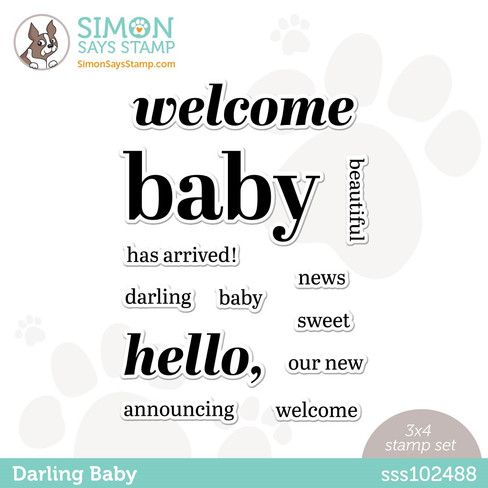
Stamp "welcome" and "darling" on the stenciled layer and adhere die-cuts.

All done!
HAPPY HAPPY BIRTHDAY CARD - Layered Stenciling, Dry-Embossing, Die-cutting, Die-cutting
A2 Card Base: 4 1/4" x 5 1/2"
Stenciled Layer: 3 3/4" x 5"
Featuring:
Simon Says Stamp Pawsitively Saturated Ink - Bubblegum, Sweets, Royal
Now this color scheme is a keeper for me!

Stencil the Flower pattern using the blending brushes and the selected inks


Trim to 4" x 5 1/4" and stamp with "happy" in Royal ink.


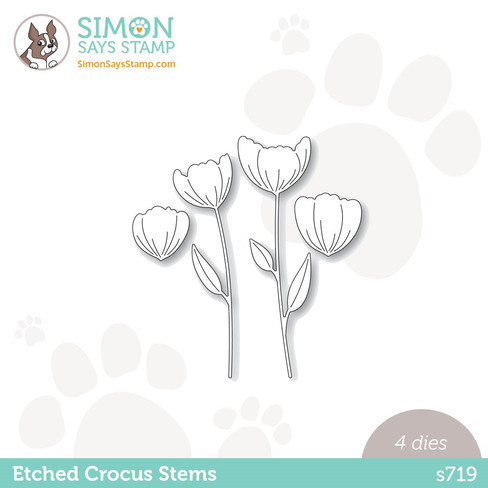
Die-cut the crocus out of white cardstock and using a Blending Brush, ink blossom with Sweets and stem/leaf wit Royal inks:


Adhere the inked Etched Crocus Stems die-cut;
Die-cut the Birthday On A Line diecut out of Silver Matte Cardstock and adhere as shown:


Adhere the stenciled layer to an Ivory Card Base

The single crocus flower is a nice finishing touch. :-)

All done!

I hope you had fun here and saw something you liked and may try. I want to make sure that you get the most of today's blog hop, so please take note Lovelies:
Be sure to explore the AMAZING Gallery that is packed with inspiration from this release!!!
Speaking of inspiration, since this is Day 1 of the Blog Hop stay tuned for all the awesomeness that will be shared on Day 2
Check out the full supply list below for your shopping convenience
When you shop for the items you want, remember to use the GRDPTY code when you check out so that you can get the Garden Party Sticker Set FREE with purchase! This promotion will expire on 4/24 at 11:59 pm EDT or while supplies last.
Comment to on this post to be eligible to win a $25 coupon from Simon Says Stamp. Winners will be chosen and posted on the Simon Says Stamp blog on Wednesday, the 27th of April. Winner should email Simon Says Stamp to claim his/her prize
I'd love to hear from you in the comments about which card was your favorite.
Thanks again for stopping by and I hope to see you again soon Lovelies! Now, do go and check out what Heather Ruwe has in store for you!
HOP ORDER:
SUPPLIES:
I listed the products that I have used below. Please note that these are compensated affiliate links used at no cost to you. I really appreciate your support. Simon Says Stamps Happy and Joyful Release products were provided as part of my Design Team package. Click on the icons below each product picture to shop with SimonSaysStamp.com.


Gorgeous cards Keisha, love the baby card colours. Thank you so much for sharing, stay safe and have a wonderful day.
These are gorgeous ... you are a master with combining colours
Love the green and yellow card design.
Nice stencil shares. I like the supplemental photos of the process.
Gorgeous cards! Love the layering stencils...they are a "must have". Thanks for sharing the process!!!