Simon Says Stamp - FLORAL STEM Just A Note(book)
- Keisha Diann

- Jul 31, 2023
- 2 min read

Hello Lovelies! Something different today; I decided to jazz-up one of my cloth-bound notebooks with a customized cover blooming with die-cut florals.
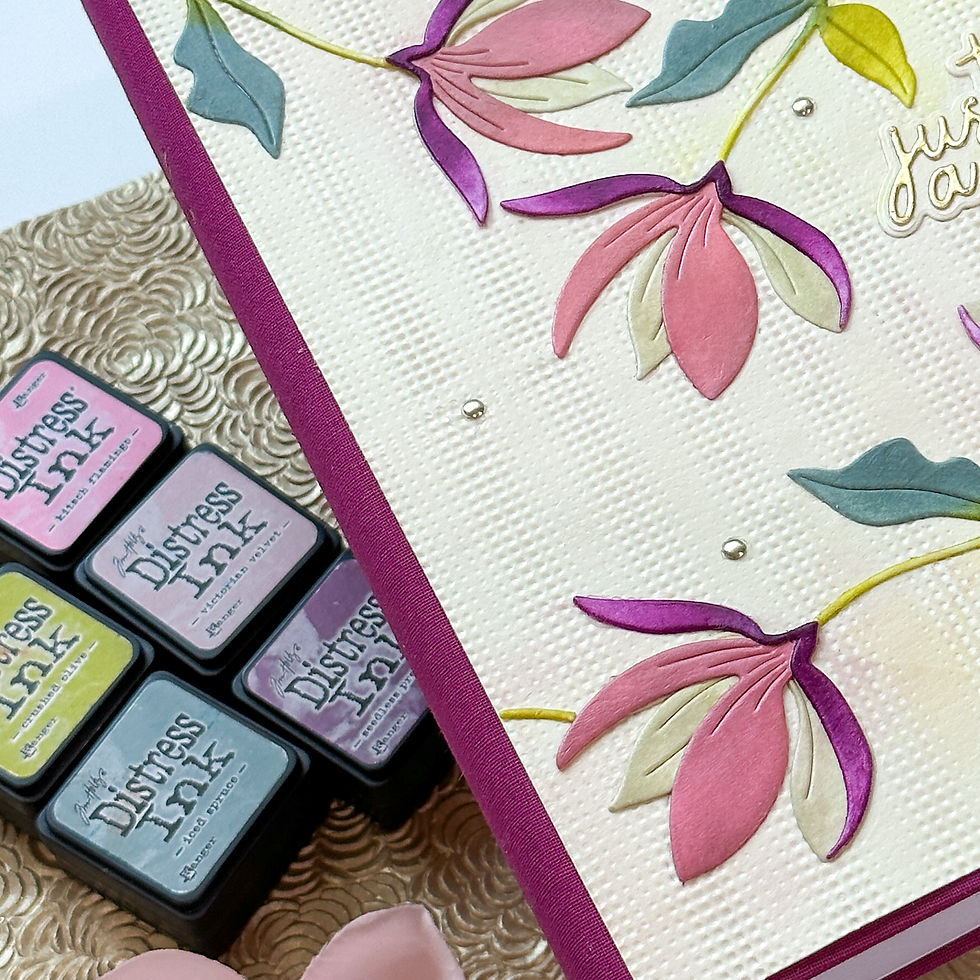
The hardest thing here was choosing the color palette, but I lucked out in finding inspiration from the cover of the gift box that I could bear to part with. So I matched the colors to my Distress Inks and that got me started on this project!

Over the years, I seem to have a fondness for cloth-bound notebooks and though I really loved the original foil-stamped cover on this one. Personalizing the front of this one makes it all the more special and unique.
Let's take a look at the key supplies.
Click on the image below to check out the ENTIRE release OR SHOP THIS CARD in the Supplies section at the bottom of this post:
Today's GIF!
THIS energy...but cards!
Like this card and my corny GIFs? CLICK BUTTON BELOW
to sign up for blog updates:
FLORAL STEM JUST A NOTE(BOOK) - Die-cutting, Ink-blending and Decoupage
Notebook: 4 3/4" x 6 3/4"
Tim Holtz Ranger Distress Ink - Kitsch Flamingo, Victorian Velvet, Seedless Preserves, Peeled Paint, Iced Spruce, Antique Linen
Mod Podge

COLOR PALETTE

PICTORIAL GUIDE
CREATE THE DIE-CUTS
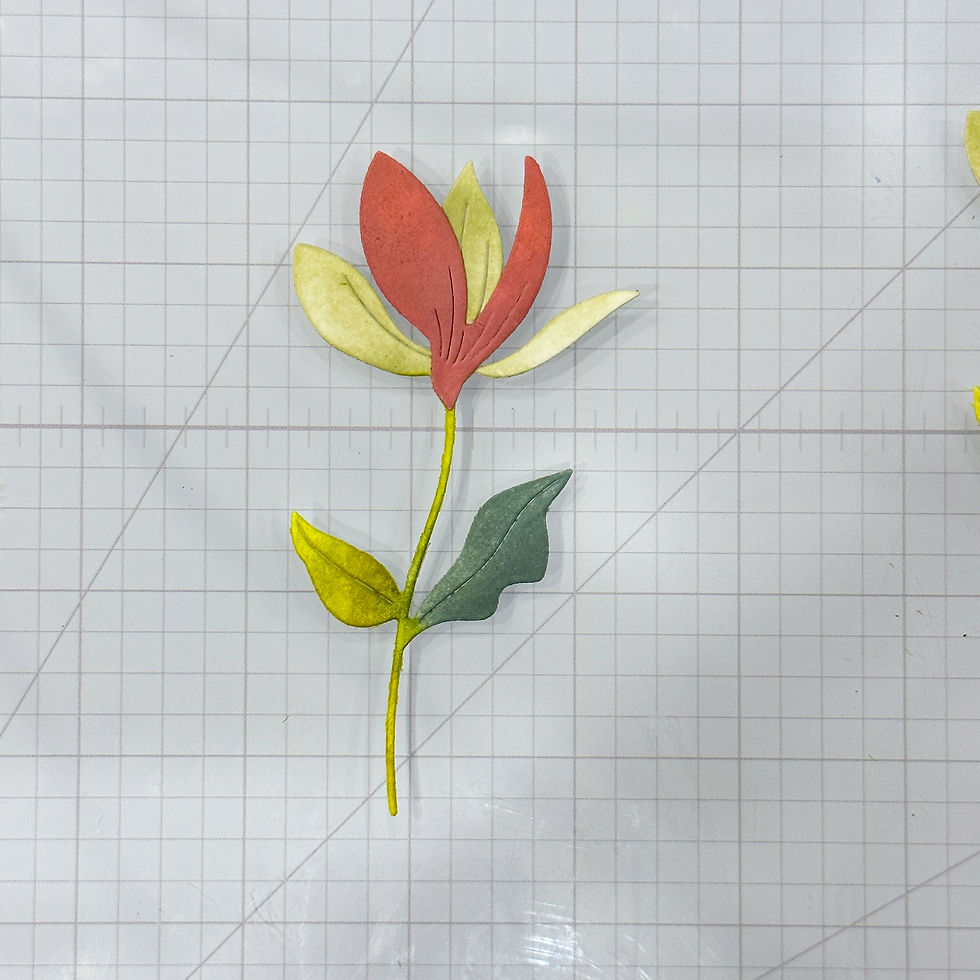
Die-cut the Fresh Cut Floral Stem five times out of white out of 110 Neenah Cardstock
Ink as shown below, with a small blending brush
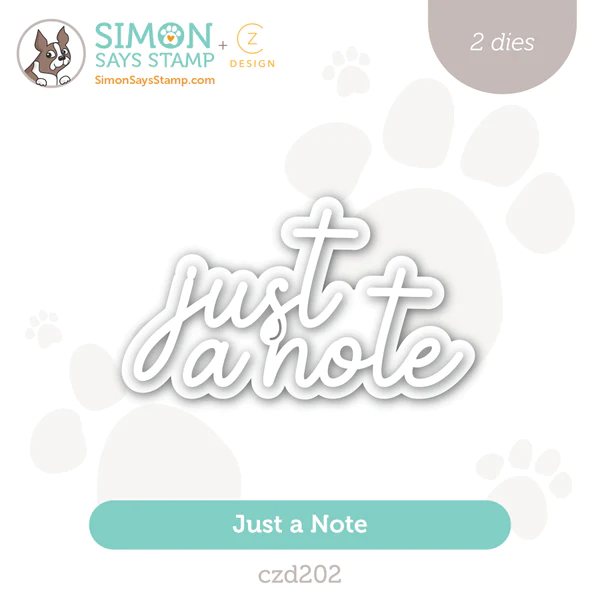
Die-cut the Just a Note sentiment layers out of Matte Gold and Cream cardstock
Adhere the Victorian Velvet (as shown below) and Seedless Preserves colored petals with Craft Glue. Brush Mod Podge over your assembled die-cut to seal it and set aside to dry.

CREATE THE COVER
Measure the front of your notebook and trim a sheet of Cream Cardstock to size, rounding the top and bottom right corners.
Emboss the cardstock with the Gradient Dot folder. Tip: I used a larger format die-cutting machine (Big Shot Plus) so that I could turn the embossing folder sideways and get coverage over the entire Cardstock in two passes through the machine.
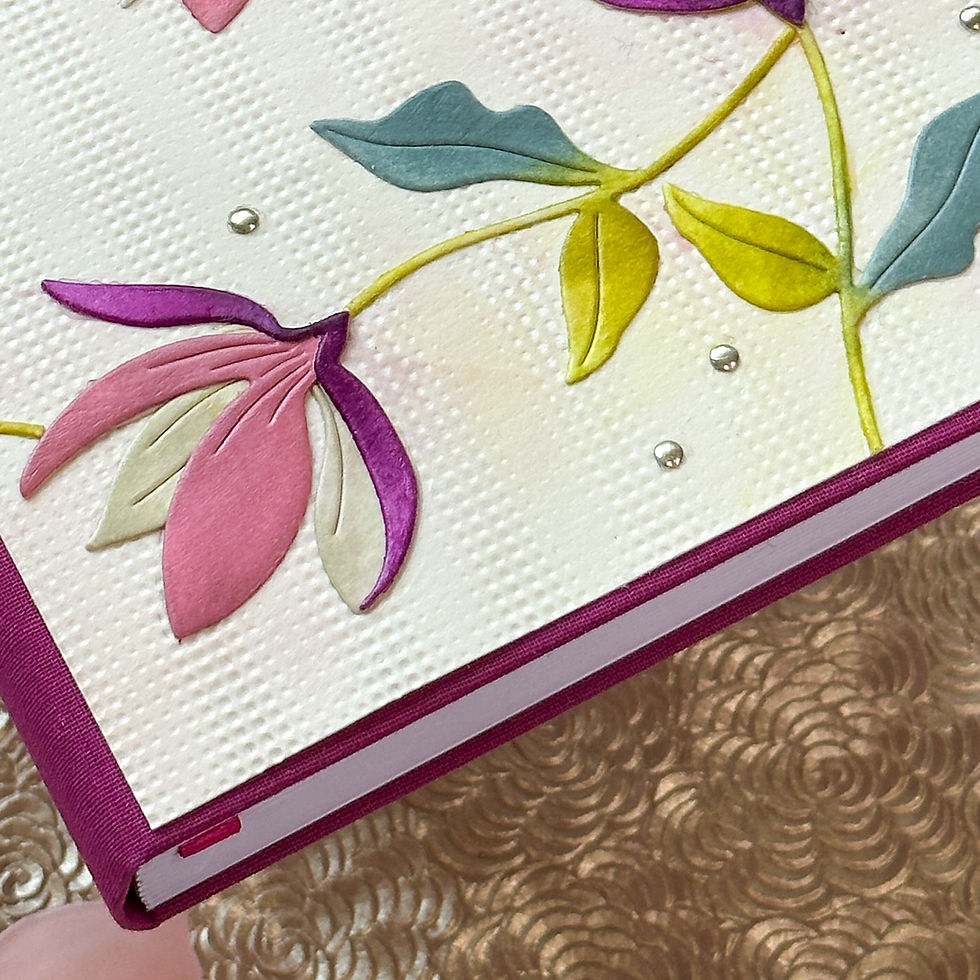
Arrange your die-cuts on the cream back-ground, being sure to leave enough space for the sentiment.

Adhere the die-cuts to the cream cardstock base with Craft Glue

Embellish with jewels

Brush Mod Podge over the notebook cover to seal and let dry

Adhere cover with Craft Tacky Glue or book-binding glue to the front of the notebook
I love this color scheme!

The Die-cuts and texture on the cover make it special.

The sentiment finishes the cover for me.

Now this is a notebook that I won't ever let go of!

Lovelies, I would not skip the Mod Podge step, a messy girl like me needs protection on something delicate like this. Do let me know if you will dress up any of your notebook covers!
Happy Crafting!
SUPPLIES:
I listed the products that I have used below. Please note that these are compensated affiliate links, used at no cost to you. I really appreciate your support. All stamps used today were part of my Just A Note maker package from Simon Says Stamp. Click on the icons below each product picture to shop with SimonSaysStamp.com.


Simply lovely...I especially like the way you "connected" the flowers to make them more vine-like. Yes, I'd have to modpodge dies this delicate, too.