

Simon Says Stamp - BRILLIANT CONEFLOWER Friendship Card
- Keisha Diann

- Sep 1, 2023
- 3 min read

Hello Lovelies! I hope you are ready, because we have SOOO many pretties to show you during STAMPtember®! Speaking of pretties, I think today's card may qualify in that category.
The Brilliant Coneflower Embossing Folder design is an absolute delight to color. With the help of a few blending brushes and Distress Ink, we will bring our trio of flowers to life.

You don't really have to worry about being precise with this project; we are going for a dreamy effect and a lot of softness, we want our flowers to glow!
Let's take a look at the key supplies.


Get Your Supplies!
Click on the image below to SHOP THE ENTIRE release;
SHOP THIS CARD using the links throughout the post OR;
SHOP the Supplies section at the bottom of this post:

Today's GIF!
Just HOLD ON, STAMPtember is going to be a WILD ride!
Like this card and my corny GIFs? CLICK BUTTON BELOW
to sign up for blog updates:
ENJOY CARD - Embossing, Detailed Ink-Blending, Stamping and Die-cutting
Card Base: 4 1/4" x 5 1/2"
Stenciled Layer: 4 " x 5 1/4"
Tim Holtz Ranger Distress Ink Pads - Picked Raspberry, Shaded Lilac, Wilted Violet, Mowed Lawn, Twisted Citron, Crushed Olive, Wild Honey, Spiced Marmalade and Rusty Hinge
Tim Holtz Ranger Distress Paint - Picket Fence

COLOR PALETTE
Distress Inks all the way! - Picked Raspberry, Shaded Lilac, Wilted Violet, Mowed Lawn, Twisted Citron, Crushed Olive, Wild Honey, Spiced Marmalade and Rusty Hinge

PICTORIAL GUIDE
EMBOSSING AND DETAILED INK-BLENDING
Emboss a 4 1/4" x 5 1/2" piece of white 110lb Neenah Cardstock using the Brilliant Coneflower Embossing Folder
Secure the back of the embossed cardstock to the to the your craft surface with painter's tape
Ink-blend color onto the image using the following colors and brushes:
PART 1
Shaded Lilac with a Large Blending Brush on the top and right side
Picked Raspberry with a Large Blending Brush around the perimeter of the embossed Coneflowers
Wild Honey with a Round Detail Brush for the flower centers
Spiced Marmalade with a Round Detail Brush for highlighting the flower centers


PART 2
Wilted Violet with a Flat Detail Brush on random sections of the flower petals
Twisted Citron with a Flat Detail Brush on the stems
Crushed Olive with a Flat Detail Brush on segments of the stems
Mowed Lawn with a Flat Detail Brush over most of the stems


SPLATTERING
Place a pea-sized dot of Picket Fence Distress Paint onto your craft surface, spritz ~ 3 times with water to dilute and then mix with a Splatter Brush
Splatter the entire embossed cardstock with the white paint

DIE-CUTTING
Ink-blend Wilted Violet and Picked Raspberry ink onto a scrap of cardstock
Die-cut the "enjoy" sentiment out of the ink-blended cardstock and a second time out of another scrap of white cardstock
Adhere the "enjoy" layers together with craft glue
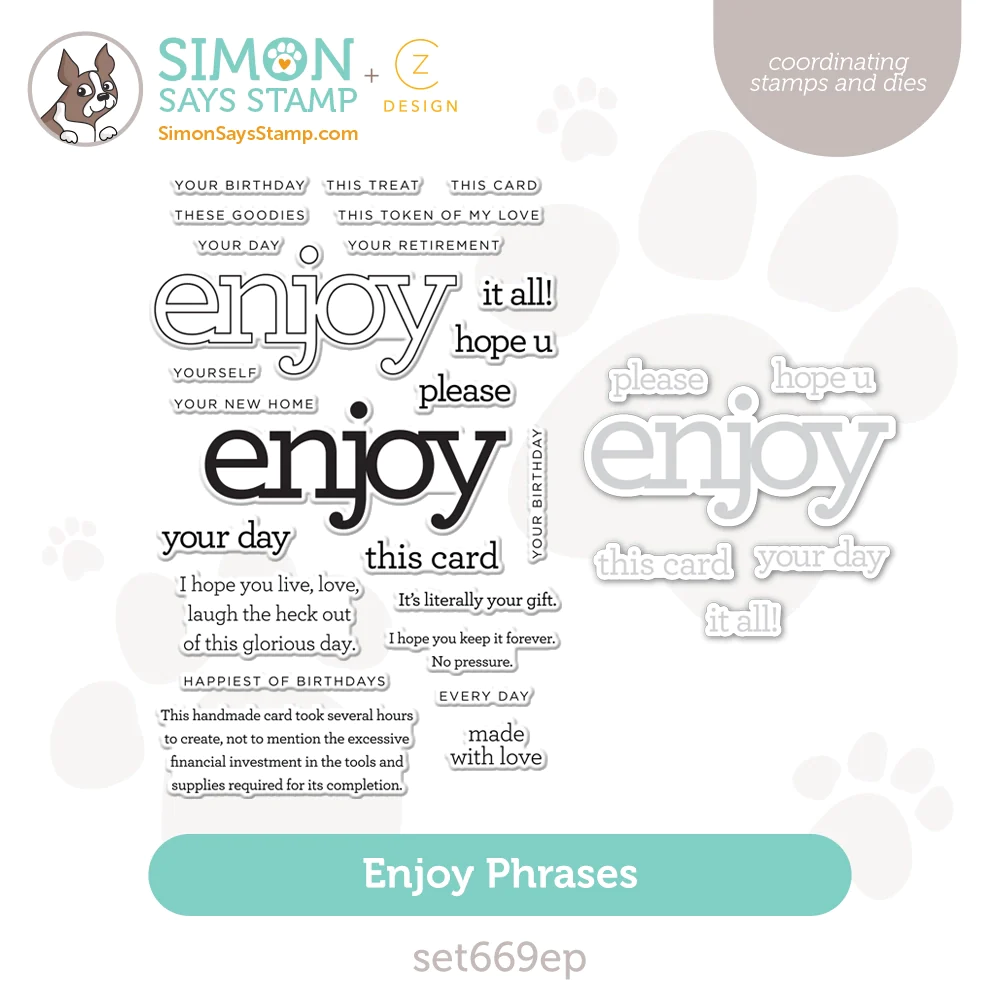
Ink-blend Rusty Hinge onto a piece of white cardstock and then stamp the 'Token of.." sentiment from the Enjoy Phrases Stamp Set in Intense Black ink onto the ink-blended cardstock and trim to a strip
Embellish with Orange Fields Sequins


I hope you can see why I love Ink-blending!

The paint-splatter adds a further touch of whimsy to this card.

The pop of color on the sentiments help them stand out and the sequins pull it all together!

Time to give this handmade happiness to one of your besties!

A lot of love went into this card but I think that it was totally worth it.
Thank you for stopping by and hope that you will be back! Happy Crafting!
SUPPLIES:
I listed the products that I have used below. Please note that these are compensated affiliate links, used at no cost to you. I really appreciate your support. All stamps used today were part of my STAMPTEMBER 2023 maker package from Simon Says Stamp. Click on the icons below each product picture to shop with SimonSaysStamp.com.


Gorgeous!! So beautiful and ethereal, it "glows"! Well done! You are inspiring me to really jump off the edge and into this art form!
This card is stunning! Thank you for the detailed instructions. It’s rare to see pictures for each step. They really help! I’m going to try them out when I get this stamp.